20
4. JOB PROGRAMMING
4.1
Create a Job
To create a new job:
1. From the ‘home’ menu, press the
New job
button.
2. Press
Manual
to create a new job.
For
Automatic
, see “Using an Automatic Job (Fill & Start)” on page 18.
3. Enter the pin code 2546.
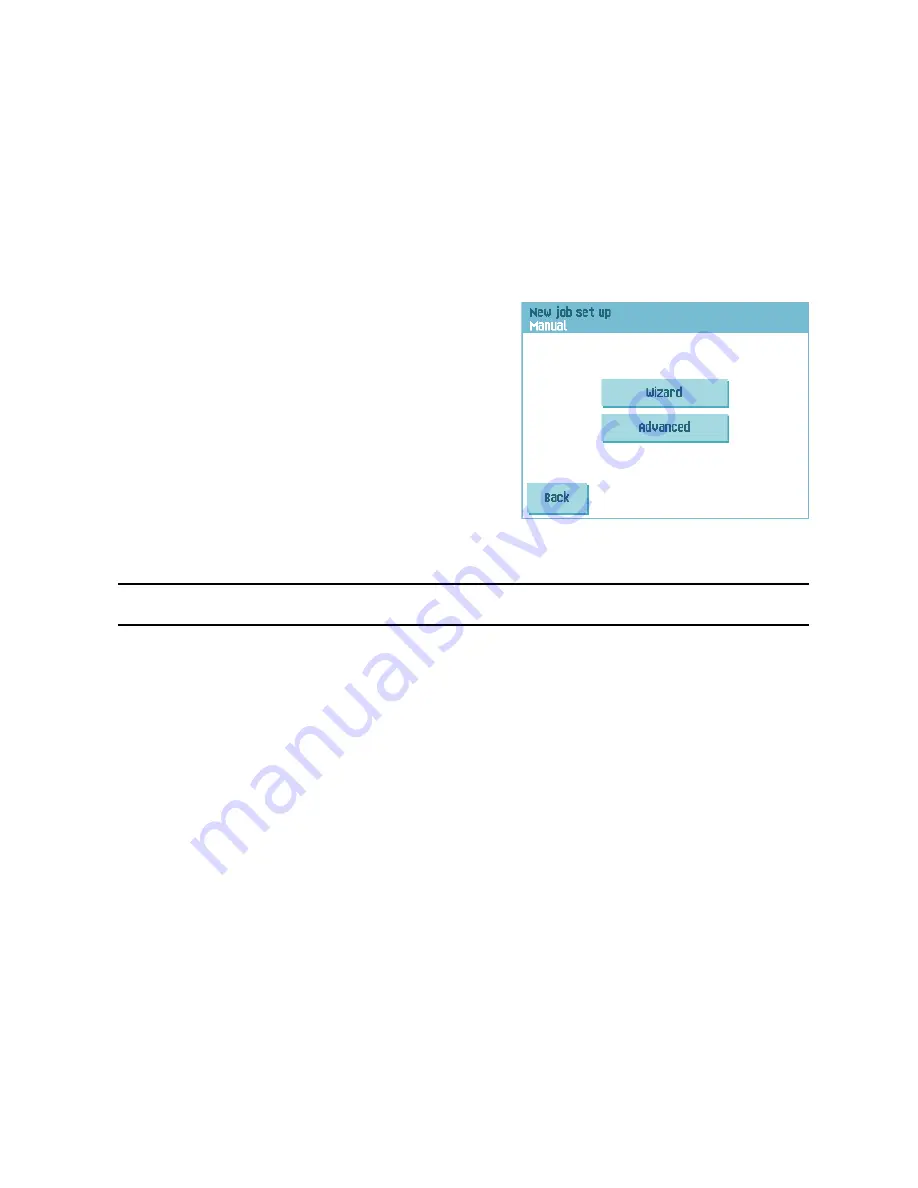
4. Press
Wizard
to create a new job with the job
creation wizard or press
Advanced
(experienced
users only).
If you use the job creation wizard, follow the
steps on screen. The system stores the new job
under the lowest free job number.
You can manually select a free job number to
save the new job. The screen will show the
lowest free job number.
If you use the advanced way of job
programming, continue as follows:
5. Press
OK
to confirm the selected free job number.
Note
A new selected job number starts with default settings.
The ‘job settings’ menu opens. The meaning of all buttons and settings is explained in
4.2 ”Job Settings” on page 21.
6. Press
Save
to save the job with the entered settings under the specified job number
and name.
To name a job, see 4.2.6 ”Job Name” on page 26.
7. Press the
1x
button to verify that the insert position and address position are correct
(see 7.3.1 ”Insert Position” on page 49 and “Address Position” on page 49).


