3-28 Disassembly and Reassembly
1.
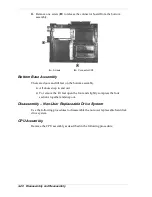
Turn the main board over so the bottom is facing up.
2.
Remove three screws.
3.
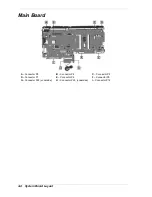
Lift and disconnect the CPU assembly from the main board. The heat shield
and CPU board comes off as two layered pieces.
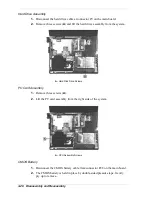
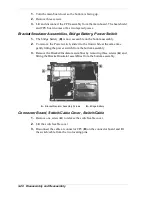
Bracket/Insulator Assemblies, Bridge Battery, Power Switch
1.
The bridge battery (
B
) is now accessible on the bottom assembly.
2.
To remove the Power switch, slide it to the front while at the same time
gently lifting the power switch from the bottom assembly.
3.
Remove the Bracket/Insulator assemblies by removing three screws (
A
) and
lifting the Bracket/Insulator assemblies from the bottom assembly.
A – Bracket/Insulator Assembly Screws
B – Bridge Battery
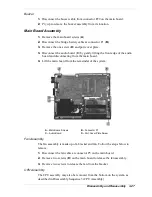
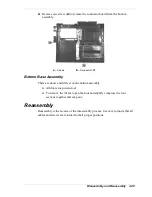
Connector Board, Switch/Cable Cover, Switch/Cable
1.
Remove one screw (
A
) to release the switch/cable cover.
2.
Lift the switch/cable cover.
3.
Disconnect the cable at connector CP8 (
B
) on the connector board and lift
the switch/cable from the two locating pins.
Summary of Contents for Versa LX
Page 1: ...NEC Versa LX Notebook Computer VERSA LX S E R V I C E A N D R E F E R E N C E M A N U A L...
Page 57: ...3 Disassembly and Reassembly Required Tools and Equipment Disassembly Reassembly...
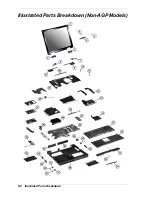
Page 91: ...5 2 Illustrated Parts Breakdown Illustrated Parts Breakdown Non AGP Models...
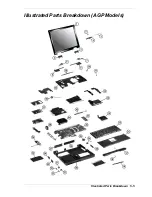
Page 94: ...Illustrated Parts Breakdown 5 5 Illustrated Parts Breakdown AGP Models...
Page 102: ...7 Troubleshooting Quick Troubleshooting Helpful Questions...


