3-8 Disassembly and Reassembly
Default Switch Settings (AGP Models)
Changing Switch Settings
Use the following steps to change switch settings.
1.
Make sure the system is powered off and that no peripheral devices are
attached.
2.
Open the LCD panel.
3.
Locate the two keyboard retainers, slide each one towards the outside edge
of the system, and remove them.
4.
Gently lift up the edge of the keyboard nearest the LCD and slide the
keyboard toward the LCD screen to release the tabs that secure it.
!
CAUTION
Never use a pencil to change switch settings. Residue from
the pencil can damage the system.
5.
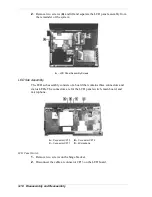
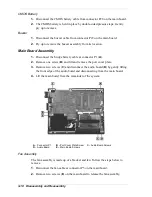
Gently rest the keyboard on top of the base unit to view and access the dip
switch block. Be careful not to twist or disconnect the keyboard cable.
6.
Locate the dip switch block. Using a fine-tipped object, change the
appropriate switch to the required setting. See “Switch Settings” for dip
switch functions and settings.
Summary of Contents for Versa LX
Page 1: ...NEC Versa LX Notebook Computer VERSA LX S E R V I C E A N D R E F E R E N C E M A N U A L...
Page 57: ...3 Disassembly and Reassembly Required Tools and Equipment Disassembly Reassembly...
Page 91: ...5 2 Illustrated Parts Breakdown Illustrated Parts Breakdown Non AGP Models...
Page 94: ...Illustrated Parts Breakdown 5 5 Illustrated Parts Breakdown AGP Models...
Page 102: ...7 Troubleshooting Quick Troubleshooting Helpful Questions...

