


Preventive
Maintenance
7-3
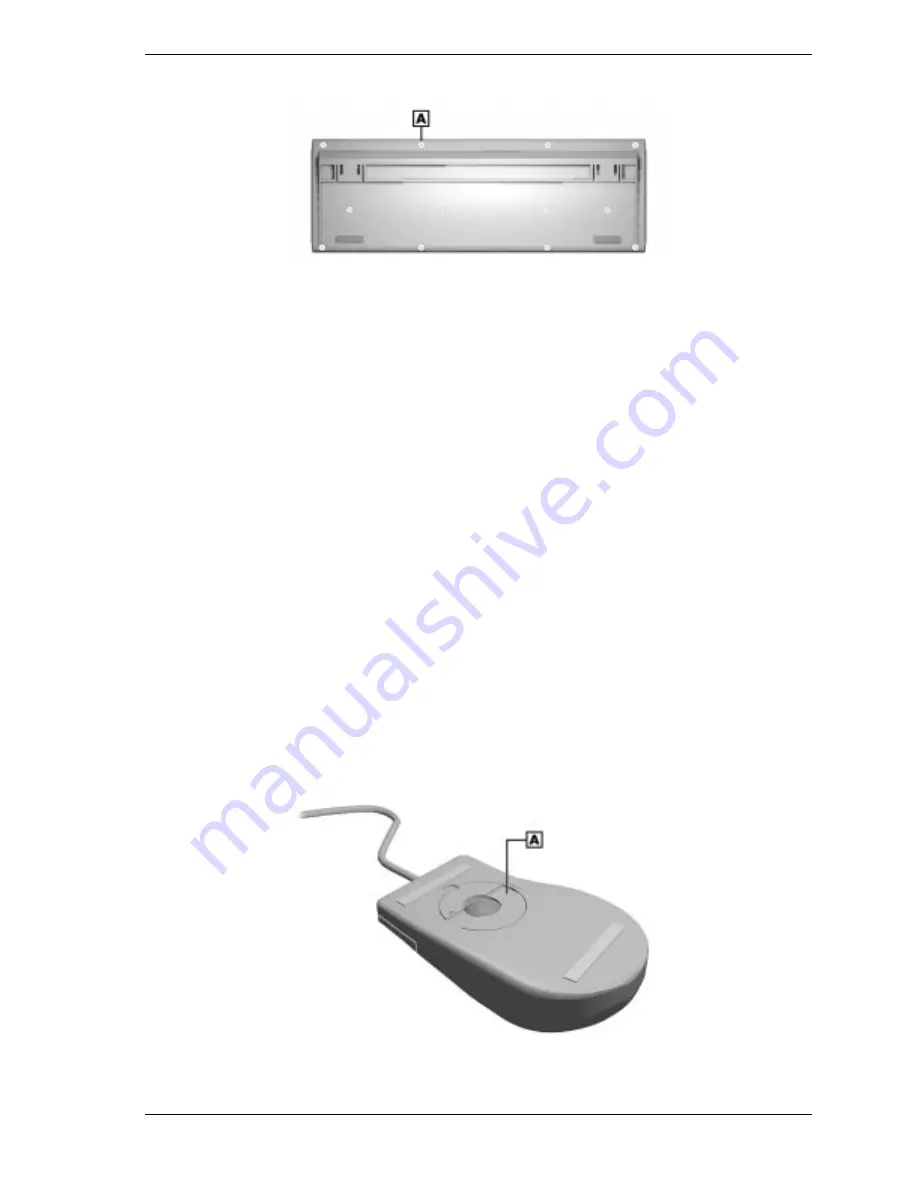
Removing the Keyboard Enclosure
A – Screw (one of twelve)
2.
Separate the two halves of the enclosure.
3.
Clean the enclosure and keys with a damp cloth. A small, soft-bristle brush
may be used to clean between the keys.
Do not wet or dampen the keyboard’s printed circuit board. If the board gets
wet, thoroughly dry it before reattaching the keyboard to the system unit.
4.
Put the two halves of the enclosure together and secure with the screws.
Mouse Cleaning
The mouse has a self-cleaning mechanism that prevents a buildup of dust or lint
around the mouse ball and tracking mechanism under normal conditions.
Periodically, however, the mouse ball must be cleaned. Use the following
procedure to clean the mouse.
1.
Unplug the mouse from the system.
2.
Turn the mouse upside down and locate the ball cover (see the following
figure).
3.
Turn the ball cover counterclockwise and remove the cover.
Removing the Mouse Ball Cover
A – Mouse Ball Cover
Summary of Contents for POWERMATE 8100 Series
Page 17: ...1 System Overview Configurations Features Components ...
Page 131: ...4 System Board Connectors Jumpers and Sockets Components Pin Assignments Resources ...
Page 189: ...7 Preventive Maintenance System Cleaning Keyboard Cleaning Mouse Cleaning ...


