Basic Fax Operation (1)
NOTE:
For any of the following types of documents, make a copy prior to transmission or use
the Carrier Sheet for transmission.
•
A page with a width or length smaller than the minimum permissible dimensions.
Minimum permissible dimensions: Width ….…148 mm
Length …….100 mm
•
A lightweight page weighing 50 g/m
2
or less.
•
A creased, torn, wrinkled, or curled page.
•
OHP transparencies.
•
A page with a stamp on it, or a page with adhesive tape affixed to it.
•
Paper with a coated surface.
•
Heat- or pressure-sensitive paper.
•
Glossy paper.
Useful Tips
If your document is very important, confidential or for an emergency, it is
recommended that you make a phone call to tell the other party that you are sending
the document.
How to load the Document
This machine scans the data on the front side of the document. This means
that you should place the document face up on your.
You can transmit the document with the date printed at the top of the
document by the Header function. (
¼
P 6-20) To use the Header function
properly, load the document top edge down. When sending a multi-page
document, the machine scans from the top down. A document placed in the
feeder such as page 1, page 2, .... page X will be sent in the same order.
Document ejecting style is straight-ahead ejection. The same rule applies
when placing your document for the copy or scanner function.
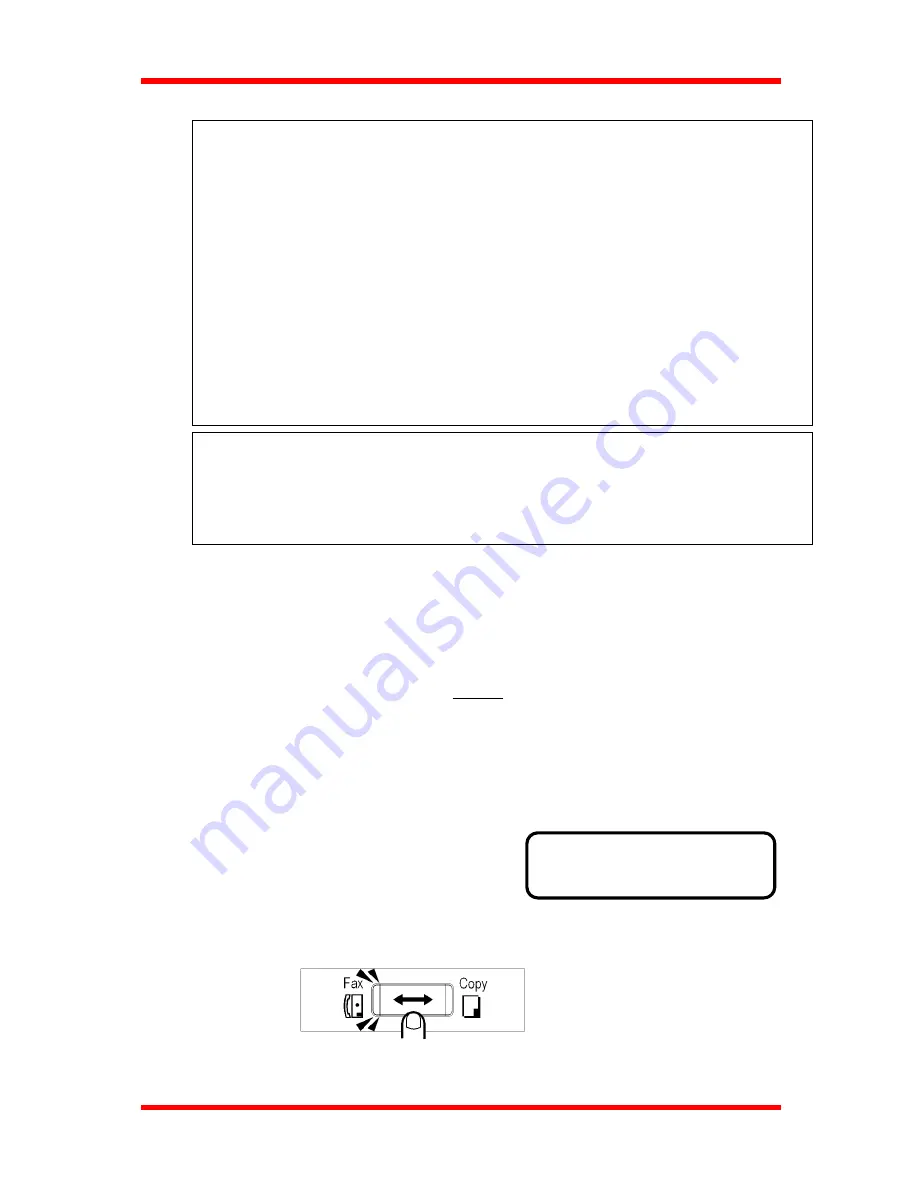
1. Check that the message display is in Fax
screen.
JAN.01 15:38 100%
-SET DOC. FACE UP-
If not, press the Copy/Fax key to switch.
3-5
Summary of Contents for NEFAX 805
Page 1: ...FACSIMAL OPERATION MANUAL ...
Page 2: ...NEC FACSIMILE OPERATION MANUAL ...
Page 13: ...Chapter 1 First Things to Know About Your Machine ...
Page 39: ...Chapter 2 Making Copies ...
Page 60: ...Chapter 3 Basic Fax Operation 1 ...
Page 84: ...Chapter 4 Basic Fax Operation 2 ...
Page 94: ...Chapter 5 Using the Function Utilities ...
Page 124: ...Chapter 6 Using the Enhanced Utilities 1 ...
Page 152: ...Using the Enhanced Utilities 2 Chapter 7 ...
Page 175: ...Chapter 8 Using the Confirm Utilities ...
Page 181: ...Chapter 9 Printing Reports ...
Page 203: ...Chapter 10 Connect to PC ...
Page 208: ...Chapter 11 Troubleshooting ...
Page 228: ...Chapter 12 General Specification ...


