Using the Enhanced Utilities (1)
6.3.2 Header
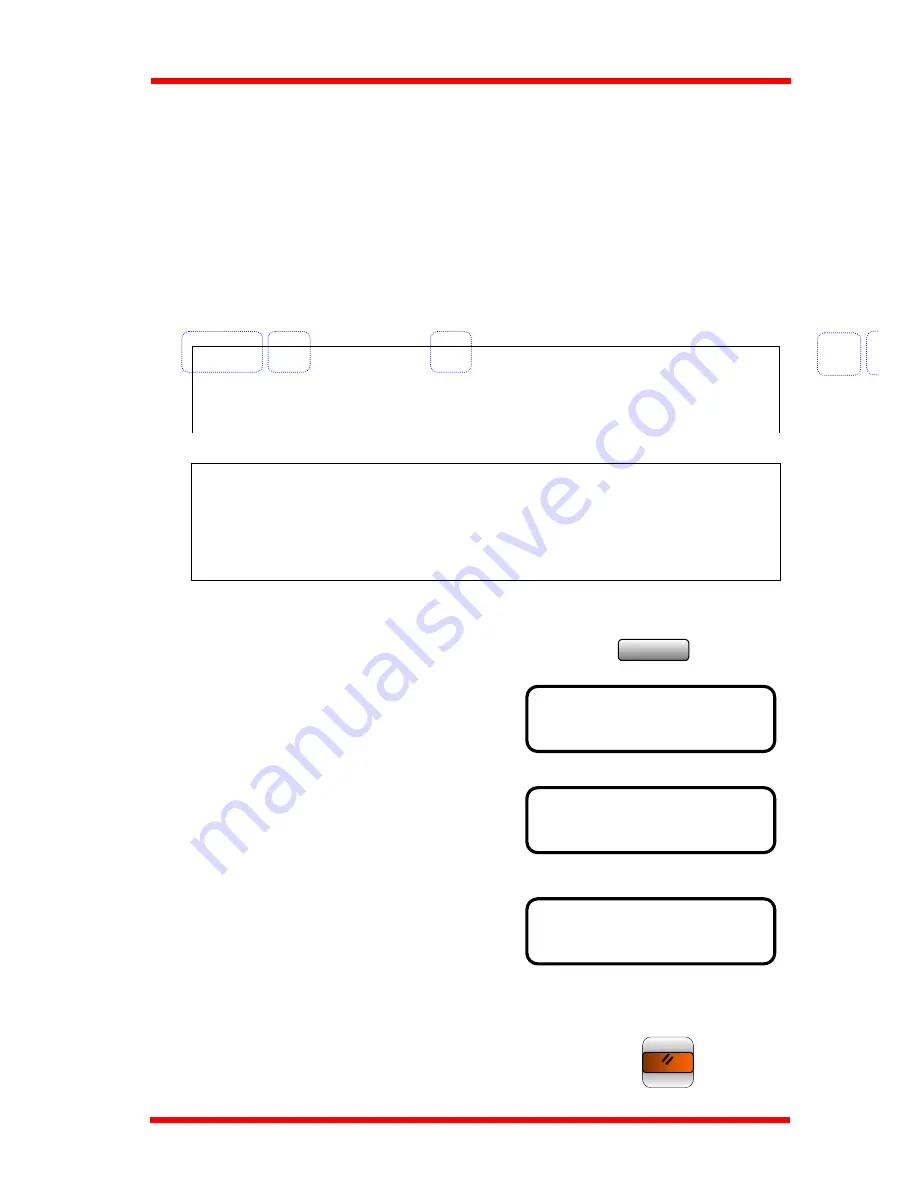
The Header Prints information at the receiving end to identify that you transmitted the
document. The header appears at the top of each page in a document, showing the sender
name, page number, and the time of transmission
1. Date of Transmission
2. Time of Transmission
3. Transmitter Name
4. Session number
5. Page number
1 2 3 4 5
MAY.29’2000 07:58 ABC #0641 P.009
XXXXXXXXXXXXXXXXXXXXXXXXXXXXXXXXXXXXXXXXXXXX
XXXXXXXXXXXXXXXXXXXXXXXXXXXXXXXXXXXXXXXXXXXX
6 HEADER
* ON OFF
◄
,
►
& YES
NOTE:
•
The header is printed on the area 4 mm from the leading edge of the paper.
Therefore, make sure that the area 4 mm from the leading edge is blank, so the
content of the document can be fully transmitted.
•
For U.S.A. user, this function is always ON.
Utility
1. Press the Utility key 4 times.
x 4
The display changes to the “TX
OPERATION”
TX OPERATION?
▲
▼
OK=YES / or 1-7
2. Press ‘6’of the Numeric keys.
The display now changes to the Header
mode.
3. Press the
◄
or
►
key to select ON or OFF the
Header function, then press Yes key.
4. This completes the setting for Header.
Panel Reset
Press the Panel Reset key, back to the initial state.
6-20
Summary of Contents for NEFAX 805
Page 1: ...FACSIMAL OPERATION MANUAL ...
Page 2: ...NEC FACSIMILE OPERATION MANUAL ...
Page 13: ...Chapter 1 First Things to Know About Your Machine ...
Page 39: ...Chapter 2 Making Copies ...
Page 60: ...Chapter 3 Basic Fax Operation 1 ...
Page 84: ...Chapter 4 Basic Fax Operation 2 ...
Page 94: ...Chapter 5 Using the Function Utilities ...
Page 124: ...Chapter 6 Using the Enhanced Utilities 1 ...
Page 152: ...Using the Enhanced Utilities 2 Chapter 7 ...
Page 175: ...Chapter 8 Using the Confirm Utilities ...
Page 181: ...Chapter 9 Printing Reports ...
Page 203: ...Chapter 10 Connect to PC ...
Page 208: ...Chapter 11 Troubleshooting ...
Page 228: ...Chapter 12 General Specification ...


