61
ADJUSTMENT
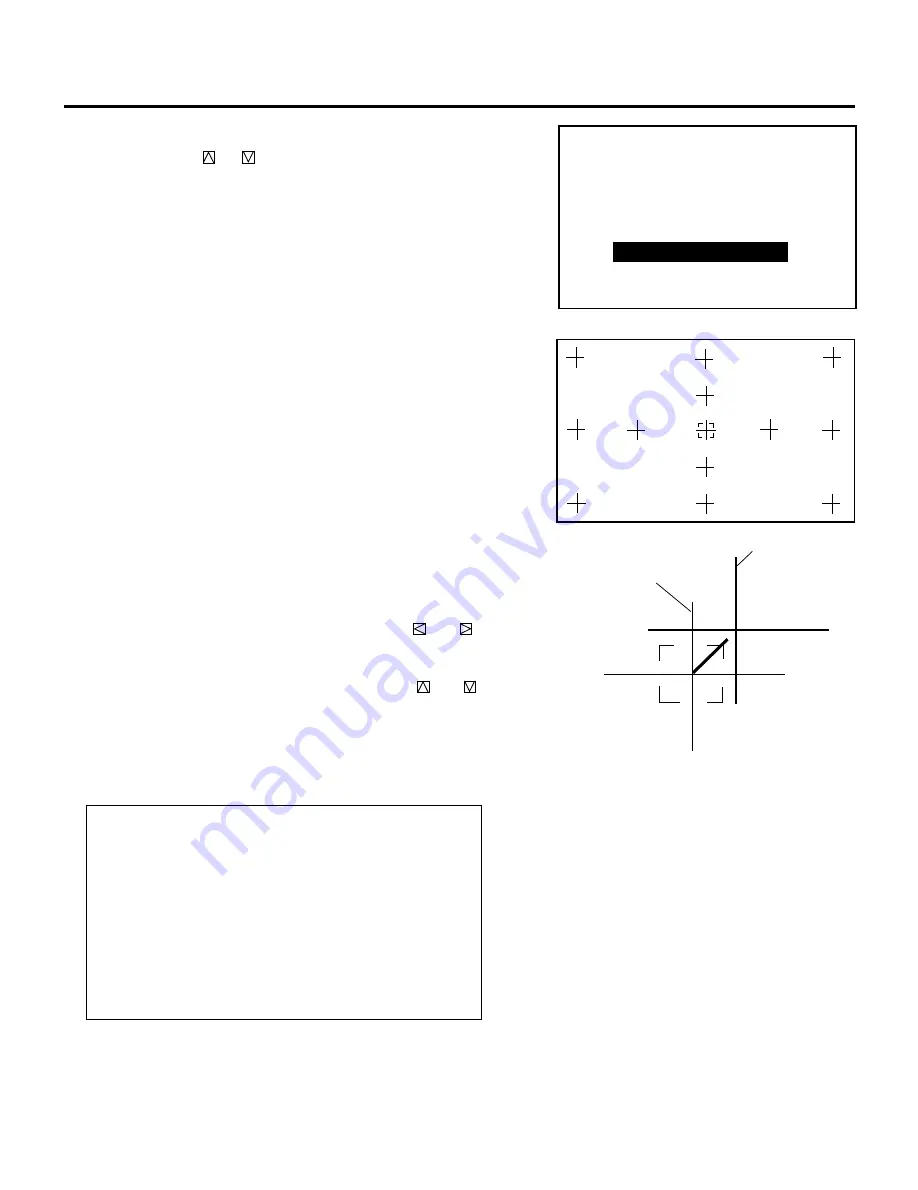
3) Use the CURSOR buttons to move the point cursor to the point
where you want to adjust, then hold down the CTL button and
press any one of the CURSOR buttons to align a point of
intersection of the Red or the Blue pattern with a point of
intersection of the Green pattern (reference color).
• Hold down the CTL button and press the CURSOR
or
to move the point cursor on the selected CRT color horizon-
tally.
• Hold down the CTL button and press the CURSOR
or
to move the point cursor on the selected CRT color vertically.
4) After adjusting all the points, press the ENTER button.
• The projector automatically corrects the convergence of the
whole screen.
NOTE:
• The POINT ACAT adjustment may be required two or three
times to improve accuracy depending on the installation
condition.
• There may be some cases where you cannot get completely
corrected convergence on the edges of the screen. If this
happens, perform convergence adjustments other than POINT
ACAT.
• If you decreased the horizontal or/and vertical amplitude and
then performed the POINT ACAT adjustment, return the
adjustment to its previous state.
- P O I N T -
1 / C O A R S E
2 / M E D I U M
3 / F I N E
4 / A C A T
P O I N T
- A C A T -
C R T - R -
R or B
G
2) Hold down the CTL button then press the R or B button to select
the CRT you wish to adjust.
▲
Proceed as follows:
1) Use the CURSOR
or
button to select the “4/ACAT” item
and then press ENTER. You can also select “ACAT” item
directly by pressing an INPUT “4” button.
• The ACAT adjustment screen will be displayed.
• You can also select the ACAT adjustment screen directly by
pressing and holding CTL and pressing POINT button on the
full function remote control.


