62
ADJUSTMENT
m
Adjusting PHASE
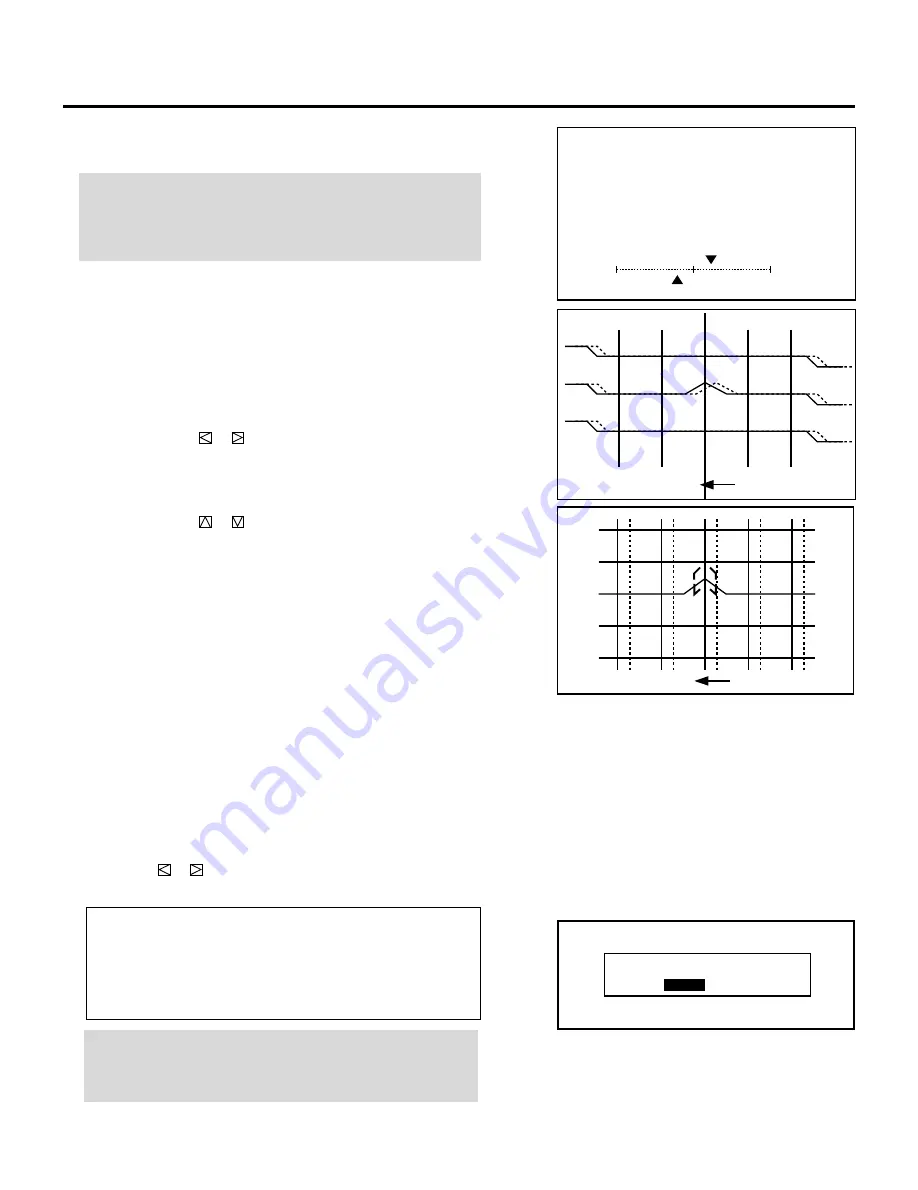
This adjustment corrects the phase of convergence wave forms.
NOTE: Since the projector has been pre-adjusted for the optimal
phase adjustments at the factory, further adjustment should not
be required in normal operation. In some cases, carrying this
adjustment causes convergence to change.
1) Select "10/PHASE" and press ENTER to display the phase
adjustment screen.
• The CROSS-COARSE test pattern will be automatically
displayed and the adjustments will be cancelled. You can also
display the adjustment screen by pressing PHASE button on the
service remote control.
2) Use the CURSOR
or
button to adjust the convergence phase
(for horizontal line). Adjust the pattern so the sharp turns at the
left and right edges in the diagonal lines are equal.
3) Use the CURSOR
or
button to adjust the cursor phase (for
vertical line).
Align the vertical center line of the point cursor with the point
peak.
P H A S E
- C O N V . , C U R S O R -
+
2 0 %
C N
−
2 0 %
C U
CON
CUR
7
Repeat steps
3
to
6
for the other CRTs if necessary.
• Pressing the END button will bring you to the “CONVER-
GENCE” menu.
8
To exit, press END.
• Whenever the END button is pressed, the menus will sequence
in this order:
“CONVERGENCE” menu
→
“ADJUST” menu
→
Source
screen
• If the “RETURN USER MODE?” menu appears, use the
CURSOR
or
button to select either “YES” or “NO” and
then press ENTER. This will exit the ADJUST mode.
Items to select
• YES ......... When you try to enter the ADJUST mode again,
you will need to re-enter your passcode.
• NO ........... When you try to enter the ADJUST mode again,
you will not need to re-enter your passcode.
NOTE: Adjusting the dynamic convergence may cause the static
convergence settings to change. If this happens, adjust the
static convergence again.
R E T U R N U S E R M O D E ?
Y E S
N O


