51
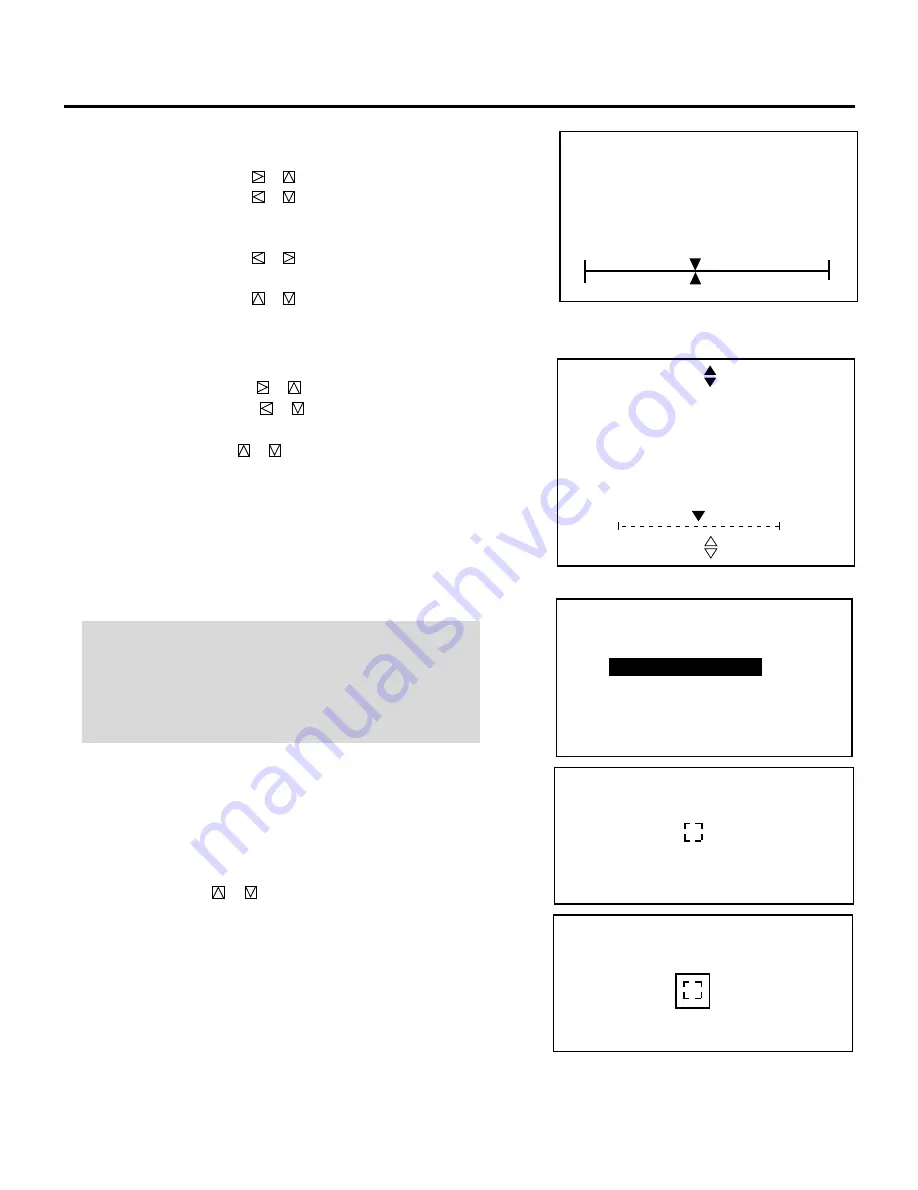
ALIGNMENT
- LINE DIST. EDGE -
H
V
0%
0%
When selecting “BIQUAD”:
• Pressing the CURSOR
or
increases the level.
• Pressing the CURSOR
or
decreases the level.
To switch to the adjustment position, press and hold CTL and
then press CURSOR
or
button.
A L I G N M E N T
- L I N E D I S T . B I Q U A D -
0 %
S C R E E N - T O P -
3) Use the CURSOR buttons to align the pattern.
When selecting "CENTER":
• Pressing the CURSOR
or
button increases the level.
Pressing the CURSOR
or
button decreases the level.
When selecting "EDGE":
• Pressing the CURSOR
or
button corrects the vertical
lines.
Pressing the CURSOR
or
button corrects the horizontal
lines.
NOTE:
• The R,G,B POINT adjustments should only be done if neces-
sary. Over adjusting them may cause the picture distortion.
• The alignment adjustment affects three CRTs at the same time
while the convergence adjustment needs to be performed for
each CRT (R and B) separately.
1) Select "11/R,G,B POINT" from the "ALIGNMENT"menu and
press ENTER to display the "R,G,B POINT" menu. For
dynamic convergence, select "9/POINT" from the "CONVER-
GENCE" menu and press ENTER to display the "POINT"
menu.
2) Use the CURSOR
or
button to select the item and press
ENTER to display the selected adjustment screen. You can also
select the item directly by pressing the corresponding INPUT
number button.
• The "CROSS-COARSE" test pattern will be automatically
displayed.
• The R,G,B POINT screen in the alignment mode or the
POINT adjustment screen in the convergence mode can be
also displayed by pressing the POINT button on the full
function remote control. The POINT button rotates the
adjustment screen in the following order: COARSE, ME-
DIUM, FINE.
m
Adjusting R,G,B POINT
- R , G , B P O I N T -
1 / C O A R S E
2 / M E D I U M
3 / F I N E
R G B P O I N T
- C O A R S E -
R G B P O I N T
- C O A R S E -
ADJUSTMENT


