


Device Management
NVR User Manual
55
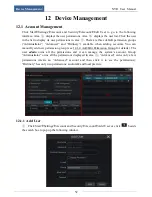
In the “Edit Permission Group” interface, click
in the group list to edit the permission
group (the settings of the “Edit Permission Group” are similar to that of the “Add Permission
Group”). Click
to delete the permission group. The three default permission groups
(“Administrator”, “Advanced” and “Ordinary”) cannot be edited or deleted.
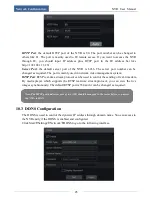
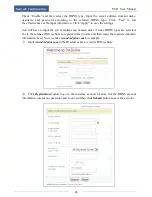
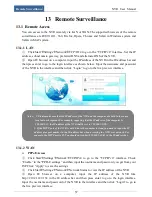
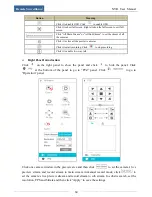
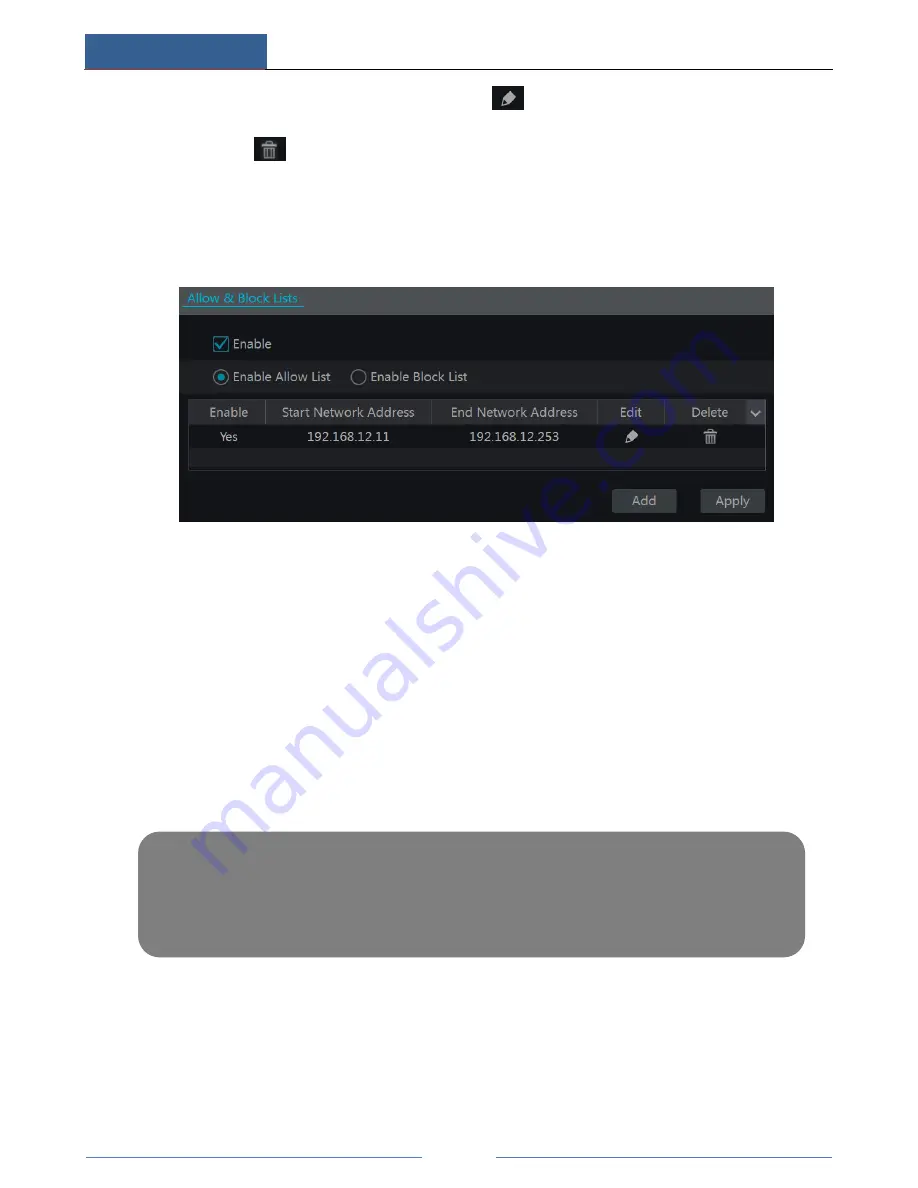
12.2 Allow & Block Lists
①
Click Start
Settings
Account and Security
Security to go to the following interface.
②
Check “Enable” and then choose “Enable Allow List” or “Enable Block List” (the PC
client of which the IP address is in the allow list can access NVR remotely while the PC client
in the block list cannot).
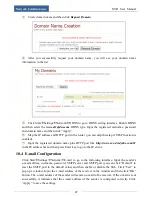
③
Add network segment. Click “Add” button to pop up a window. Check “Enable” (only if
you check it can the network segment you add be effective) and then set the start IP address
and end IP address. Click “OK” to save the addresses. Click “Apply” to save the settings.
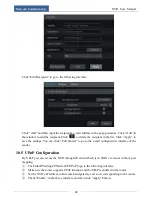
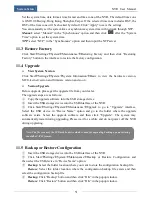
12.3 Disk Management
Click Start
Settings
Disk
Disk Management to go to disk management interface. You can
view the NVR’s disk number and disk status and so on in the interface. Click “Formatting”
button to format the HDD.
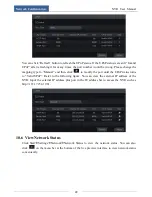
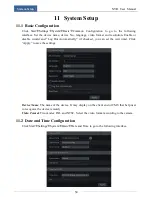
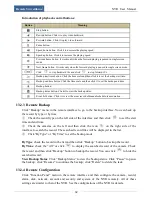
12.3.1 Storage Mode Configuration
Click Start
Settings
Disk
Storage Mode to go to the following interface. There are all four
disk groups. By using disk group, you can correspond the camera to disk (the record data of the
camera in the group will be stored into the disks in the same group). The added disks and
cameras will be added into group one automatically. The disks and cameras in the groups can
Note: 1. The new HDD should be formatted for normal use.
2. The HDD of the NVR should be formatted for normal use after the NVR restores its factory
configuration.
3. The HDD which has been used in other device should be formatted for normal use.
Summary of Contents for NGD-8116
Page 74: ...450011000711 A0 ...


