


Record
NVR User Manual
32
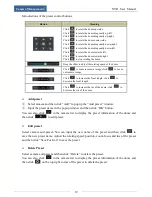
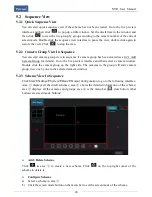
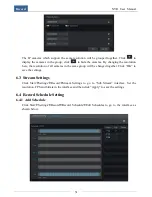
“7*24”, “5*24” and “2*24” are the default schedules and they cannot be changed or deleted.
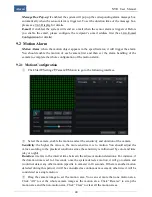
Click the schedule name to display the detailed schedule information on the left side of the
interface. The seven rows stand for the seven days in a week and each row stands for 24 hours
in a day. Blue stands for the selected time and gray stands for unselected time.
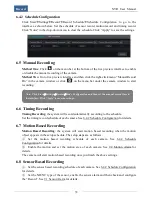
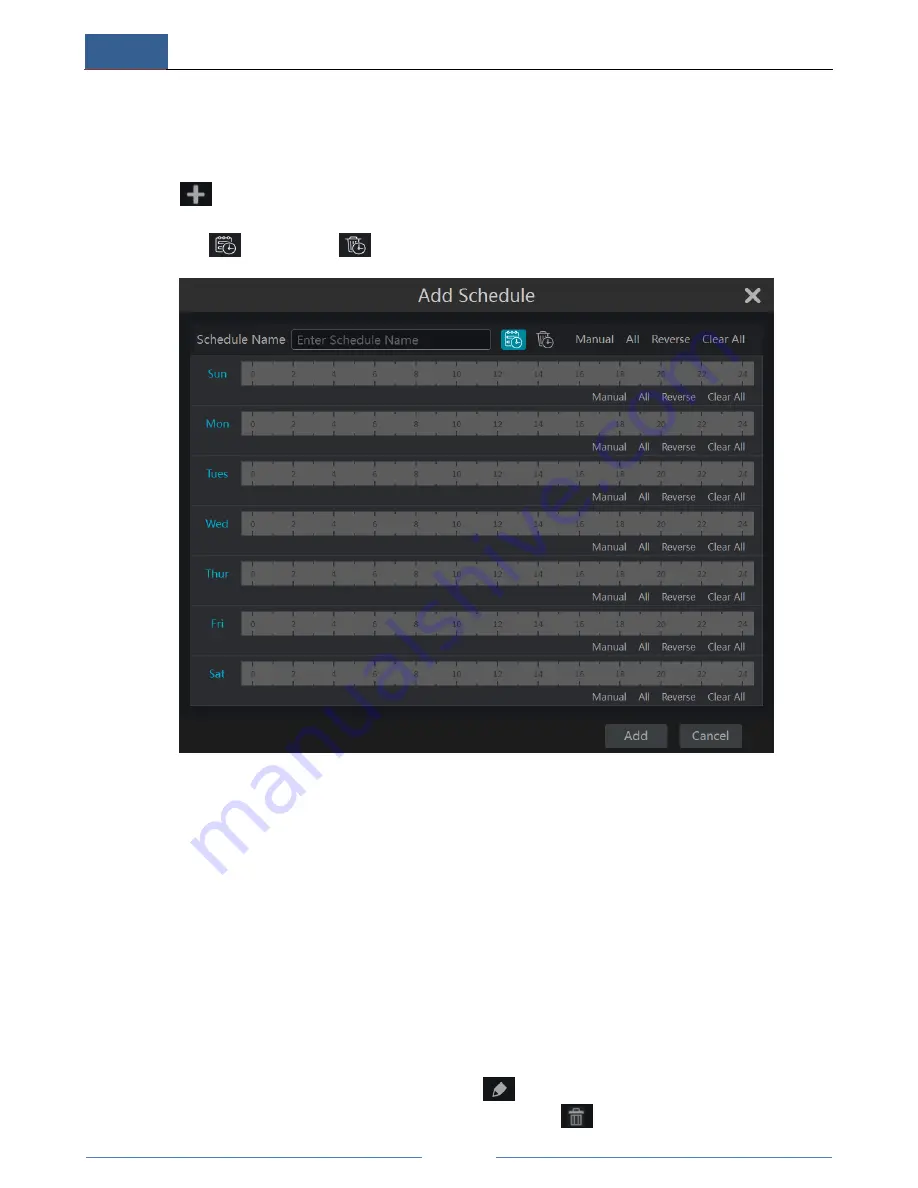
Click
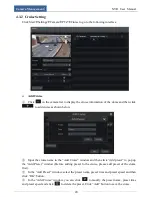
to add a new schedule. Refer to the following figure. Set the schedule name and
schedule time and then click “Add” to save the schedule. You can set day schedule or week
schedule.
: add button;
: delete button.
Set Day Schedule
Click add button and then drag the cursor to set record time; click delete button and then drag
the cursor to delete the selected area. You can manually set the record start time and end time.
Click add button or delete button and then click “Manual” on each day to pop up a window. Set
the start time and end time in the window and then click “OK” to save the settings. Click “All”
to set all day recording; click “Reverse” to swap the selected and unselected time in a day;
click “Clear All” to clear all the selected area in a day.
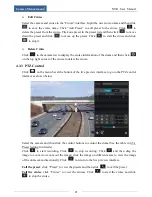
Set Week Schedule
Click “Manual” beside the delete button to set the week schedule. Click “All” to set all week
recording; click “Reverse” to swap the selected and unselected time in a week; click “Clear
All” to clear all the selected area in a week.
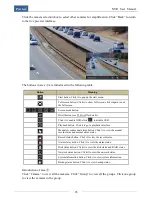
Go to “Edit Schedules” interface and then click
to edit the schedule. The settings of “Edit
Schedule” are similar to that of the “Add Schedule”. Click
to delete the schedule.
Summary of Contents for NGD-8116
Page 74: ...450011000711 A0 ...


