


Napco iSecure Security System
All technical manuals are available in PDF format at
tech.napcosecurity.com
13
Configure the IBR
-
TOUCH
-
WL 7" Touchscreen
1
With power applied to the Go
-
Anywhere Smart Hub, power the IBR
-
TOUCH
-
WL. The unit will start within
about 5 seconds (the unit can be manually powered by pressing and holding the small button on the right side
for 10 seconds). Upon power up, the
Setup Wizard
will automatically start (follow the sequence of images
starting with step 5). If the
Setup Wizard
does not automatically start, press and hold the
System Settings
("gear") icon, enter your Dealer password, then tap
Setup Wizard
.
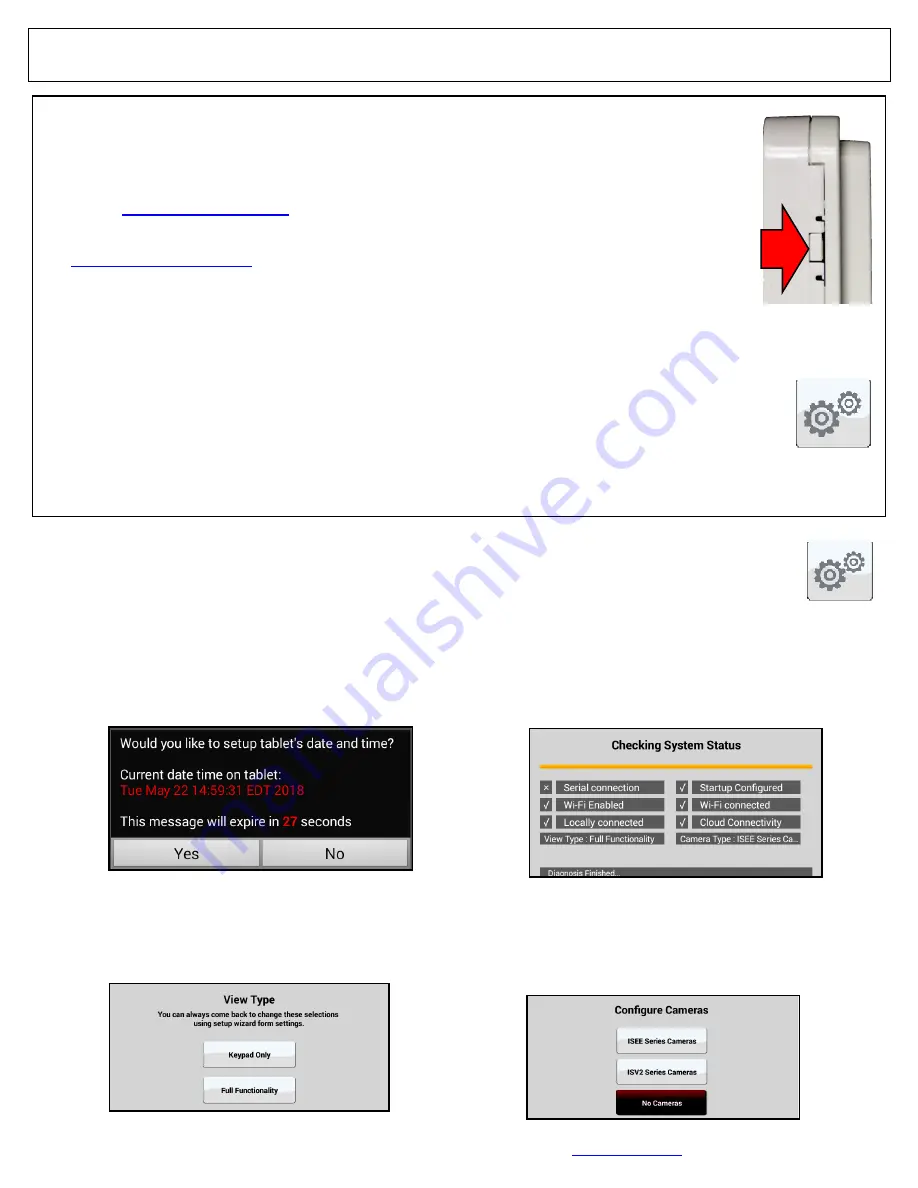
Tap
Yes
and set the date, time and Time Zone (if neces-
sary).
IMPORTANT:
Outdated digital certificates will
disallow connection to your security system, as well as
inhibiting necessary automatic firmware downloads.
2
Wait for the system diagnostics process to complete.
Functional components are marked with a check; items
not configured or disabled are marked with an "x". Se-
lections are blank when the
Setup Wizard
is run for the
first time. Tap
Configure
to continue.
3
System Settings
button
If you have an ISEE
-
WAP with existing older iSeeVideo
cameras, tap
ISEE Series Cameras
; if your system in-
cludes the newer
ISV2
models, tap
ISV2 Series Camer-
as
; for systems without cameras, tap
No Cameras
(cameras can always be added later).
Note:
ISEE
and
ISV2
cameras cannot be combined.
Select how the IBR
-
TOUCH
-
WL will be used. If it will
only be used as a security system keypad, tap
Keypad
Only
(jump to step 6). To include video camera and Z
-
Wave functions, tap
Full Functionality
.
4
5
Add the IBR
-
TOUCH
-
WL Tablet (Kit 3 Only)
The steps below are the only steps required to add the Kit 3
IBR
-
TOUCH
-
WL tablet keypad to the system.
DO NOT ena-
ble an additional keypad in iSecure Hub programming
.
•
First register your Hub and purchase an iSecure Service
Plan at
www.NapcoComNet.com
,
•
Then download the preconfigured devices and central
station
information
into
the
Hub
at
www.iSecureByNapco.com
.
Connect the iSecure Hub to the Customer
’
s Wi
-
Fi Network
•
From the
System Settings
"home" screen, click the
Cen-
tral Station Reporting
button and scroll down. For
COM-
MUNICATION TECHNOLOGY
, select
IP with Cell Radio
Backup
.
•
Select
Wi
-
Fi is Only IP Path,
click
Save
and the Hub will
reboot.
•
After the Hub reboots, click
Wi
-
Fi Networks
and select
your Customer
’
s Wi
-
Fi network name. If you do not see it
listed, click
Search WiFi Networks
and check again.
•
When the correct network name appears, select it and
then enter the network
Password
.
•
Click
Save
.
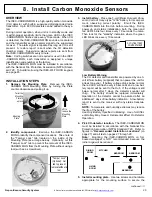
Power Up the IBR
-
TOUCH
-
WL
With the Go
-
Anywhere Hub pow-
ered, power up the IBR
-
TOUCH
-
WL by
pressing and holding
the
small button on the right side for
10 seconds (the touchscreen will
start within about 5 seconds).
Tablet Setup Wizard
Upon power up, the
Setup Wizard
will automatically start. Follow the
sequence of images as shown in
the following steps, as necessary
for the installation type. If the
Set-
up Wizard
does not automatically
start, press and hold the
System Set-
tings
("gear") icon, enter your Dealer
password, then tap
Setup Wizard
.
System
Settings button
Press and hold to
power the
IBR-TOUCH-WL


