


1-6 Basic Scanning
Repeat steps 4 to 5 to specify all the destinations.
6
You can also specify e-mail addresses, FTP servers, user boxes, and the shared box as
•
destinations.
To confirm a specified destination, press [Location]. For details on confirming destinations,
•
refer to “
Confirming Specified Destinations
”.
Press <Start>.
7
If you selected a destination from the list of shortcuts, this step is not required.
•
If you loaded the document in the ADF, this concludes the procedure.
•
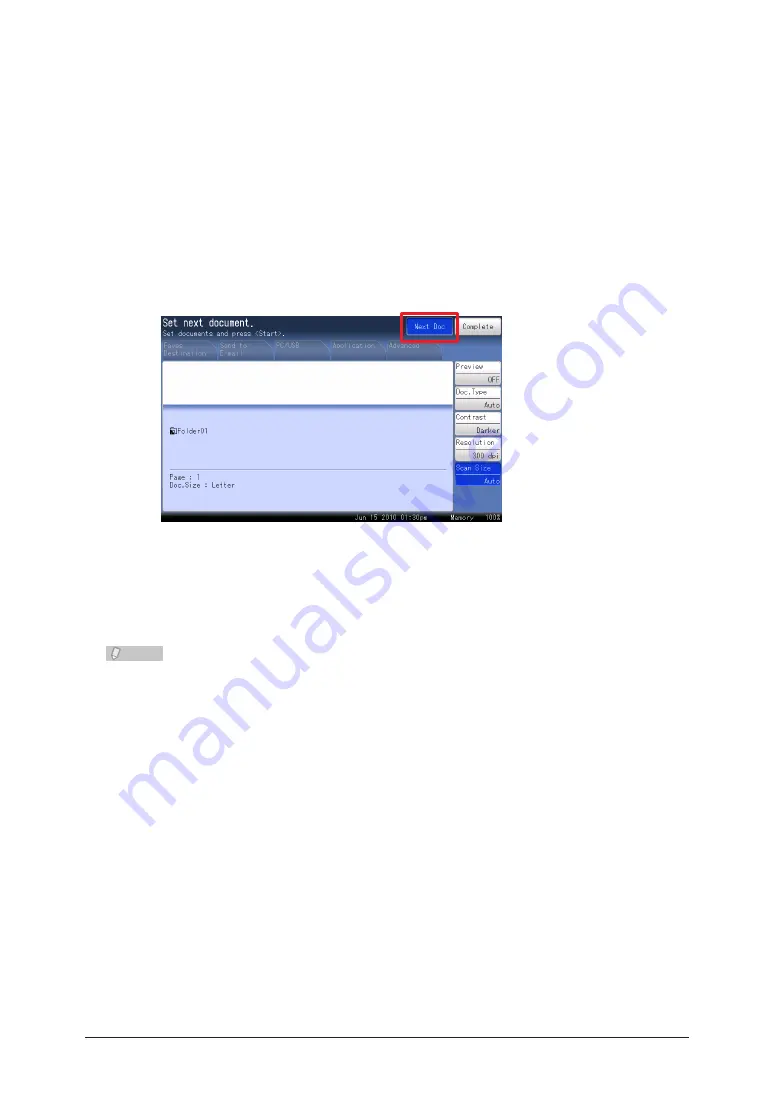
If you loaded the document on the document glass, load the next document, and
8
press [Next Doc].
To finish scanning, press [Complete].
Repeat step 8 to scan all the documents.
9
To finish scanning, press [Complete].
Note
You can register often-used destinations in the [Faves Destination] tab.
•
For details on registering shortcuts, refer to “
•
Registering / Editing Folder Shortcuts
”
or “Registering Shortcuts” in Chapter 3 of the OfficeBridge Guide.
You can press [Add/Edit] on the screen in step 3 to register/edit, or delete shortcuts.
•
For details on registration, refer to “
Registering from an Operation Screen
”.
You can press [Register] on the screen in step 5 to register the selected shared folder
•
in the shortcuts. For details on registration, refer to “
”.


