EDS-405A/408A Series User’s Manual
Featured Functions
3-57
Using Set Device IP
To reduce the effort required to set up IP addresses, the EDS-405A/408A series comes equipped
with DHCP/BootP server and RARP protocol to set up IP addresses of Ethernet-enabled devices
automatically.
When enabled, the
Set device IP
function allows the EDS to assign specific IP addresses
automatically to connected devices that are equipped with
DHCP Client
or
RARP
protocol. In
effect, the EDS acts as a DHCP server by assigning a connected device with a specific IP address
stored in the EDS’s internal memory. Each time the connected device is switched on or rebooted,
the EDS sends the device the desired IP address.
Take the following steps to use the
Set device IP
function:
STEP 1—
set up the connected devices
Set up the Ethernet-enabled devices connected to the
EDS for which you would like IP addresses to be
assigned automatically. The devices must be
configured to
obtain
their IP address automatically.
The devices’ configuration utility should include a
setup page that allows you to choose an option
similar to
Obtain an IP address automatically
.
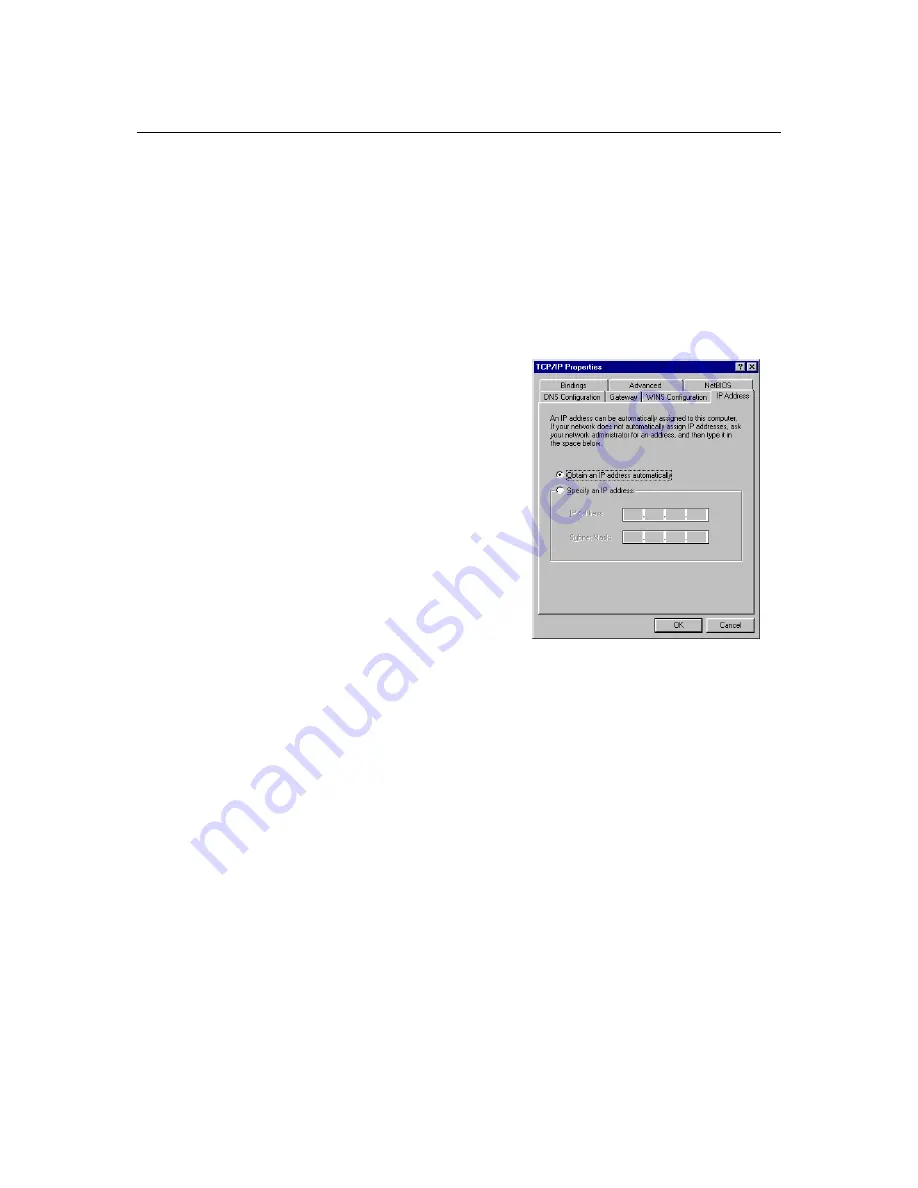
For example, Windows’
TCP/IP Properties
window
is shown at the right. Although your device’s
configuration utility may look quite a bit different,
this figure should give you some idea of what to look
for.
You also need to decide which of the EDS’s ports
your Ethernet-enabled devices will be connected to.
You will need to set up each of these ports separately,
as described in the next step.
STEP 2
Configure the EDS’s
Set device IP
function, either from the Console utility or from the Web
Browser interface. In either case, you simply need to enter the
Desired IP
for each port that needs
to be configured.
STEP 3
Be sure to activate your settings before exiting.
When using the Web Browser interface, activate by clicking the
Activate
button.
When using the Console utility, activate by first highlighting the
Activate
menu option, and
then press
Enter
. You should receive the
Set device IP settings are now active! (Press any
key to continue)
message.


