MacroVIEW
MM179-001 - Operator Manual
79
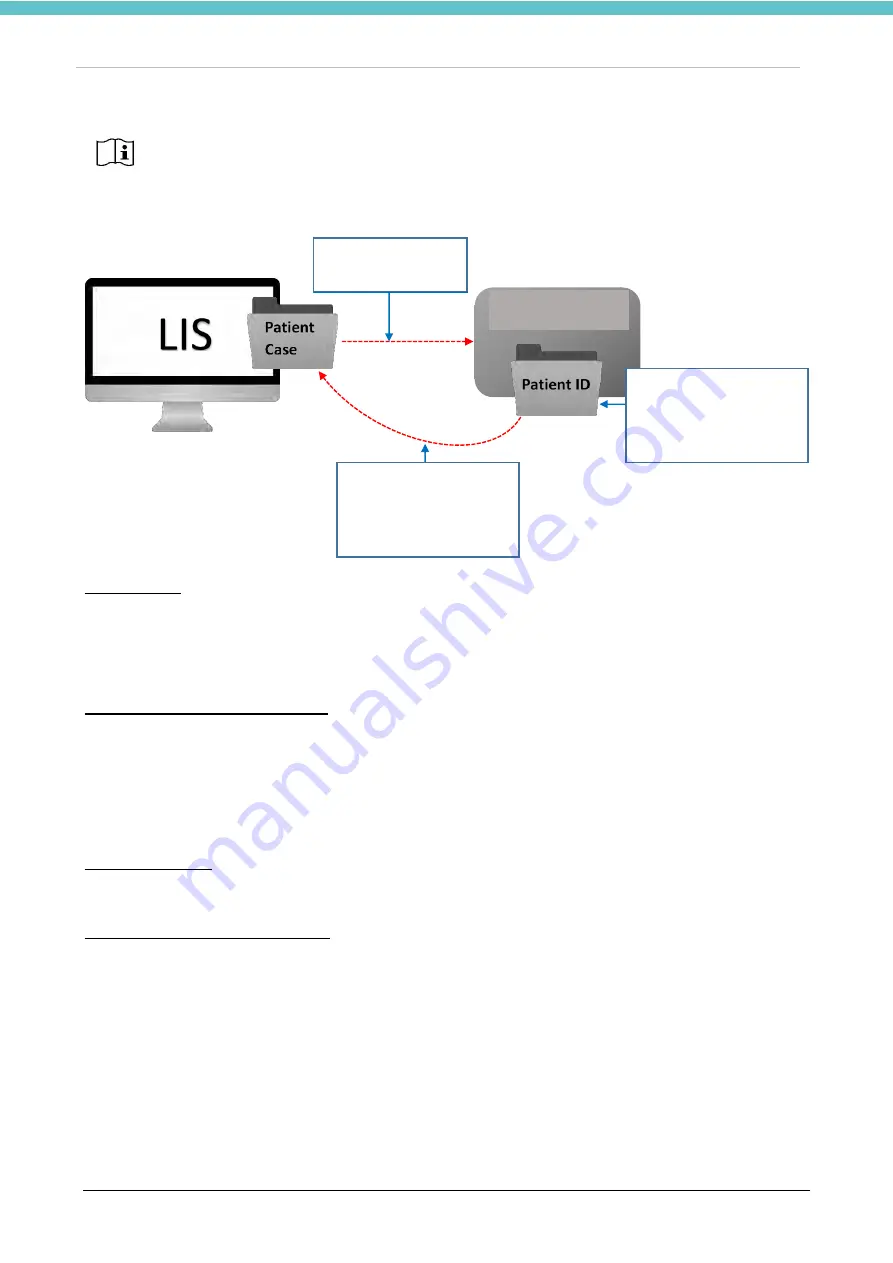
Flow and requirements for integration with command row:
Shared folder
For each patient, the software creates a specific folder identified with file name/number containing all of the
images, audio and video created with MacroView.
Additionally, the software also creates the XML file of the session in this folder, with a lot of information,
including: Patient ID, file opening and closing time.
How MacroView saves the images
For each specific case it is required to enter the case name/number, using the software’s interface, by
manually typing it with the keyboard or using the barcode reader. MacroView does not automatically
generate any identification code for the case, so to start the system the user is required to enter the
specimen identifier case name/number.
The MacroView system can also receive the case name/number directly from the LIMS system.
Image acquisition
Refer to chapter 3.6.
Where and how images are saved:
MacroView files are saved (by default) in the path/directory:
C:\Users\Public\Documents\Milestone srl\MacroView5\IMAGES
By default, this directory is created in the hard-disk C, but the archive can be saved wherever you wish. It is
strongly recommended to place the Images folder in a different position on the local network (refer to chapter
The example provided below shows how 5 images taken from file ABC are saved in the directory
(C:\Users\Public\Documents\Milestone srl\MacroView5\IMAGES)
Important note for Command row.
To import data into the LIS system there needs to be an additional application to manage
the patient folder based on customer requests.
This function is normally already enabled in the LIS configuration.
MacroView
Command row with
patient ID
Data are imported by
an additional
application in the LIS
system
The folder identified
with patient ID is
created in the saving
directory
Summary of Contents for 372700
Page 2: ......
Page 13: ...MacroVIEW MM179 001 Operator Manual 13 Click Next Click Next Click Install...
Page 96: ...MacroVIEW MM179 001 Operator Manual 96 Press enter Press Ctrl C...
Page 103: ......
Page 104: ......
Page 105: ......
Page 106: ......
Page 107: ......


