


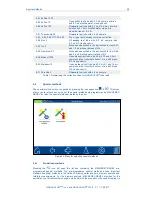


MN tests
19
NANOCOLOR
®
UV
/
VIS
II and
NANOCOLOR
®
VIS
II V 1.1 / 10.2017
5.2.1
Tube tests
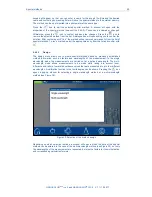
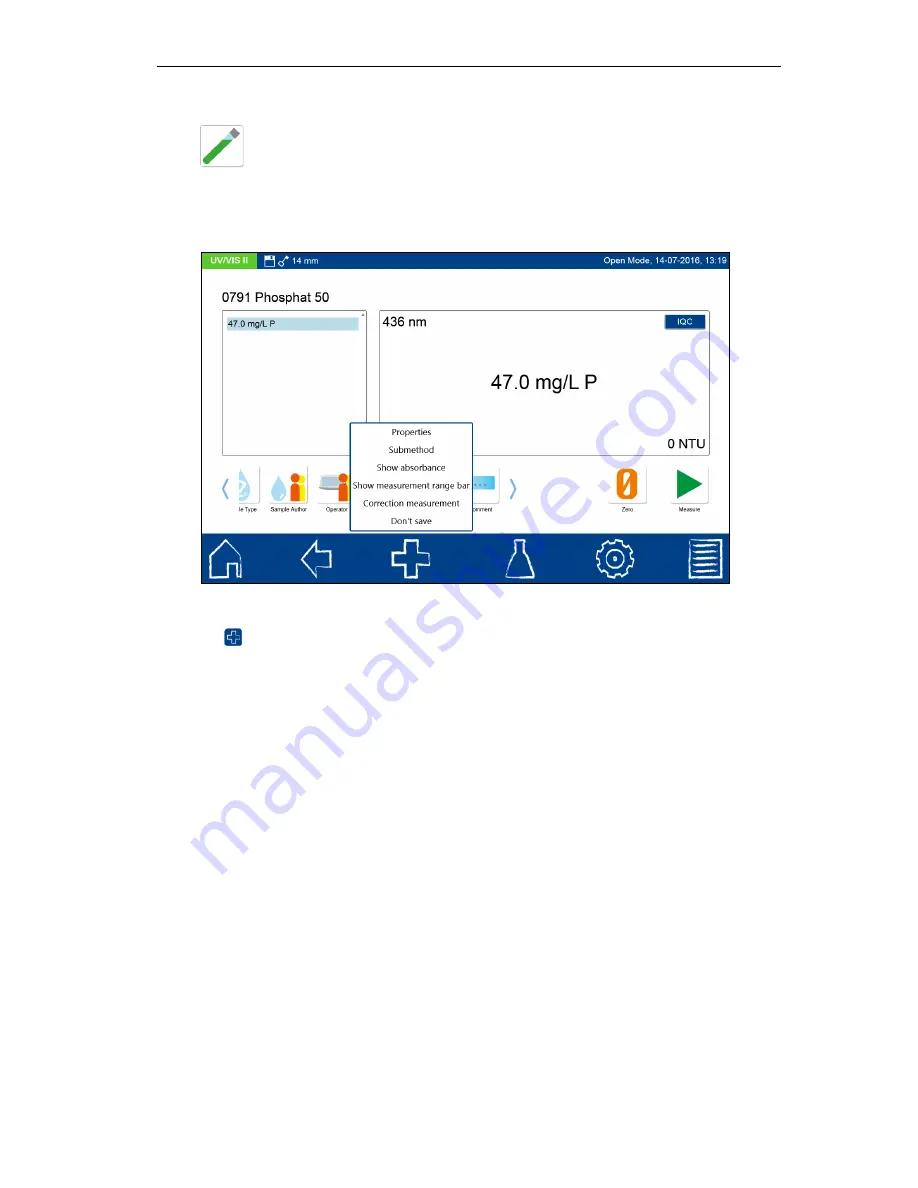
MACHEREY-NAGEL tube tests can be selected in different ways with the
spectrophotometer. All test tubes are labeled with a barcode. When the start
screen is active or the device is in measuring mode, the barcode of the inserted
test tube will be scanned automatically. The instrument detects the tube test and the
measuring process is initiated automatically (
Please note: tube tests which need to be
measured against a zero solution cannot be measured automatically using the barcode
).
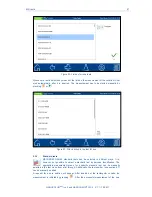
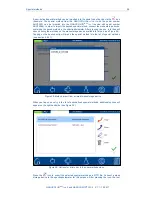
After the measurement has been completed, the measurement result will be displayed in the
result window (figure 20).
Figure 20: Result window of the cuvette measurement
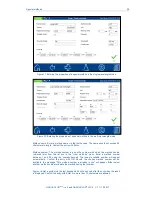
Via
and the icons below the result window, different sample information can be added.
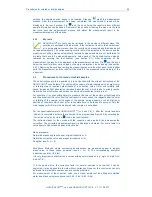
Via the “Properties” command, new sample information can be added below the
measurement menu. For this purpose, the desired icon in the opened dialogue must be held
down and then dragged into the blue flashing sample information bar with a wiping motion.
(Please note: If the icon is already present in the sample information bar, this option is not
available.
) To remove the icon from the sample information bar, the procedure is similar. This
time the icon must be removed from the blue flashing sample information bar with a wiping
motion after holding it down. The following sample information can be added to the sample:
Sample number: Sample numbers are assigned automatically and consecutively by
the instrument. By pressing the sample number icon, you can assign a sample
number manually. Thereafter, the instrument will count forward based on the
manually assigned sample number.
Date&Time: Enter the date and time of sampling here.
Sample type: Enter information, such as 24 hr composite sample or 2 hr random
sample here.
Sampler: The name of the sampler can be assigned to the sample here.
Comments: Additional information, such as appearance of the sample, turbidity or
other characteristics may be noted here.
Sampling location: Make a note of the sampling location here. Sampling locations
already recorded are available for selection after each measurement.
Dilution: The dilution of the sample can be entered here. Depending on the setting
in the Settings / Dilution Formula menu (see Section 6.1.13), the dilution is
displayed either as "1+X" or 1:X." The result of the measurement is converted
automatically.
User: A name can be entered here, for example, if a user has not been specified by
the user account adminstrator or if the user is not the user currently logged-in.
Summary of Contents for NANOCOLOR UV/VIS II
Page 1: ......