Patching Fixtures
Clarity
Operator Manual
Page 74
11.2
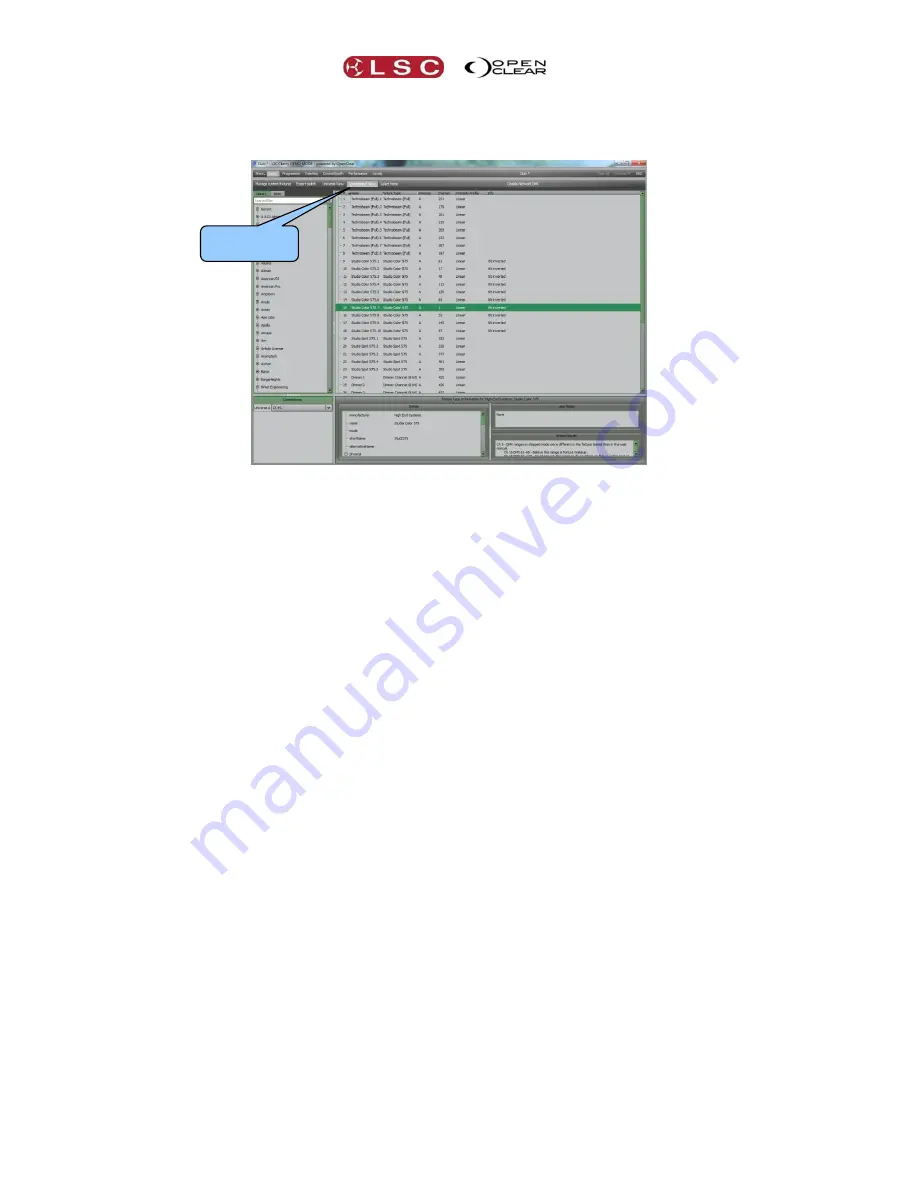
SPREADSHEET VIEW
Clicking on the
Spreadsheet View
button displays the patch information in a spreadsheet view.
The columns can be re-arranged by dagging a column name. The order in a column can be sorted
by clicking on the column’s name. Click again to reverse the order.
11.3
PATCHING FIXTURES
Fixtures and dimmers can be patched by using your mouse to drag and drop or by using the
keypad to enter your patching commands. Keypad patching is described below.
11.3.1
Drag and Drop Patching
To patch a fixture:
Click on the fixture manufacturers name in the
Library
side bar to reveal the available
fixture models.
Hints: To quickly jump to a manufacturer, click on any manufacturer then type in the
first letter of the required manufacturer's name or type their name in the search field.
Recently patched fixtures can also be found at the top of the Library.
Click on a fixture name then drag and drop it into the desired DMX slot on the “Universe
View” or double click
the fixture name to patch it to the next available slot.
11.3.2
Patching Dimmers
To Patch a dimmer, in the
Library
select
Generic
then
Dimmer
then double click or drag and
drop as described above.
11.3.3
Clarity Universes
You can patch fixtures to a new universe by dragging them and hovering over the
New
tab for
a second or so.
You can also click on the
New
tab to create a new universe. Clarity calls its internal universes
A, B, C etc. Later, in the connections pane, you connect Clarity’s universes to hardware
universes.
When you drop a fixture into the patch or double click a fixture, the
Add devices
dialog box
opens.
For example, if patching Mac250's…..
Spreadsheet
View


