Clarity
Palettes
Operator Manual
Page 121
There are 3 methods of time selection:
1.
Enter a time in the “Fade time” box (see below).
2.
Select one of the time shortcut buttons.
3.
Select a previously recorded Time Preset.
The entry in the “Fade time” box can type a simple fade time, a fade time range or a delay and
fade time (with optional range). Use / to specify a range, d to specify a delay time and f to specify
a fade time.
For example,
Fade Time Entry Result
5
5 second fade
1/5
1 sec to 5 sec fade time spread across the selected fixtures
d2f2
Delay of 2 seconds then a fade of 2 seconds
d1/5f5/1
Delay of 1 to 5 seconds spread across the selected fixtures then a fade of
5 to 1 sec spread across the selected fixtures
The current entry in the “Fade time” box can be added to the shortcuts by clicking
+
. To delete
a shortcut time, select it then press
-
.
Once a time is set or selected, the next Preset or Freeset that is activated will use the selection
in the Live Times dialog.
By default, the Live Time value will be automatically reset every time that it is used. To retain
the Live Time setting for continual use, un-tick the “Auto reset live time” checkbox.
By default, the dialog will close once a Preset or Freeset is triggered. You can keep it open by
ticking the “Keep open when undocked” checkbox. You can also keep it open by docking it on the
left or right edge of the palette window by dragging it to either side of the screen or by double
clicking on its header to maximise it.
20.12.6
Apply Palettes in the Programmer window
On the Programmer tab, only “Favourites” palettes are available. To place palettes in the
favourites tab, in either Palettes screen, right click on the palette and select “Favourite”. Then,
in the Programmer window, select the
Favourites
tab then click on the presets or freesets to
apply them to the selected fixtures.
20.12.7
Masking
When you record a preset, Clarity automatically places it in the appropriate categories in the
Palettes window according to the P (Position), C (Colour) and B (Beam) attributes that it
contains. Intensity does not have a separate pane and is included in the Position pane.
If a preset contains two categories (say C, B), it appears in both the Colour and Beam panes
and if it contains all 3 categories (PCB) it will be in all 3 panes.
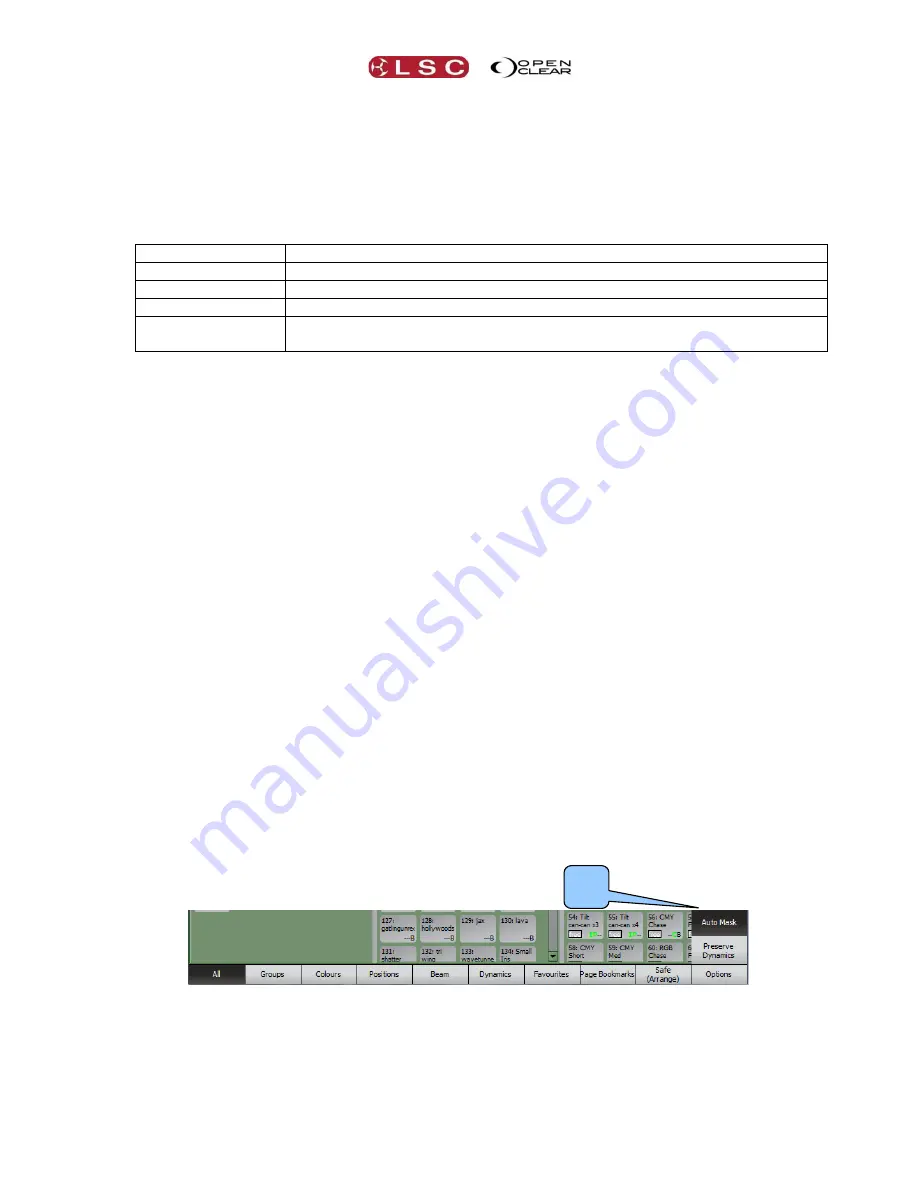
When
Auto Mask
is ON, (under
Options
on the encoder touch screens Palettes mode)
activating a Preset from a Position, Beam or Colour pane, only applies the preset to that pane’s
type of attribute.
Encoder touch screen Palettes mode, Auto Mask.
Auto
Mask


