30
Installation
3
Ins
talla
tion
7. Click [OK] to restart the DVR.
NOTE
• Do not turn the power off during the update process to
prevent the malfunction.
• Do not remove the external device for update while the
update is in progress. It may cause a malfunction.
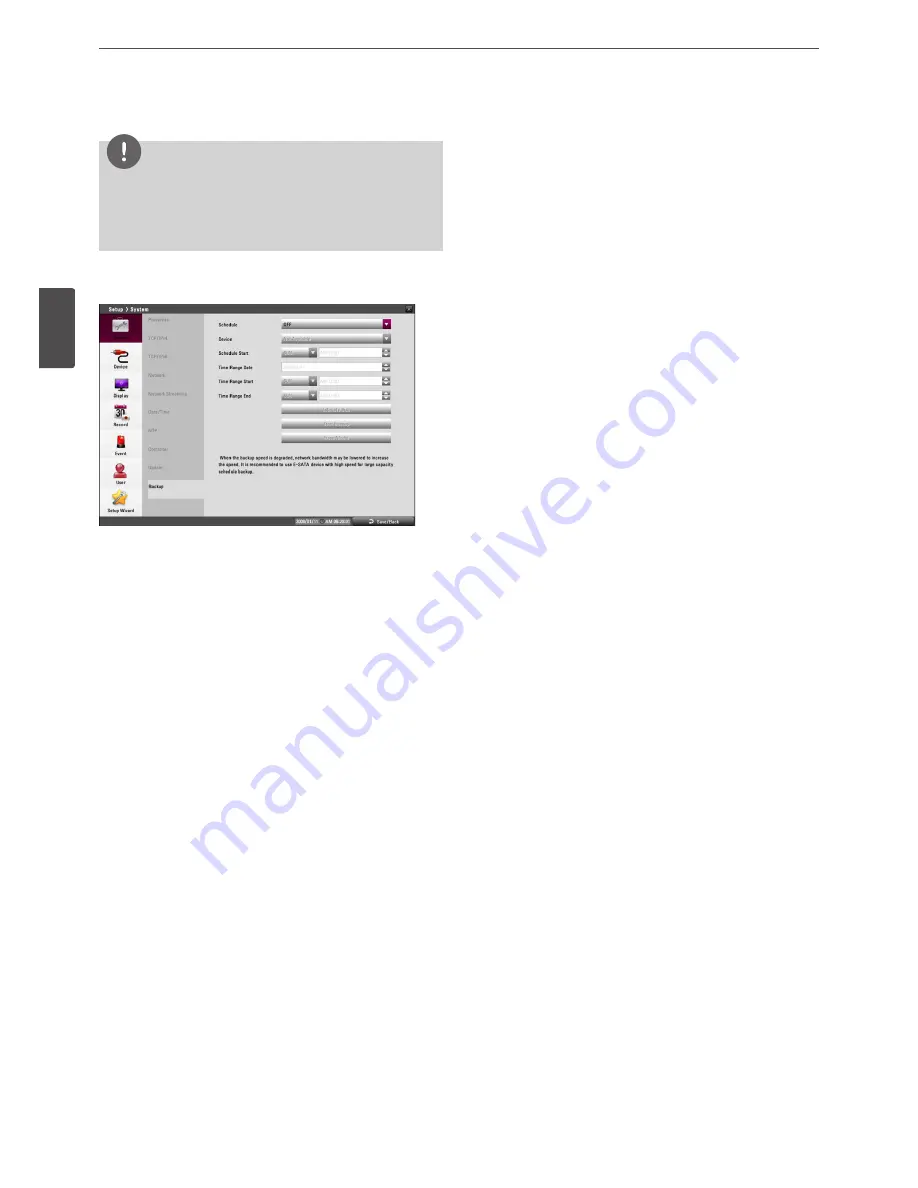
Backup
• Schedule: You can set the backup schedule.
-
OFF: All options are disabled.
-
WEEKLY or DAILY: The backup data will be automatically
saved according to the setting.
-
INSTANT: The backup data is saved manually.
• Device: Select a backup device.
• Schedule Start: Set the schedule start date (A day of the week
and time).
• Time Range Date: Enter the backup time range. Enter the date
you want to backup.
• Time Range Start: Enter the start day of the week or time.
• Time Range End: Enter the end day of the week or time.
• Estimate Size: Displays the size of backup data and the free
space of external devices.
• Start Backup: To start backup.
• Erase Media: To erase the media.
Instant Backup
1. Connect the backup USB device or insert a recordable disk to
the disc driver for backup.
2. Select the partition you want to backup.
3. Select INSTANT from the schedule options.
4. Select the backup device.
5. Select the Time Range Date, Time Range Start time, and Time
Range End time for backup.
6. Select the [Estimate Size] icon and press OK.
7. Check the size of the selected data and free space. If the device
does not have enough space, create space on the device or
erase the previously stored data.
8. Select the [Start Backup] icon and press OK to start backup.
9. Exit the setup menu. You can check the backup status on the
system control bar in backup progress.
Daily/Weekly backup
1. Connect the USB device for backup.
2. Select WEEKLY or DAILY on the schedule options.
3. Select the backup device.
4. Enter the date and/or time to start backup on the schedule start
option.
5. Enter the day of week and/or time on the Time Range Start
option.
6. Enter the day of week and/or time on the Time Range End
option.
7. Select the [Estimation Size] icon and press OK.
8. Check the size of selected data and free space of USB device. If
the USB device does not have enough space, change the USB
device to a USB which has enough space or erase data of the
connected USB device.
Summary of Contents for LRD5080 Series
Page 90: ...AB28 ...


