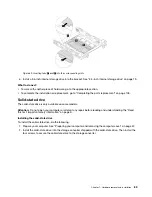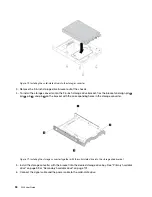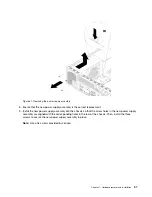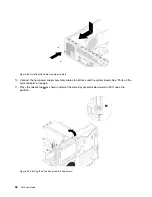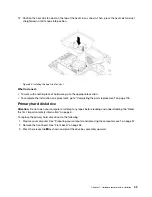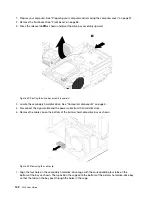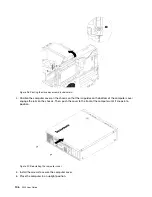
Figure 91. Positioning the cage onto the bottom of the primary hard-disk-drive bay
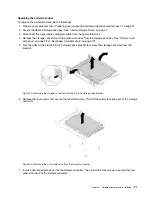
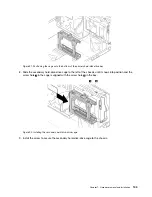
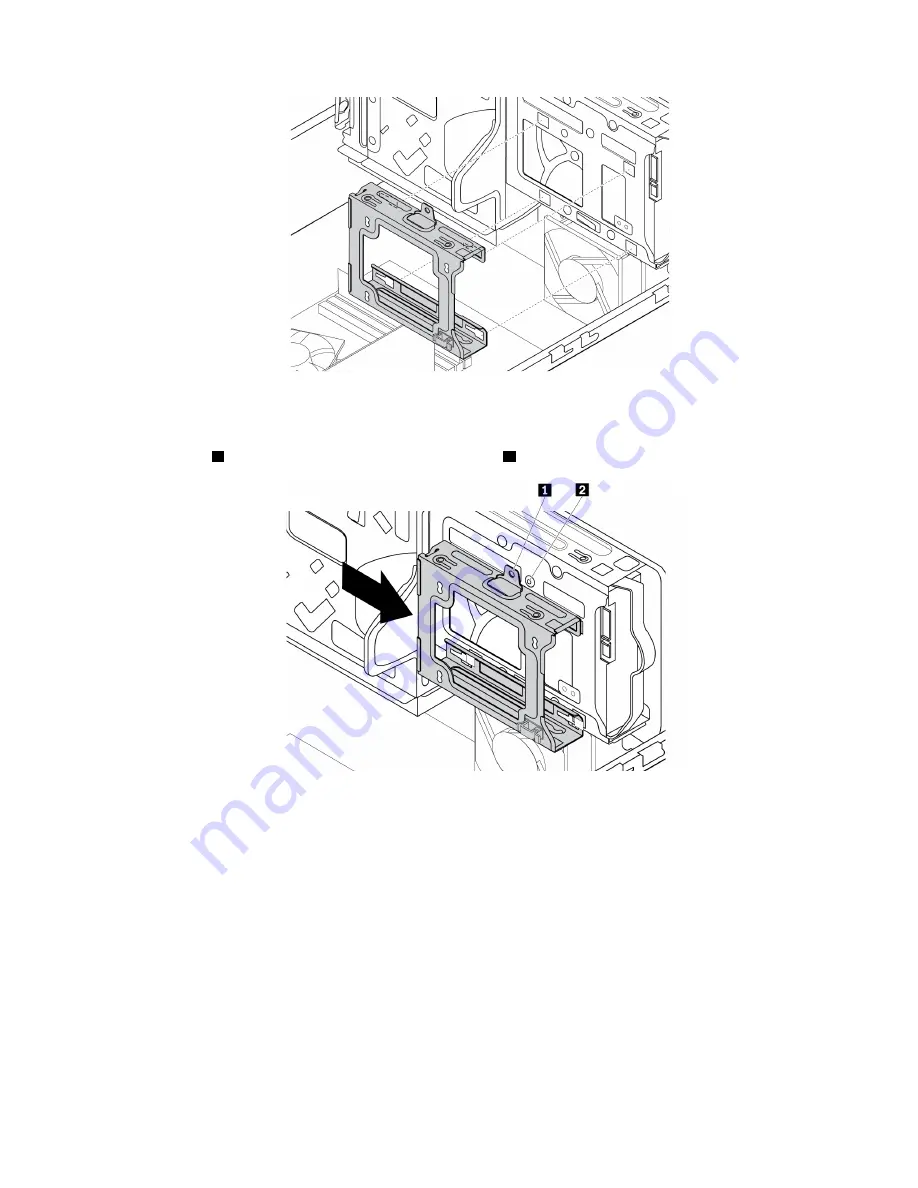
8. Slide the secondary hard-disk-drive cage to the left of the chassis until it snaps into position and the
screw hole
1
in the cage is aligned with the screw hole
2
in the bay.
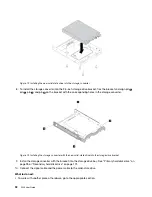
Figure 92. Installing the secondary hard-disk-drive cage
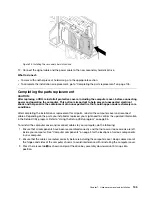
9. Install the screw to secure the secondary hard-disk-drive cage to the chassis.
Hardware removal and installation
103
Summary of Contents for 30BG
Page 1: ...P320 User Guide Machine Types 30BJ 30BK and 30BS ...
Page 12: ...x P320 User Guide ...
Page 28: ...16 P320 User Guide ...
Page 40: ...28 P320 User Guide ...
Page 46: ...34 P320 User Guide ...
Page 56: ...44 P320 User Guide ...
Page 120: ...108 P320 User Guide ...
Page 124: ...112 P320 User Guide ...
Page 126: ...114 P320 User Guide ...
Page 128: ...116 P320 User Guide ...
Page 136: ...124 P320 User Guide ...
Page 140: ...4 Follow the instructions on the screen 128 P320 User Guide ...
Page 142: ...130 P320 User Guide ...
Page 144: ...132 P320 User Guide ...
Page 145: ......
Page 146: ......

