1. Prepare your computer. See “Preparing your computer and removing the computer cover” on page 57.
2. Remove the front bezel. See “Front bezel” on page 58.
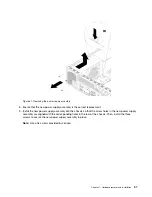
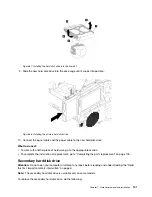
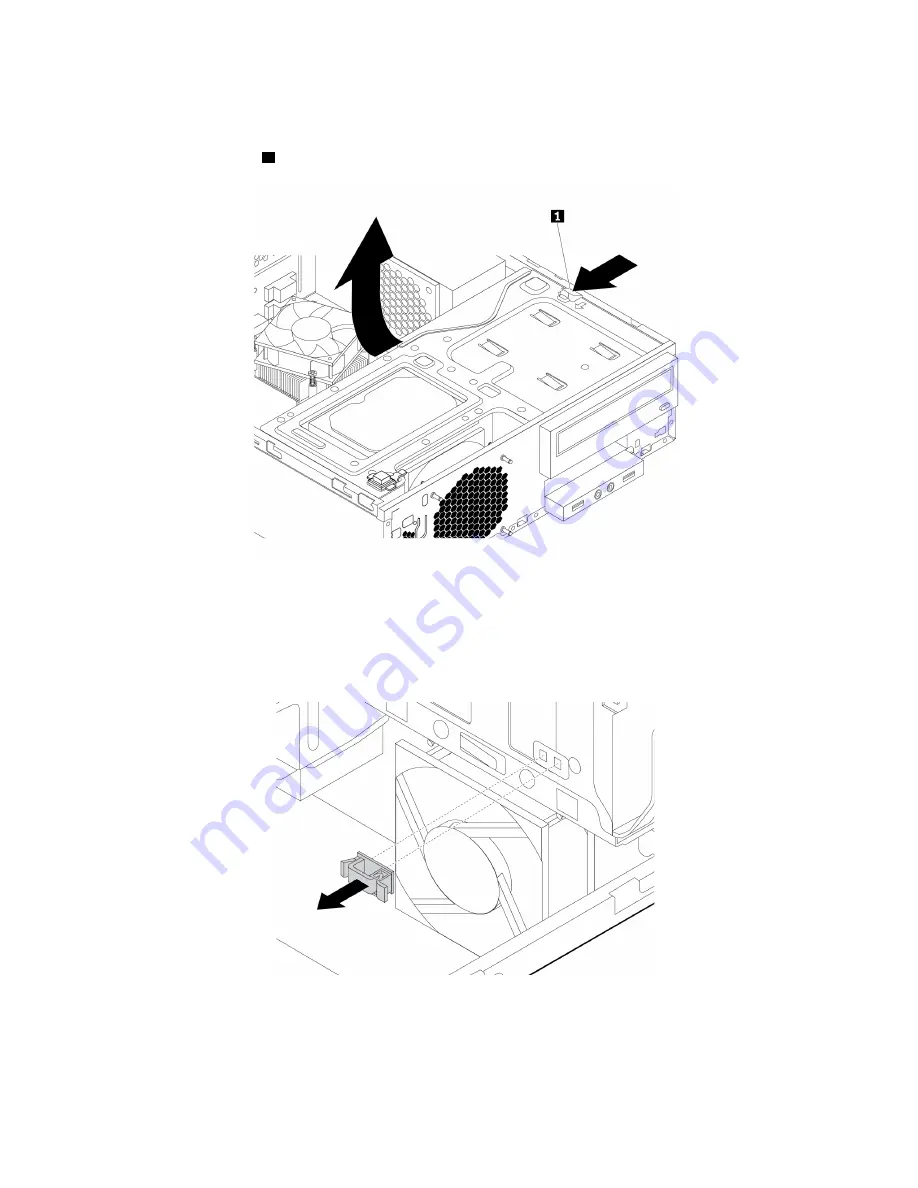
3. Press the release tab
1
as shown and pivot the drive bay assembly upward.
Figure 89. Pivoting the drive bay assembly upward
4. Locate the secondary hard disk drive. See “Computer components” on page 5.
5. Disconnect the signal cable and the power cable from the hard disk drive.
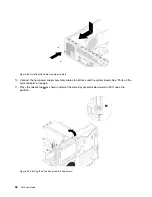
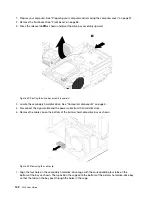
6. Remove the cable clip on the bottom of the primary hard-disk-drive bay as shown.
Figure 90. Removing the cable clip
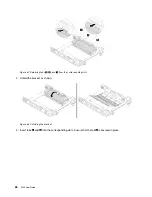
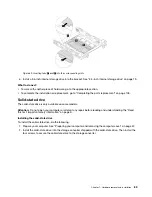
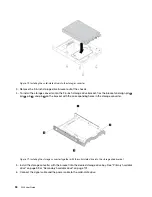
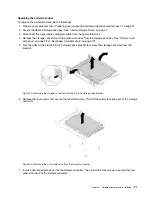
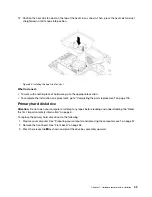
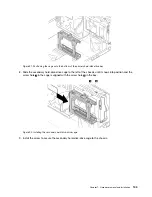
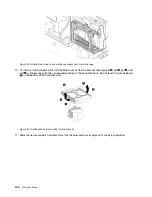
7. Align the four holes in the secondary hard-disk-drive cage with the corresponding four tabs on the
bottom of the bay as shown. Then, position the cage onto the bottom of the primary hard-disk-drive bay
so that the tabs on the bay pass through the holes in the cage.
102
P320 User Guide
Summary of Contents for 30BG
Page 1: ...P320 User Guide Machine Types 30BJ 30BK and 30BS ...
Page 12: ...x P320 User Guide ...
Page 28: ...16 P320 User Guide ...
Page 40: ...28 P320 User Guide ...
Page 46: ...34 P320 User Guide ...
Page 56: ...44 P320 User Guide ...
Page 120: ...108 P320 User Guide ...
Page 124: ...112 P320 User Guide ...
Page 126: ...114 P320 User Guide ...
Page 128: ...116 P320 User Guide ...
Page 136: ...124 P320 User Guide ...
Page 140: ...4 Follow the instructions on the screen 128 P320 User Guide ...
Page 142: ...130 P320 User Guide ...
Page 144: ...132 P320 User Guide ...
Page 145: ......
Page 146: ......

