8. GettinG started
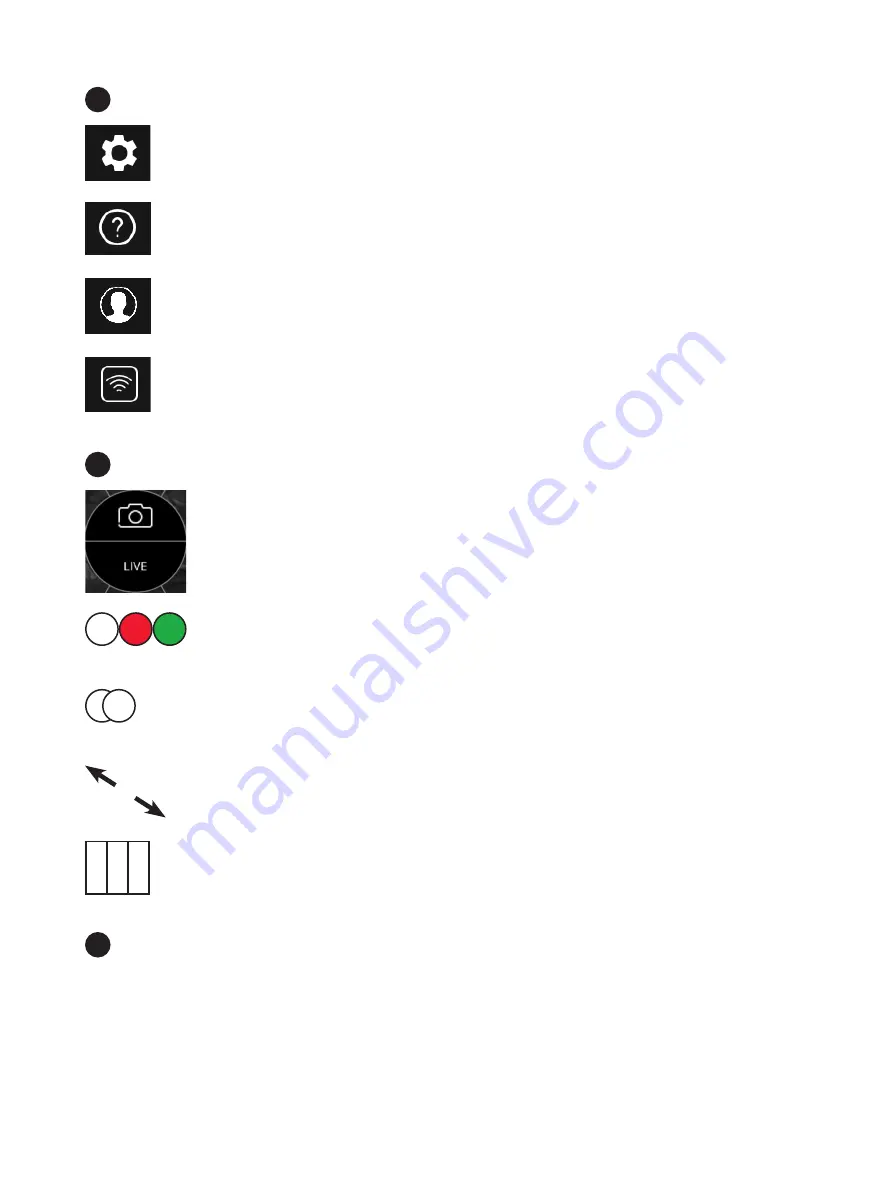
Set-up: field of view, help, user management, sign-in
Field of view: you can switch between a large FOV and a higher resolution image of
your specimen. If more than one PAULA is attached: Define display of the images
Help tutorial with the most important steps
User management, further configurations, and available optional apps (-> 9.1)
Check connectivity status and log out
Radial control: to control imaging parameters
Switch between live/still image
image acquisition
Switch between channels (Phase contrast, red and green fluorescence). For each
channel a slider is displayed which allows to define the intensity.
Overlay: define the channels you want to overlay and acquire an image. The result of
the overlay can be checked in the image gallery
Full screen display
Acquisition of up to 10 images to perform confluence check. Acquire the images you
want and switch then to confluence control panel.
Workflow bar:
Define your specimen (= flask)
Activate a t-lapse
Start confluence check
Other optional apps for cell based assays if available
3
4
5
24


