8. GettinG started
Note:
For initial set-up of the system it is recommended to place the Digital Imager on a laboratory bench.
If you want to place the imager inside an incubator please check in advance that you incubator features a
cable port in the rear side of the housing. Guide the cables through that opening. Follow the instructions of
your incubator supplier for more details. If no opening is available please guide the cables between the door
and the frame of the incubator.
WARNING
It is not allowed to place the NUC PC inside an incubator.
Make sure that the cables are not damaged during this installation.
8.4 Connectivity set-up
Place the Digital Imager on a laboratory bench
Connect the USB3 cable from the Digital Imager with the appropriate interface at the rear side of the NUC
PC (any socket)
Connect the power supply of the Digital Imager to the mains
Plug-in the power supply cord at the rear side of the NUC PC and connect the power supply to the mains
Switch on NUC PC using the on/off switch at the front
The status LED on the front side of the PAULA device gets green
The device can be controlled either by touch monitor, iPAD, Android tablet, or Windows tablet.
Note:
For initial set-up of the system and for upgrades/ updates a touch monitor (alternatively a monitor, keyboard
and mouse) must be attached.
The NUC PC can either be connected to a network socket via a LAN cable (recommended) or using its inte-
grated wireless capabilities to a WiFi network.
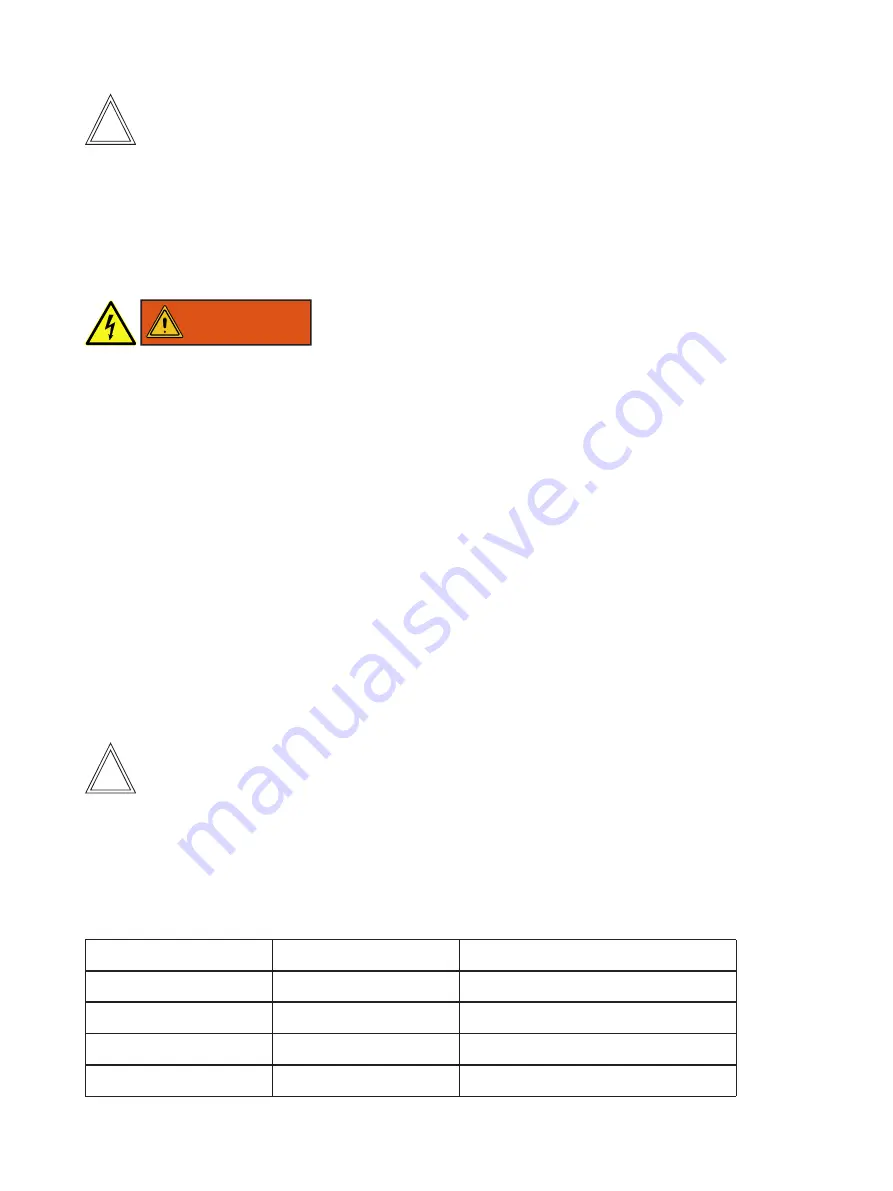
Overview connectivity:
Control device
LAN needed
Notification service via e-mail
Touch monitor
–
–
iPAD
•
•
Android
•
•
Windows tablet
•
•
19


