Group 7
Data entry/Programming
Page 123
JET2 neo
Release R1.12 en
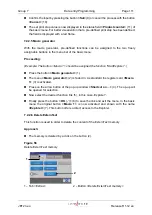
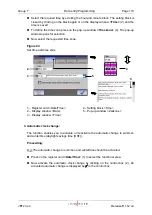
Proceeding:
Press on the register card
< Interfaces>
(1) to select the functional area.
Press on the arrow button of the pop-up window
<Encoder settings>
(2). The pop-up
window opens for selection.
Now select the required interface.
If required activate now the bounce time delay by clicking on the control box (3). An
activated delay is displayed by a
in the control box.
Pos. Interface
Description
1.
RS422
5V / 4 Signals (A, Ā, B, B)
2.
TTL
5V TTL / 2 Signals (A, B)
3.
HTL
24V / 2 Signals (A, B)
7.2.3.1.5 IP-Address
With the register card
<IP-Address>
you can carry out the addressing of the device.
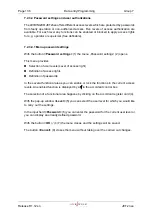
If the LEIBINGER JET2neo will be integrated in a network which is based on an internet
protocol, an IP-address has to be assigned to the device.
As standard the IP-address is preallocated by the company Leibinger and can be adjusted
to the customer demands.
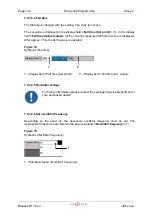
Proceeding:
Press on the register card
<IP-Address>
(1) to select the functional area.
Click in the setting field which should be changed on the requested address block (5).
A number block (6) opens for input in which you can enter the required value.
You will find further information regarding working with number blocks
in the
chapter
Number block
(page 61)!
Now carry out the settings for every further address block accordingly.
Summary of Contents for JET2 neo
Page 1: ...Manual LEIBINGER JET2NEO Release 1 12en ...
Page 2: ......
Page 11: ...Group 1 Table of contents Page 9 JET2 neo Release R1 12 en ...
Page 12: ......
Page 21: ...Group 2 Safety Page 19 JET2 neo Release R1 12 en 2 4 Safety sticker Figure 1 Safety sticker ...
Page 276: ...Page 274 Appendix Group 12 Release R1 12 en JET2 neo Interface X4 Inputs Interface X3 Outputs ...

