14. STATUS DISPLAY
167
14.4.6
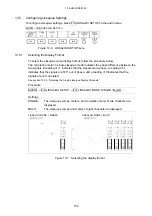
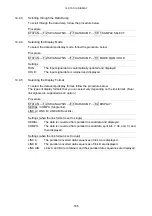
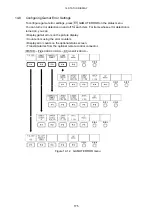
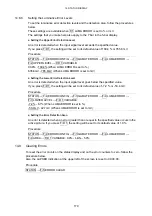
Selecting the Display Start Position
To select the data dump display start position, follow the procedure below.
Procedure
STATUS
→
F•2 SDI ANALYSIS
→
F•1 DATA DUMP
→
F•3 JUMP: EAV / SAV
JUMP = EAV
JUMP = SAV
Figure 14-7 Selecting the display start position
14.4.7
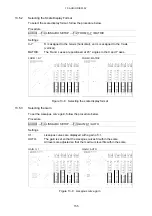
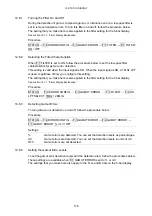
Saving Data Dumps
To save the data of the selected line in text format to USB memory, follow the procedure
below. You can view the saved data dump on a PC.
This setting appears when USB memory is connected.
In simultaneous input mode or 3D assist mode (L/R DUAL) (option), the data for all
displayed channels is saved.
Regardless of the display and F•D 1 SAMPLE SELECT settings, the data is saved starting
with the EAV sample.
The file name is automatically set to the date and time and the channel name. The date
and time are set using the system settings according to the procedure in section 5.6,
“Setting the Date and Time.”
Example: 20080425150500_A.txt (the order is: year, month, day, hour, minute, second,
channel)
The file structure in the USB memory is shown below (channel A is being saved in this
example).
USB memory
└
LV5381_USER
└
DAT
└
yyyymmddhhmmss_A.txt
Procedure
STATUS
→
F•2 SDI ANALYSIS
→
F•1 DATA DUMP
→
F•4 USB MEM STORE

