10. 3D ASSIST DISPLAY (Option)
103
10.7.2
Disparity Measurement Procedure
To measure disparity, follow the procedure below. Before you begin this procedure, set F•3
MEASURE SELECT to DISPRTY on the 3D FUNCTION menu.
1. Press F•4 DISPRTY SETUP and then F•1 SETUP.
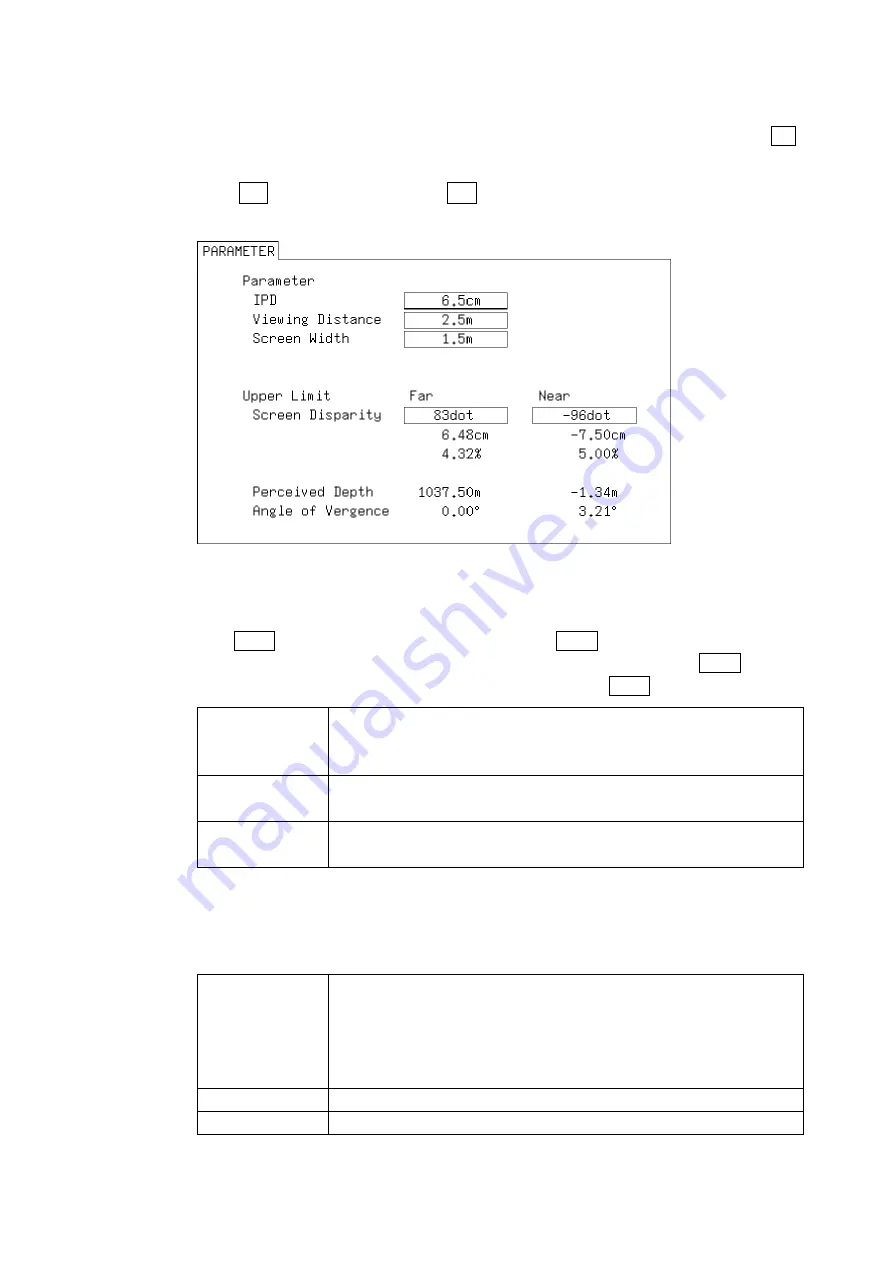
The PARAMETER display appears.
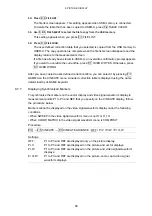
Figure 10-10 PARAMETER display
2. Under Parameter, enter the assumed viewing environment.
Turn F•D 1 SELECT to move the cursor, and press F•D 1 to select the parameter that
you want to specify. The cursor color changes from cyan to yellow. Turn F•D 1 to set
the value. When you have finished setting the value, press F•D 1 again.
IPD
Enter the interpupillary distance. For adults, this is approximately 6.5 cm. For
children, this is approximately 5.0 cm.
(Setting range: 2.0 to 20.0 cm. The default setting is 6.5 cm.)
Viewing Distance
Enter the distance from the screen to the viewer.
(Setting range: 0.1 to 99.9 m. The default setting is 2.5 m.)
Screen Width
Enter the screen width.
(Setting range: 0.1 to 250.0 m. The default setting is 1.5 m.)
3. Under Upper Limit, enter the upper limits for the measured values.
If at least one measured value exceeds its limit that you enter here, “NG” is displayed
on the disparity measurement display.
Screen Disparity
Screen Disparity: Enter the upper limit for the screen disparity. When you
specify the value in units of dots, the cm, %, Perceived Depth, and Angle of
Vergence values are set automatically. Enter a negative value under Near.
(Setting range: ±1920 dots. The default Far setting is 83 dots. The default
Near setting is -96 dots.)
Perceived Depth
This displays the near and far limits as distances from the screen.
Angle of Vergence
This displays the angle of vergence limit.

