Lantronix
SM12XPA Web User Guide
33848 Rev. A
Page
241
of
473
SNMPv3
Communities
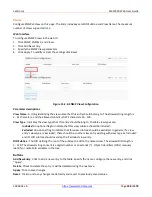
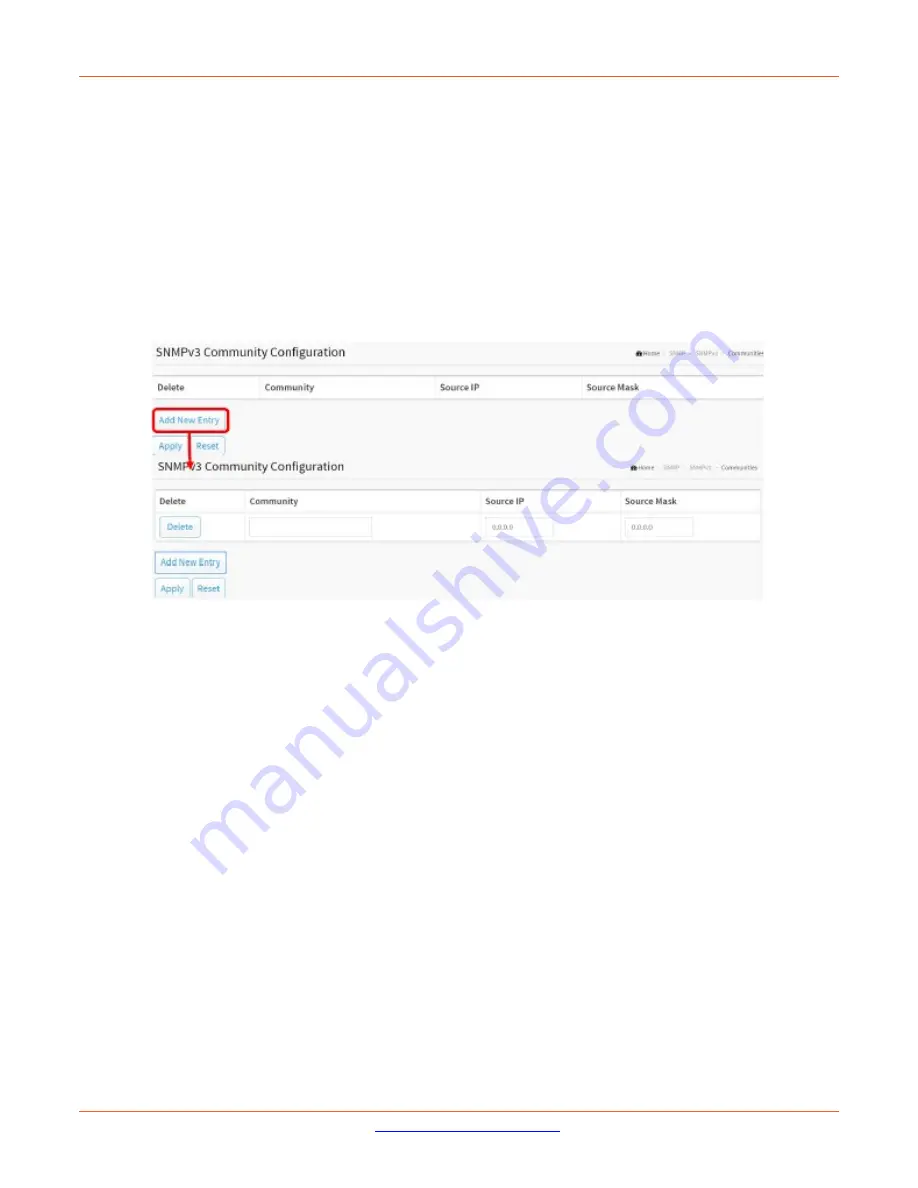
Configure SNMPv3 community configuration table on this page. The entry index key is Community.
To configure SNMP Communities in the web UI:
1.
Click SNMP, SNMPv3, and Communities.
2.
Click Add New Entry.
3.
Specify the SNMP community parameters.
4.
Click Apply.
5.
To modify or clear the settings click Reset.
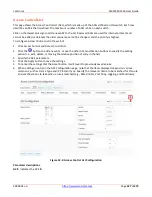
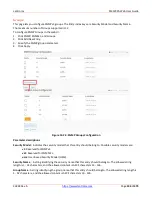
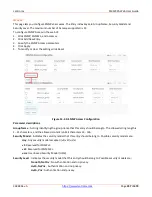
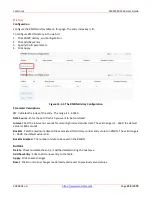
Figure 13-2.1: SNMPv3 Communities Configuration
Parameter descriptions
:
Community
: Enter the security name to map the community to the SNMP Groups configuration.
The allowed string length is 1 to 32 characters, and the allowed content is ASCII characters 33 - 126.
Source IP
: Enter the SNMP access source address. A particular range of source addresses can be used to restrict
source subnet when combined with a Source Mask.
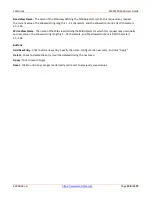
Source Mask
: Enter the IP source mask.
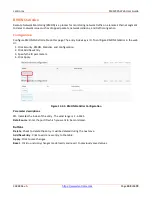
Buttons
Add New Entry
: Click to add a new entry to the table. Specify the name, configure the new entry and click
"Apply".
Delete
: Check to delete the entry. It will be deleted during the next save.
Apply
: Click to save changes.
Reset
: Click to undo any changes made locally and revert to previously saved values.

