


7-28
Using the Operation Panel
MP Tray Type (Setting the MP tray paper type)
You can use this to set the paper type that can be supplied from the MP
tray. The default setting is
PLAIN
.
For more information about paper types that you can feed from the MP
tray, refer to
Paper Specifications
on page
2-2
.
1
Press
Z
while
Paper Settings >
is displayed.
2
Press
U
or
V
repeatedly until
>MP Tray Type
appears.
3
Press
[OK]
. A blinking question mark (
?
) appears.
4
Press
U
or
V
to display the desired paper type. The message
display toggles through the following paper types:
PLAIN
TRANSPARENCY
PREPRINTED
LABELS
BOND
RECYCLED
VELLUM
ROUGH
LETTERHEAD
COLOR
PREPUNCHED
ENVELOPE
CARDSTOCK
THICK
HIGH QUALITY
CUSTOM 1
(to
8
)
5
Press
[OK]
.
6
Press
[MENU]
. The display returns to
Ready
.
Note
You can define any paper type and store that definition
in the printer. For more information, refer to
Type Adjust
(Creating custom paper type)
on page
7-33
.
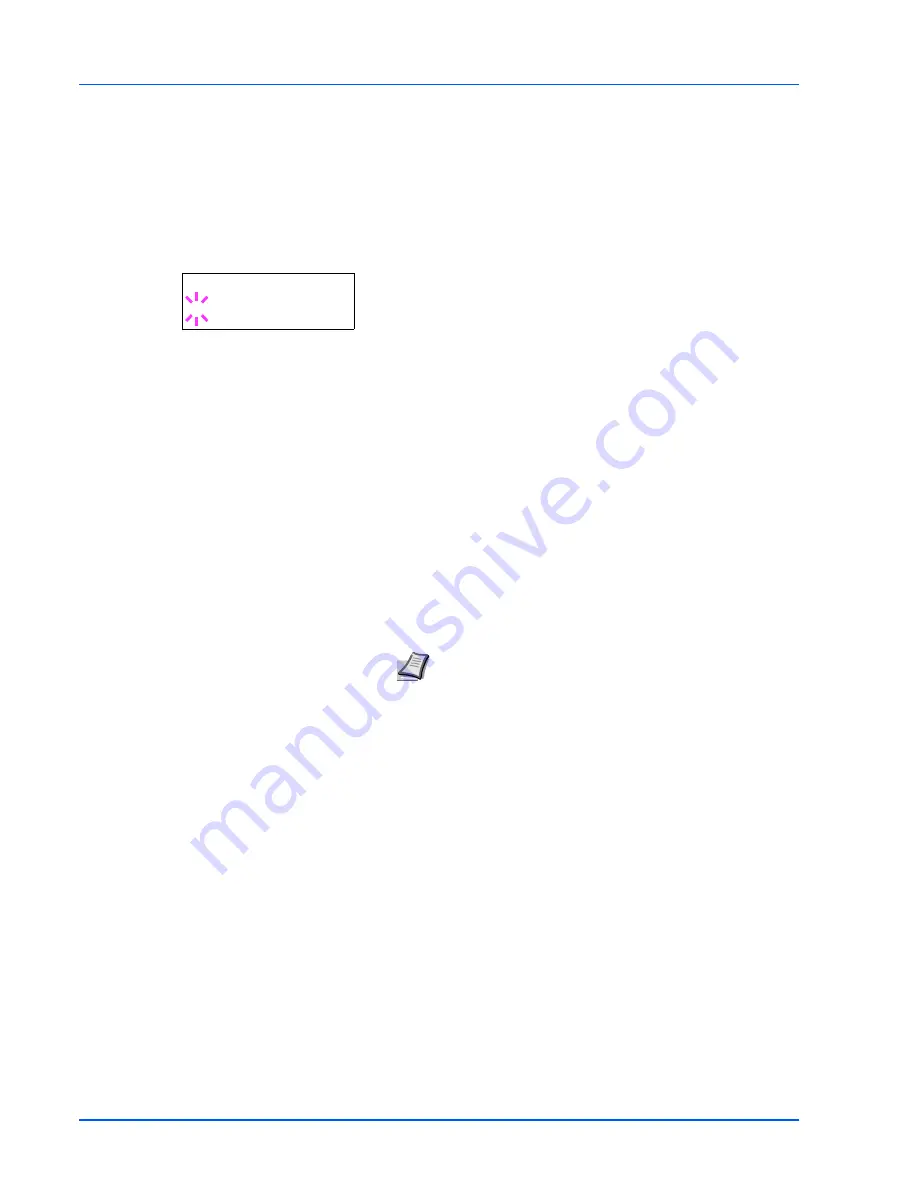
>MP Tray Type
? PLAIN
Summary of Contents for ECOSYS FS-2020D
Page 1: ...OPERATION GUIDE FS 1100 FS 1300D FS 2020D FS 3920DN FS 4020DN FS 6970DN ...
Page 26: ...Introduction xxiv ...
Page 112: ...7 12 Using the Operation Panel Menu Map Sample Menu Map Printer Firmware version ...
Page 186: ...7 86 Using the Operation Panel ...
Page 196: ...8 10 Options ...
Page 208: ...11 4 ...
Page 214: ...Index 6 ...
Page 215: ... Memo ...
Page 216: ... Memo ...
Page 218: ......
Page 219: ...452 9 ...


