


Interface
1-75
6
Press the
ENTER
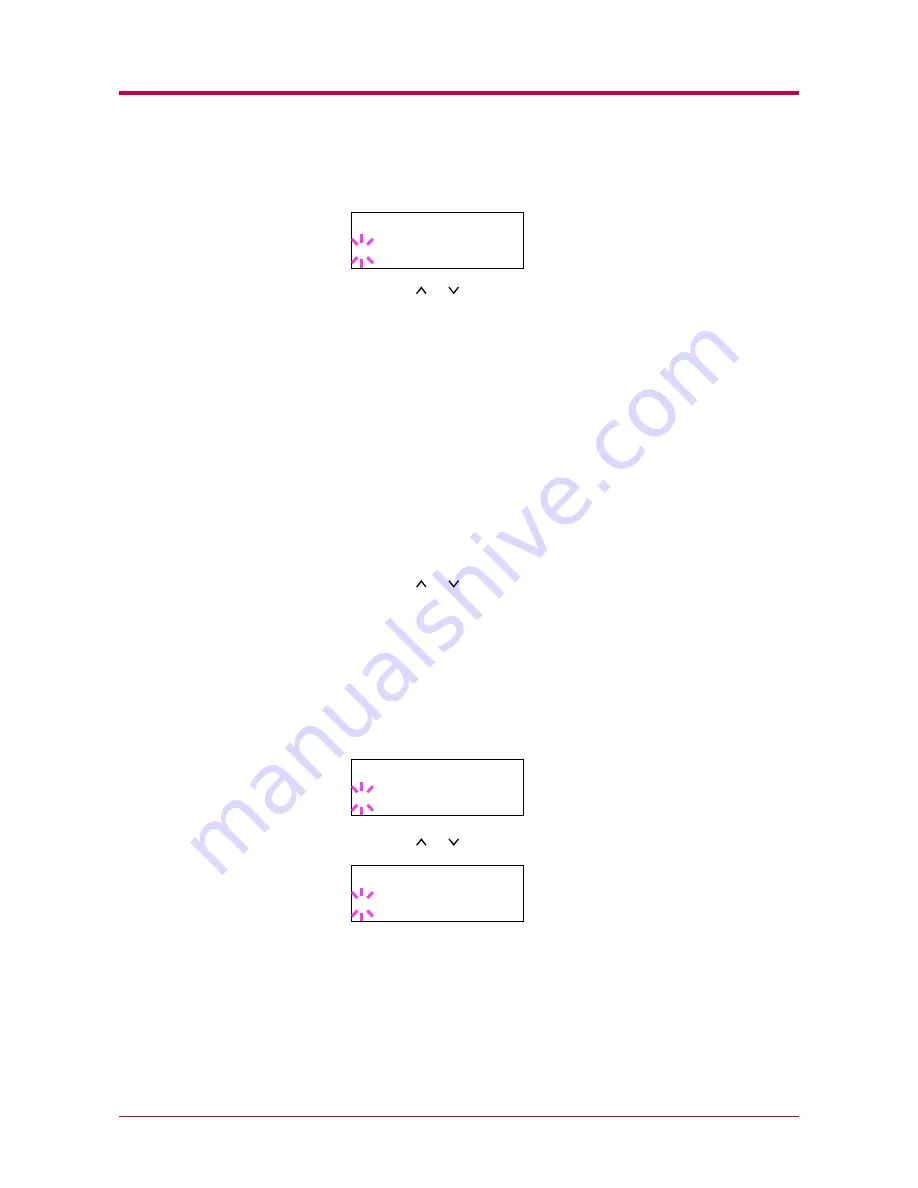
key. A blinking question mark (
?
) appears.
7
Press the or key to display the desired mode. The display
changes as shown below. Press the
ENTER
key.
AUTO
(default)
Normal
High Speed
Nibble (high)
8
Press the
MENU
key. The message display returns to
Ready
.
USB Interface Mode
About USB interface, for details, see
Appendix C
.
1
Press the
MENU
key.
2
Press the or key until
Interface >
appears. One of the
interface names shown below appears, indicating the current
interface.
Parallel
(default)
USB
Serial
(when a serial interface board kit is installed)
Option
(when a network interface card is installed)
3
Press the
ENTER
key. A blinking question mark (
?
) appears.
4
Press the or key until
USB
appears.
5
Press the
ENTER
key.
6
Press the
MENU
key. The message display returns to
Ready
.
>Parallel I/F
? AUTO
Interface
? Parallel
Interface
? USB
Summary of Contents for 1900N - B/W Laser Printer
Page 1: ...FS 1900 Page Printer Operation Guide Table of Contents...
Page 27: ...Printing Test Pages 1 13 MENU MAP FS 1900 Page Printer Sample MENU MAP...
Page 36: ...Printing Test Pages 1 22 Font Lists...
Page 168: ...A 4 Font number Font samples 68 69 70 71 72 73 74 75 76 77 78 79 80...
Page 169: ...A 5 KPDL Fonts 1...
Page 170: ...A 6 KPDL Fonts 2...
Page 214: ...D 1 Appendix D Specifications D...
Page 217: ...Glossary 1 Glossary D...
Page 220: ...Index 1 Index...
Page 223: ...2002 2EC...
Page 224: ...Printer Driver Guide Printer Driver Guide FS 1800 for FS 1900...
Page 286: ...2002 2EC...


