Introduction
232
Introduction
Note
Use of accessories not manufactured or supported by
KONICA MINOLTA will void your warranty.
"
This chapter provides information about the following accessories.
Note
Installing accessories always requires that the printer and accessories
are turned off and unplugged during installation.
Antistatic Protection
Note
It’s very important to protect the printer controller board from
electrostatic damage while performing any task involving the controller
board.
Turn off all power switches first. If an antistatic wrist strap is provided in
your printer option kit, attach one end of it to your wrist and the other
end to the bare metal chassis on the back of your printer. Never attach
the wrist strap to any piece of equipment with an electrical current
present. Plastic, rubber, wood, painted metal surfaces, and telephones
are not acceptable grounding points.
If you don’t have an antistatic wrist strap, discharge your body’s static
electric charge by touching a grounded surface before you handle any
printer boards or components. Also avoid walking around after
grounding yourself.
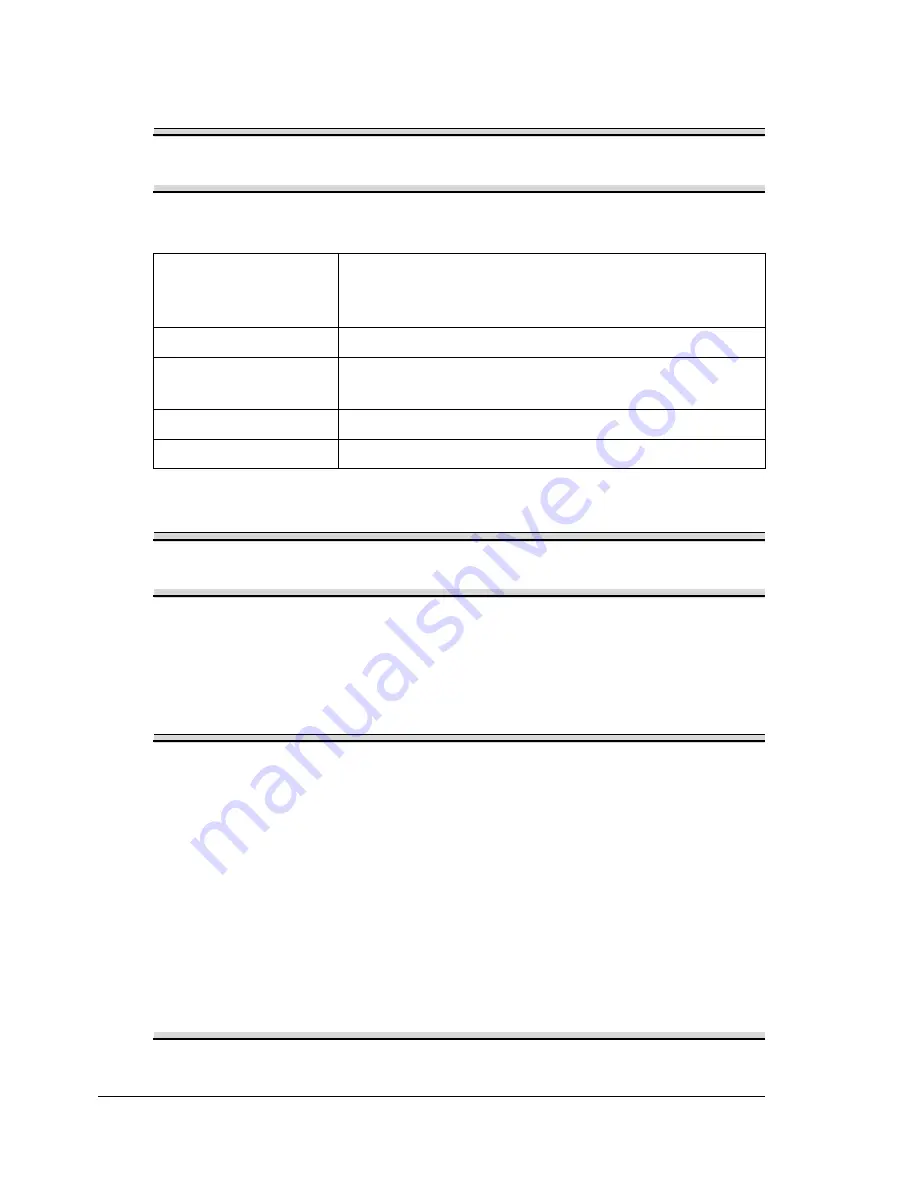
Dual In-Line
Memory Module
(DIMM)
256 MB, 512 MB DIMM
(DDR-SDRAM, 266 MHz, 184 pins, No ECC, Unbuf-
fered, CL=2 or 2.5)
Duplex Option
Auto duplexing
Lower Feeder Unit
(Tray 3/4)
500-sheet tray included
Hard Disk Kit
40 GB Hard Disk
CompactFlash card
512 MB, 1 GB, 4 GB
Summary of Contents for bizhub C31P
Page 1: ...bizhub C31P User s Guide A0EA 9564 00A...
Page 8: ......
Page 14: ...Contents vi...
Page 15: ...Introduction...
Page 20: ...Getting Acquainted with Your Printer 6...
Page 21: ...About the Software...
Page 36: ...Using the Postscript and PCL Printer Driver 22...
Page 37: ...Using the Status Monitor Windows Only...
Page 40: ...Closing the Status Monitor 26...
Page 41: ...Printer Control Panel and Configuration Menu...
Page 113: ...Camera Direct...
Page 115: ...Memory Direct...
Page 117: ...Using Media...
Page 151: ...Replacing Consumables...
Page 182: ...Replacing Consumables 168 6 Install the stapling unit 7 Close the stapler cover...
Page 183: ...Maintaining the Printer...
Page 193: ...10 Troubleshooting...
Page 208: ...Clearing Media Misfeeds 194 4 Push down the levers 5 Close the right side cover...
Page 244: ...Status Error and Service Messages 230...
Page 245: ...11 Installing Accessories...
Page 268: ...Staple Finisher 254 10 Install the relay unit on the machine 11 Open the relay unit cover...
Page 275: ...Appendix...


