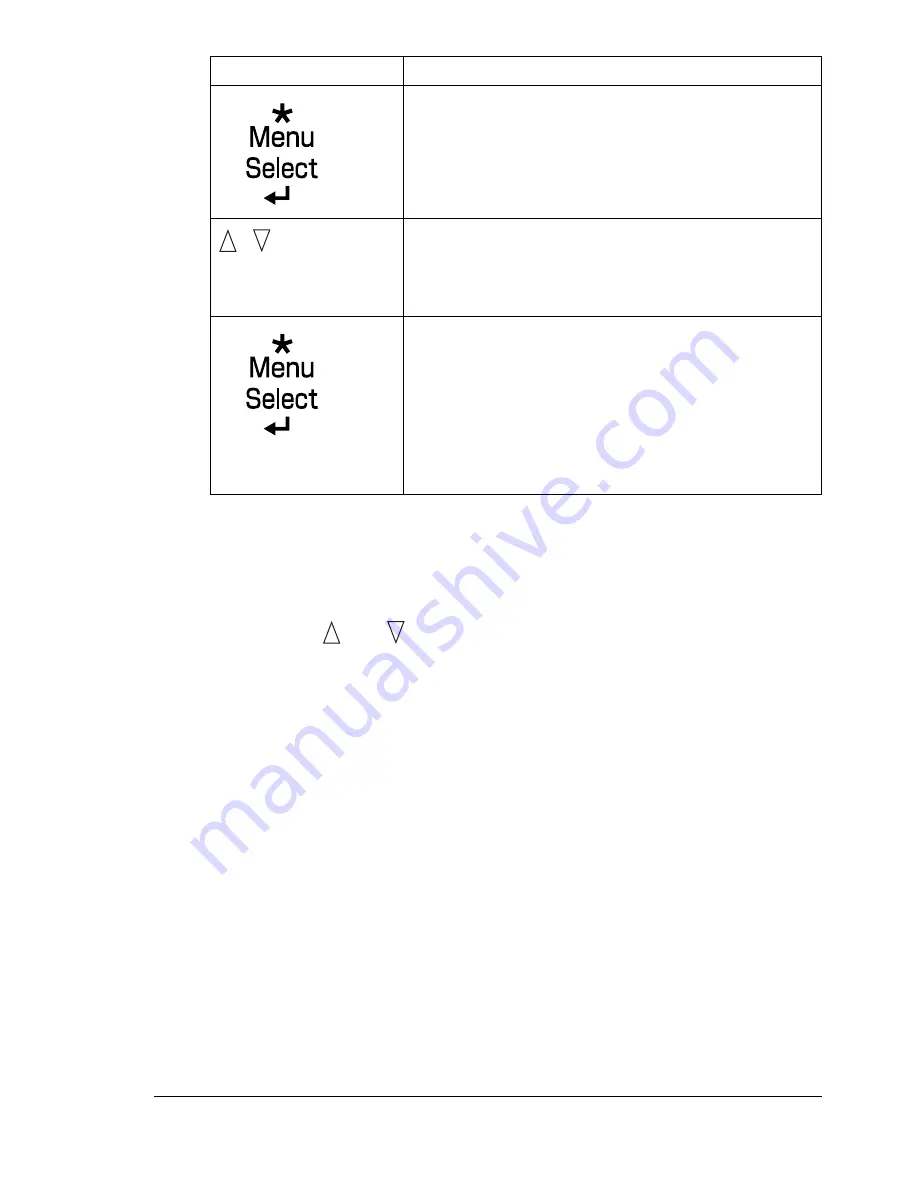
Configuration Menu Overview
35
2
Select
or
DELETE
, and then press the
Menu/Select
key.
"
If
was selected, continue with step 3.
If
DELETE
was selected, continue with step 5.
3
Press
the
and
keys
to
specify the number of copies to be printed.
(Settings:
1
to
999
; Default:
1
)
4
Press the
Menu/Select
key.
Printing begins.
5
Select
YES
or
NO
.
6
Press the
Menu/Select
key.
If
YES
was selected, the print job is deleted.
If
NO
was selected, the
PRINT/DELETE
selection screen appears
again.
“
Job name
”
,
Press until the desired
job name appears.
Desired job name
PRINT
DELETE
If the selected print job was set as a secured job
from the printer driver, a screen for entering the
password appears. For details on typing the
password, refer to “Entering the Password” on page
36.
Press Key
Until Display Reads
Summary of Contents for bizhub C31P
Page 1: ...bizhub C31P User s Guide A0EA 9564 00A...
Page 8: ......
Page 14: ...Contents vi...
Page 15: ...Introduction...
Page 20: ...Getting Acquainted with Your Printer 6...
Page 21: ...About the Software...
Page 36: ...Using the Postscript and PCL Printer Driver 22...
Page 37: ...Using the Status Monitor Windows Only...
Page 40: ...Closing the Status Monitor 26...
Page 41: ...Printer Control Panel and Configuration Menu...
Page 113: ...Camera Direct...
Page 115: ...Memory Direct...
Page 117: ...Using Media...
Page 151: ...Replacing Consumables...
Page 182: ...Replacing Consumables 168 6 Install the stapling unit 7 Close the stapler cover...
Page 183: ...Maintaining the Printer...
Page 193: ...10 Troubleshooting...
Page 208: ...Clearing Media Misfeeds 194 4 Push down the levers 5 Close the right side cover...
Page 244: ...Status Error and Service Messages 230...
Page 245: ...11 Installing Accessories...
Page 268: ...Staple Finisher 254 10 Install the relay unit on the machine 11 Open the relay unit cover...
Page 275: ...Appendix...


