276
ARRANGEMENT FOR THE INSTALLATION OF THE DEMOLITION HAMMER
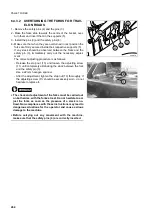
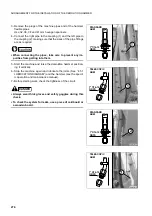
3 - Remove the plugs of the machine pipes and of the hammer
flexible pipes.
Use 32, 36, 38 and 41 mm hexagon spanners.
4 - Connect the right pipe to the coupling (1) and the left pipe to
the coupling (2), making sure that the sizes of the pipe fittings
are as required.
CAUTION
•
When connecting the pipes, take care to prevent any im-
purities from getting into them.
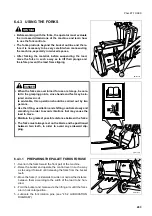
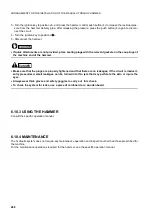
5 - Start the machine and raise the demolition hammer position-
ing it vertically.
6 - Stop the machine again and lubricate the joints (See “4.5.1
LUBRICATION DIAGRAM”) and the hammer (see the specif-
ic operation and maintenance manual).
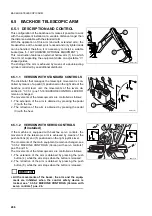
7 - Before starting work, check the tightness of the circuit.
DANGER
•
Always wear thick gloves and safety goggles during this
check.
•
To check the system for leaks, use a piece of cardboard or
a wooden board.
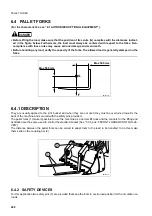
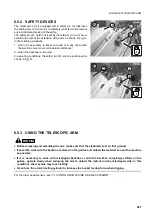
1"3/16-12
ORFS
2
RWA29300
STANDARD
ARM
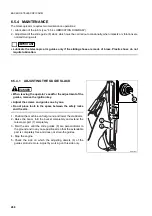
1"3/16-12
ORFS
2
RWA29310
TELESCOPIC
ARM
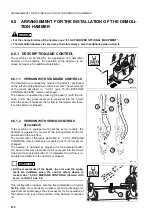
1"7/16-12
ORFS
1
RWA29290
TELESCOPIC
ARM
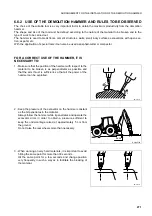
1"7/16-12
ORFS
1
RWA29280
STANDARD
ARM
Summary of Contents for 97SF11205
Page 2: ......
Page 12: ...10 THIS PAGE WAS INTENTIONALLY LEFT EMPTY ...
Page 21: ...SAFETY AND ACCIDENT PREVENTION ...
Page 56: ...54 THIS PAGE WAS INTENTIONALLY LEFT EMPTY ...
Page 57: ...THE MACHINE AND ITS OPERATIONS ...
Page 179: ...MAINTENANCE ...
Page 251: ...TECHNICAL SPECIFICATIONS ...
Page 257: ...AUTHORISED OPTIONAL EQUIPMENT ...

