4
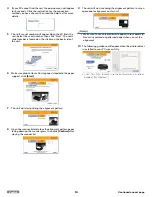
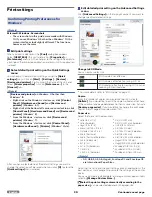
If your PC cannot find the unit, the pop-up menu will appear
for 5 seconds. Click the instruction for the connection
method you have chosen, then read the help text for more
details.
5
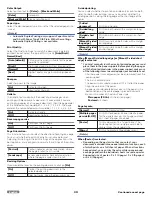
The unit's serial number will appear when the PC finds the
unit. Select the serial number, then click “Next”. The unit's
serial number is located on the sticker on the back side of
the unit.
6
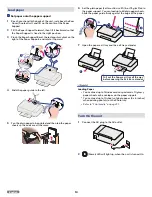
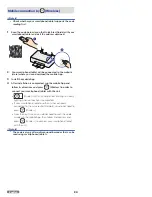
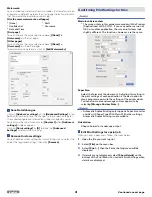
Make sure plain Letter or A4 size paper is loaded in the paper
support, click
[Start]
.
7
The unit will start printing the alignment pattern.
8
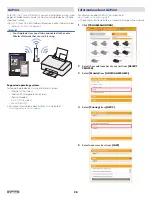
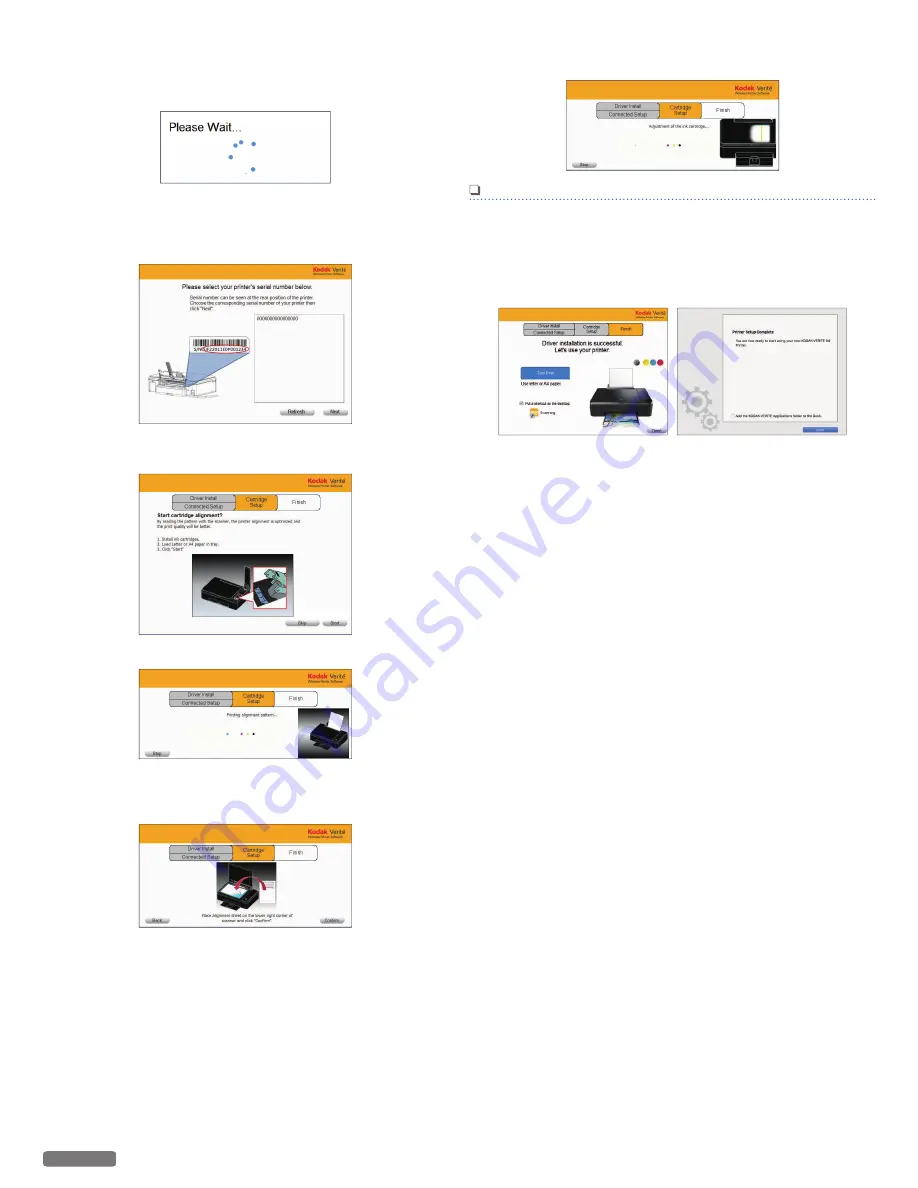
Open the scanner lid and place the alignment pattern paper
facing down on the scanner glass, then click
[Confirm]
after
closing the scanner lid.
9
The unit will start scanning the alignment pattern to set an
appropriate alignment on this unit.
Note(s)
●
Make sure to use only blank white paper (sold separately).
Never use colored or patterned paper when you set the
alignment.
10
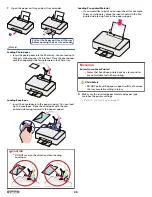
The following guidance will appear when the printer driver
is installed to your PC successfully.
●
Click “Test Print” to make sure the printer driver is installed
properly (for Windows
®
).
16
English
Continued on next page.

