


2
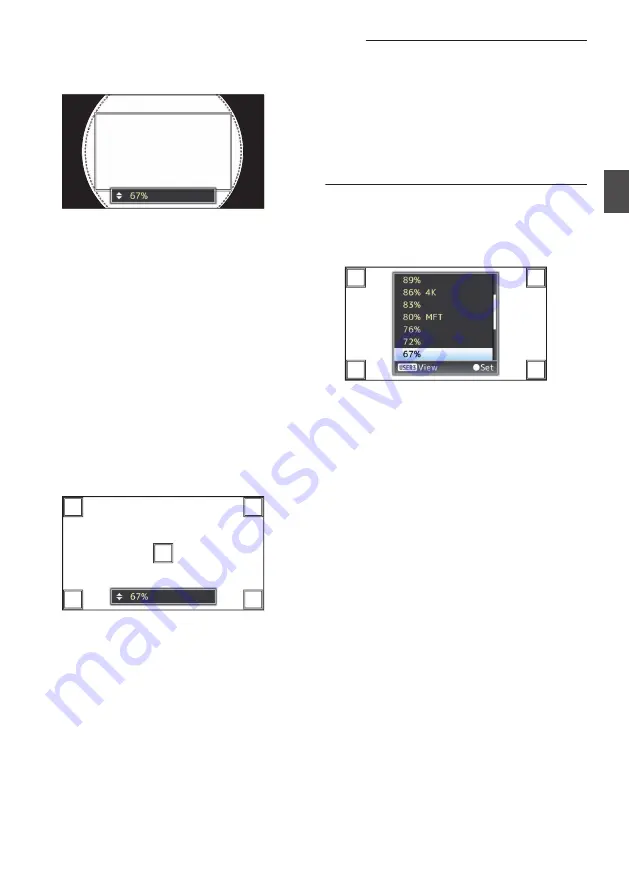
Select the scan range using the
J
/
K
buttons.
0
The scan range when the size of the imaging
device is set to “100% (Super35)” is displayed
as percentage.
.
Square frame
: Scan range
Round dotted frame : The image frame of the
lens equivalent to the
scan range (square
frame).
0
Set in such a way that the vignette effect does
not spread into the round dotted frame.
3
Press the [LOLUX/3] button to check the
brightness.
0
The brightness confirmation screen is
displayed, and the scan range specified is
displayed in full screen size.
0
You can check the vignette effect through the
brightness displayed at the four corners and the
center of the brightness confirmation screen.
It is preferable to get 100 % brightness at the
four corners with respect to the 100 %
brightness at the center. However, depending
on the characteristic of the lens attached,
besides the vignette effect you may also not get
100 % brightness at the four corners.
.
97%
97%
94%
94%
98%
98%
100%
100%
96%
96%
Memo :
0
When [Main Menu]
B
[System]
B
[Record Set]
B
[Record Format]
B
[System] is set to “SD”, and [SD
Aspect] is set to “4:3”, the brightness confirmation
screen is not displayed. The scan range specified
is displayed in full screen and the item for setting
the scan range appears as a scrolling list on the
screen.
0
The values for the brightness at the four corners
are estimates. We recommend using a measuring
instrument to obtain accurate measurements.
0
While the brightness is displayed, you can use
the
J
/
K
buttons to change the scan range.
0
If you press the [LOLUX/3] button again, the item
for setting the scan range appears as a scrolling
list on the brightness confirmation screen.
.
97%
97%
94%
94%
98%
98%
96%
96%
0
Press the [LOLUX/3] button once again to return
to the scan range selection screen (initial
screen).
4
Press the Set button (
R
).
Variable Scan Mapping (VSM)
49
Sh
ooting
Summary of Contents for GY-LS300CHE
Page 2: ...2 ...


