User Manual
33
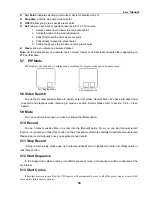
[
Stop
]: Pressing the [Stop] button will stop playing the recorded video..
[
F. Forward
]: Pressing [F.F] button plays video forward at high speed.
[
Slow
] Pressing [Slow] button play video slowly.
[
Next frame
]: Pressing [Next frame] button goes to the next image.
[
264 to AVI
]: Convert the playback format from 264 formats to AVI format.
Volume control Bar
: allows you adjust recorded video’s volume.
[Backup]: highlight the desired data and click [backup] button. The selected recording data will be saved. The
saved route please refers to the setting shown as Picture 6-10.
Backup file will be saved as *.264 format. User can convert to AVI format by clicking [264 to AVI] button.
[Playback]: When selecting a desired recording data and clicking [Playback] button, system will playback the recorded
file, at the same time, create a backup file in the preset route and start recorded file backup.
6.3.1.3 Setup
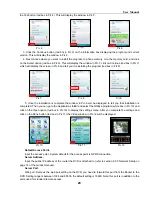
Click [Setup] button to enter into the interface shown as Picture 6-5. Now you can perform record mode, Alarm
mode, PTZ control, network setting, and system setting and check host information.
Note: Your modification to DVR remotely will be available only when the DVR is on the Main Interface
mode.
Record Mode
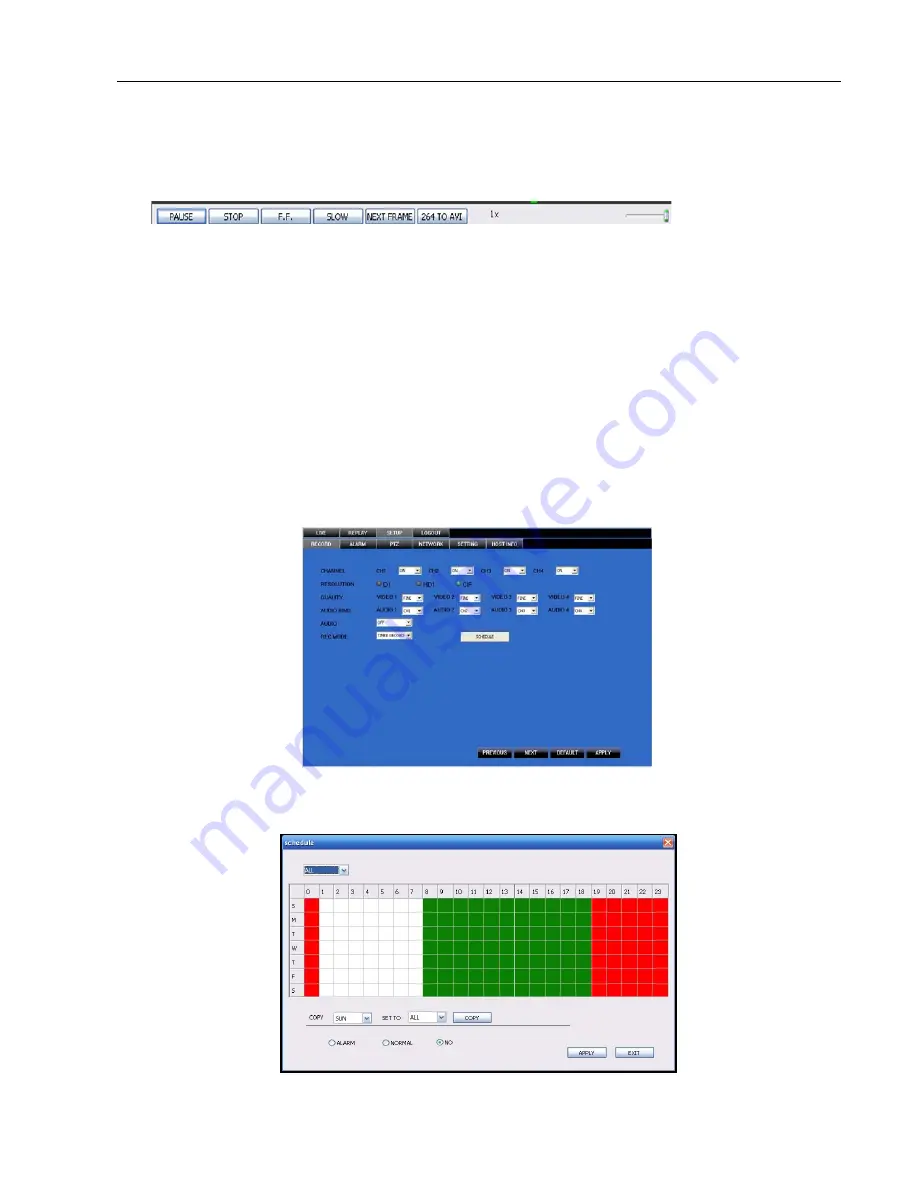
On the [Setup] screen, click [Record Mode] to enter into the below window. Y
ou can select on/off for every
channel, and adjust recording parameters (resolution, quality, audio, REC mode and Schedule) remotely
Click [Schedule] option to enter into the [Scheduled Record] window shown as Picture 6-6. Details setting please
refer to the previous section 5.2.3-
Schedule
Picture 6-5
Picture 6-6
Summary of Contents for jed2216t
Page 1: ...1...


