User Manual
15
5.3.5.1 HDD Manage
Total Space
– indicate total size of the hard drive currently installed
Free Space
– indicate total amount of free space available on the hard drive currently installed.
Useable Rec. Time
– indicate free space currently available in hours.
HDD Format
– Formatting the HDD will erase all data (i.e. footage) which is stored on it, and re-create
the FAT (file allocation table).
Auto overwrite
– When set to ENABLE the DVR will record over the oldest files on the hard drive. The
DVR will always be able to record events as they happen, however, it does means that you’ll need to get
important events off the HDD before they’re overwritten; and if overwrite is set to DISABLE the DVR will
stop record once the DVR is full. Whilst you won’t lose old footage, you run the risk of missing new
events as they happen. Be sure you want to do this before selecting it.
USB Format
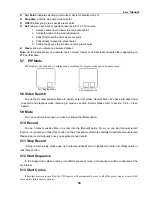
- If you have a USB flash drive connected to the DVR, you can format that, too. To do this,
click the [USB Format] button and click [OK].
Note:
It is an important first step when configuring your DVR to make sure that the hard drive (HDD)
options are correctly set. So, strongly suggest that you do format the HDD before start the first record.
5.3.5.2 Alarm Set
HDD LOSS:
Options include “On” and “Off”. If you select “On” there will be a buzzer sound and “H” sign
appears on screen when HDD is not detected or not formatted; on the contrary, if you close the function,
there is only “H” sign, but no alarm sound heard when HDD not found or not formatted.
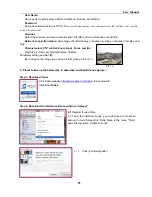
HDD SPACE:
Options are “On” and “Off”. When the alarm function is on, there are alarm sounds when
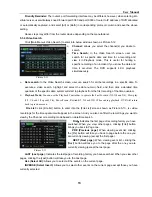
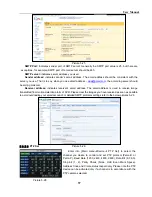
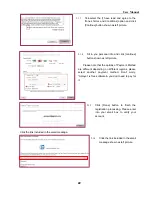
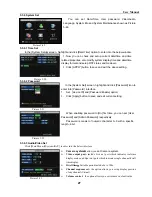
In the [Device Management] screen, highlight and click
[HDD] icon to enter into the window shown as Picture 5-20.
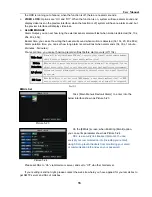
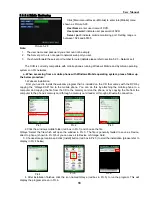
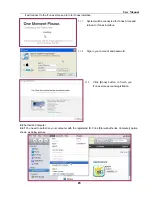
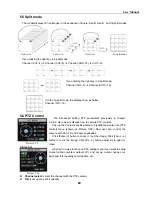
When DVR is connected to a HDD, the system will
automatically detect if HDD is formatted or not; If HDD needs to be
formatted, HDD status will be shown as “No Disk”, otherwise, the
HDD status will be shown as “Normal” (refer to Picture 5-21).
NO:
indicate HDD no defaulted by system.
Status:
:
It will be available only when HDD have been
formatted and shown as normal.
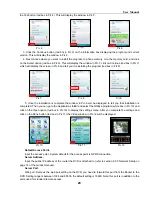
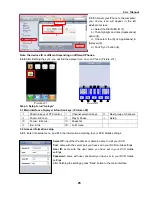
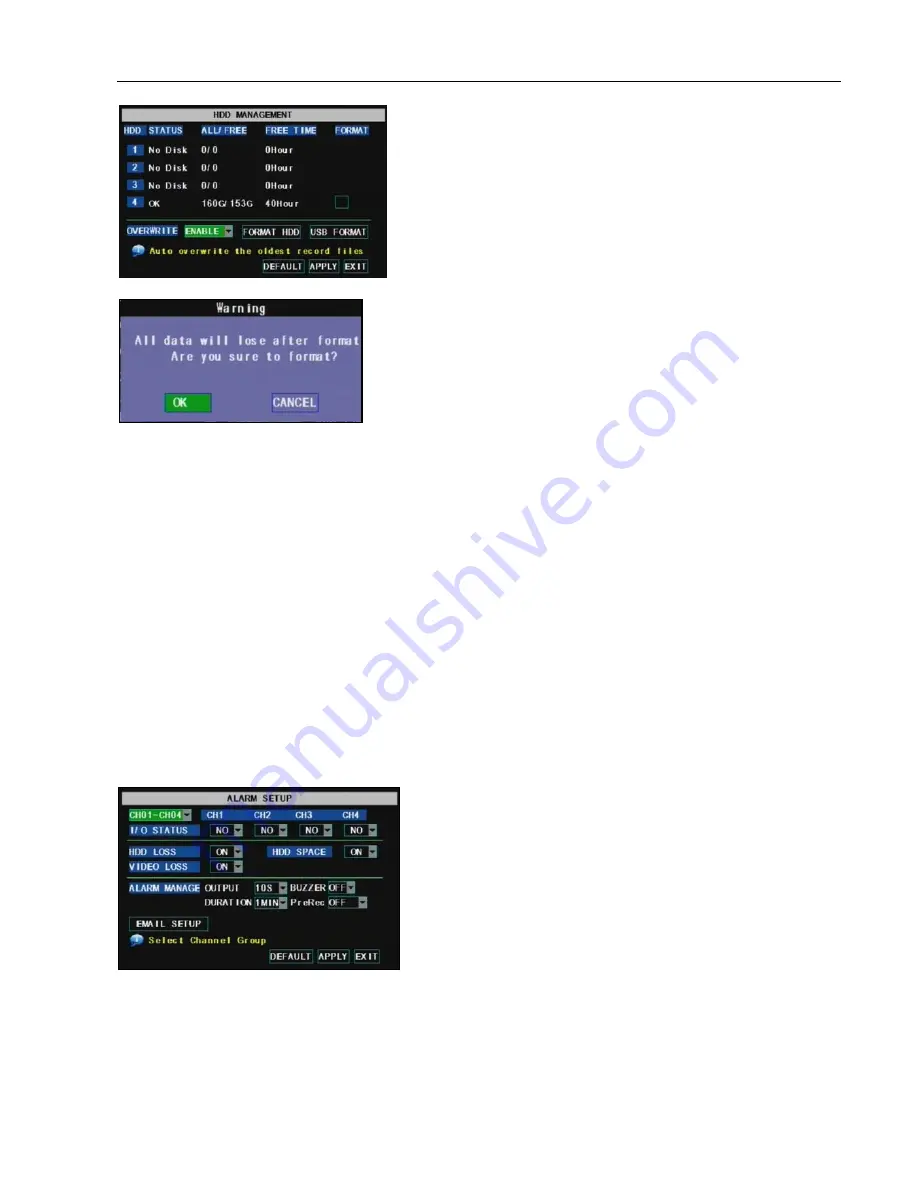
Click [Main Menu
Device
Alarm] to enter into the
below interface shown as Picture 5-22.
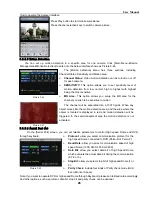
Channel select:
the options allow you select one channel
you want.
I/O STATUS
:
Options include NO (Normal-open), NC
(Normal-close) and OFF. When Setting to “Normal
Open”, I/O status Alarm will be activated while sensor is
ON; set to “Normal Close”, I/O status alarm will be
activated while sensor is OFF; set to “OFF”, I/O status
alarm will not be triggered.
Picture 5-20
Picture 5-21
Picture 5-22
Summary of Contents for jed2216t
Page 1: ...1...


