66
Ioline FlexJet Service Manual
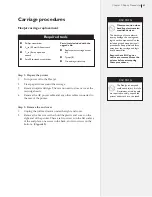
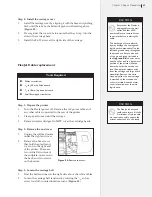
Step 5: Install the new carriage
1.
Connect the ribbon cable
ends to the new carriage
and secure with tyraps.
Verify that each connector
is plugged into all the pins
and that the 2 spacers and
washers are loose so that
the upper wheels are not
locked.
2.
Ensure that the black
drive belt is between the
traverse rails and behind
the carriage base. Hold the
carriage at the right and left
side of the metal base with
both hands and slip the top
two carriage v-wheels over
the top rail of the traverse.
3.
With the top two carriage
v-wheels on the traverse,
gently push the carriage
down and rotate the bottom
of the carriage towards the
back of the machine until
the lower v-wheels slip onto
the lower traverse rail.
4.
Gently move the carriage
right then left to ensure
that the wheels move
smoothly.
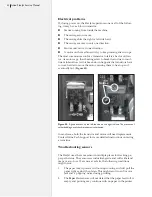
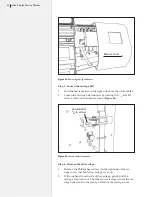
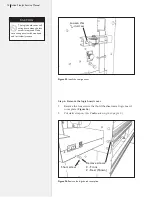
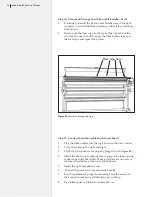
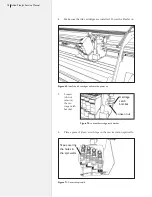
Figure 47.
Loosen the carriage wheel lock.
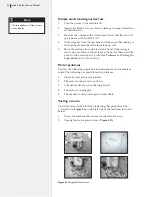
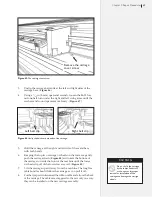
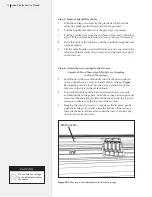
Figure 48.
Gently press down on the car-
riage.
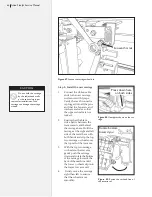
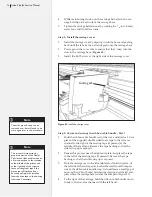
Figure 49.
Rotate the v-wheels free of
the traverse rail.
Loosen this nut
Press down here
on both sides
Rotate bottom
toward you
Do not hold the carriage
by the inkjet head stalls
or the sensor. Improper
removal or installation of the
carriage can damage the carriage
wheels.
Caution
Summary of Contents for FlexJet
Page 1: ...Service Manual Ioline FlexJet ...
Page 3: ...Service Manual Ioline FlexJet ...
Page 4: ......
Page 8: ......
Page 12: ......
Page 60: ...60 Ioline FlexJet Service Manual This page intentionally left blank ...
Page 90: ...90 Ioline FlexJet Service Manual This page intentionally left blank ...
Page 96: ...96 Ioline FlexJet Service Manual This page intentionally left blank ...

