67
Chapter 4: Repair Procedures
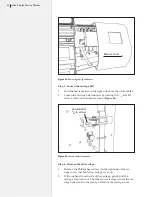
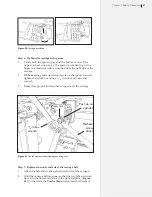
Step 6: Tighten the carriage swing arms
1.
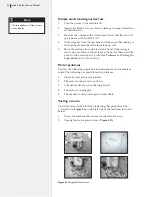
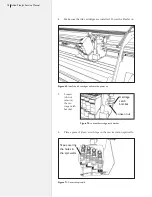
Gently hold the spacer up against the bottom of one of the
upper v-wheel swing-arms. The spacer can be held up with a
finger or a small screwdriver inserted from the right side of the
carriage.
2.
While keeping gentle upward pressure on the spacer, securely
tighten the nylock nut using a
5
/
16
-in (or 8-mm) open-end
wrench.
3.
Repeat this process for the other swing arm on the carriage.
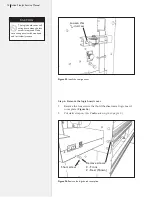
Figure 50.
Carriage installation.
Step 7: Replace tensioner and attach the carriage belt.
1.
Attach the belt ends to the right and left side of the carriage.
2.
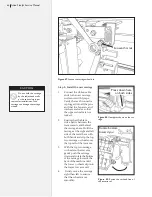
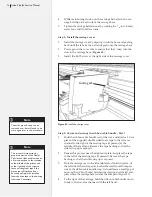
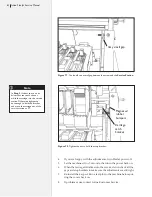
Hold the carriage belt tensioner so that the two tabs and screw
tip rest in the holes and detent in the right endplate. (
Figure
52
.) To the left of the
Service Station
area, hold both webs of
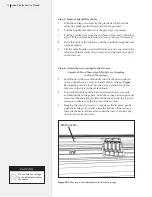
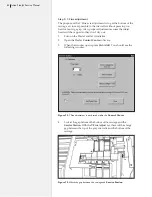
Figure 51.
Use the spacer when attaching each swing arm.
Tighten nut
5
/
16
-in box
wrench
Flathead
screw
driver
Push up on
cylinder
Summary of Contents for FlexJet
Page 1: ...Service Manual Ioline FlexJet ...
Page 3: ...Service Manual Ioline FlexJet ...
Page 4: ......
Page 8: ......
Page 12: ......
Page 60: ...60 Ioline FlexJet Service Manual This page intentionally left blank ...
Page 90: ...90 Ioline FlexJet Service Manual This page intentionally left blank ...
Page 96: ...96 Ioline FlexJet Service Manual This page intentionally left blank ...

