79
Chapter 4: Repair Procedures
7.
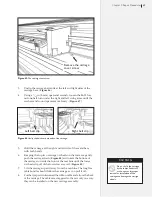
Press the “Clean” button on the keypad. You should see two
lines in the middle of the spit well holes.
8.
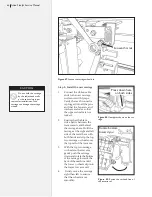
If the lines don’t appear in the middle of the holes, turn the
plastic thumbscrew on the side of the service station (clock-
wise to move them left; Counter-clockwise to move the lines
to the right.)
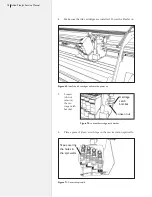
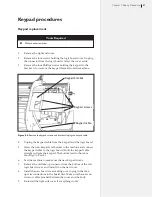
Figure 72.
After you press the clean button, you should see two lines in the spit
well holes.
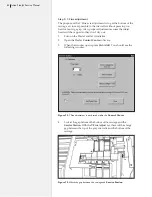
Figure 73.
Use the plastic thumbscrew to adjust the lines if necessary.
Spit well-
centering
thumbscrew
Lines on
the tape
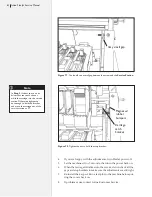
9.
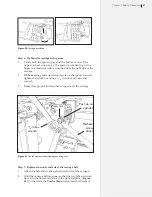
Turn the power off, remove the ink cartridges and close the
stall latches.
After removing the ink car-
tridges, lower the blue ink
doors before continuing.
Caution
Summary of Contents for FlexJet
Page 1: ...Service Manual Ioline FlexJet ...
Page 3: ...Service Manual Ioline FlexJet ...
Page 4: ......
Page 8: ......
Page 12: ......
Page 60: ...60 Ioline FlexJet Service Manual This page intentionally left blank ...
Page 90: ...90 Ioline FlexJet Service Manual This page intentionally left blank ...
Page 96: ...96 Ioline FlexJet Service Manual This page intentionally left blank ...

