52
sERVICINg
Ideal Logic Code Combi -
Installation and Servicing
11
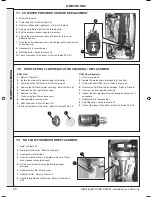
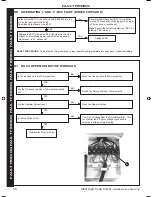
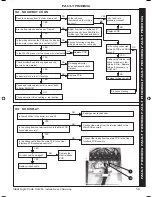
76 BOILER sEaLINg paNEL sEaL REpLaCEMENT
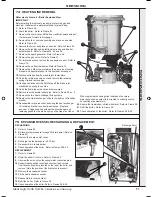
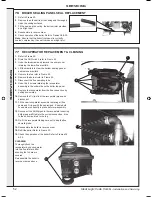
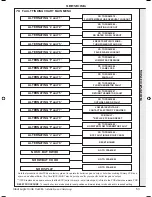
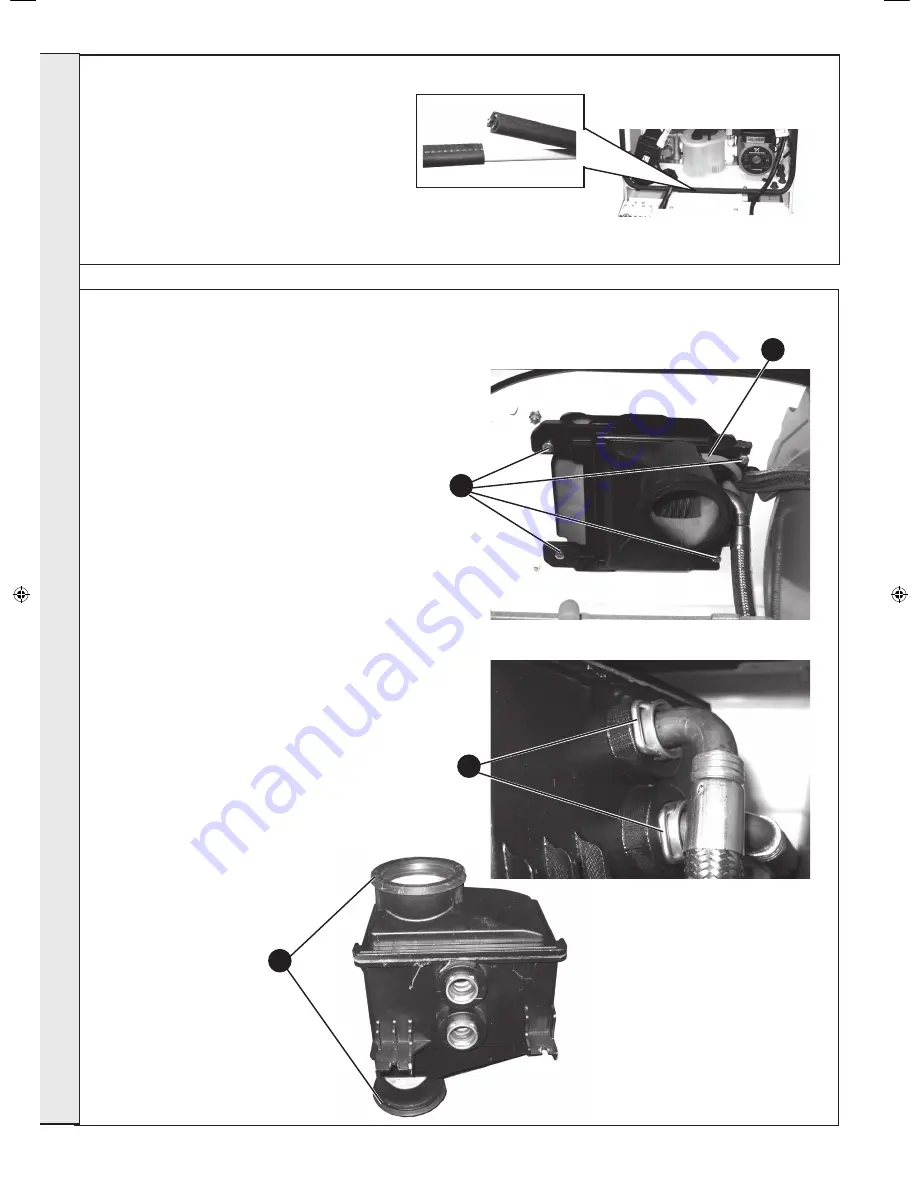
77 RECUpERaTOR REpLaCEMENT & CLEaNINg
1.
Refer to Frame 49.
2.
Remove the old seal from the casing and thoroughly
clean the casing surfaces.
3.
Fit the new seal, ensuring the bottom joint provides
an air tight seal.
4.
Reassemble in reverse order.
5.
Check operation of the boiler. Refer to Frames 38 & 39.
Note.
Ensure that the boiler front panel is correctly
sealed, compressing the seal to make an airtight joint.
1.
Refer to Frame 49.
2.
Drain the DHW circuit, refer to Frame 63.
3.
Undo the two screws and remove the sump cover
retaining the lower flue manifold.
4.
Lift the manifold to clear the bottom sealing gasket
and remove manifold
5.
Remove the fan refer to Frame 50.
6.
Remove the burner refer to Frame 52.
7.
Disconnect the flue sampling tube.
8.
Undo the 4 screws retaining the recuperator
assembly to the underside on the boiler top panel
9.
Remove the recuperator from the flue connection by
pulling downwards.
10.
Remove the C clips from the recuperator pipes and
disconnect
11.
Fit the new recuperator assembly replacing all flue
seals and O rings with those provided. Ensure both
flue seals are correctly in place before re-assembly.
12.
Reconnect the DHW pipes to the recuperator ensuring
both pipes are fitted into the correct connection - blue
to the bottom and red to the top.
13.
Re-fit the recuperator taking care not to trap the flue
sampling tube.
14.
Reassemble the boiler in reverse order
15.
Refill the boiler Refer to Frame 30.
16.
Check the operation of the boiler Refer to Frames 38
& 39.
CLEaNINg
Thoroughly flush the
recuperator by pouring water
into the flue inlet or outlet
ensuring the full area is
covered.
Re-assemble the boiler in
reverse order as above.
8
7
10
sER
VICIN
g
206279-1.indd 52
06/01/2011 09:10:49
Summary of Contents for LOGIC Code Combi 26
Page 2: ...2 Ideal Logic Code Combi Installation and Servicing ...
Page 61: ......


