Display assembly
NOTE:
The Dream Color display assembly is spared as a whole unit assembly only. The LED display assembly
is spared at the subcomponent level only. For more LED display assembly spare part information, see the
individual removal subsections.
Description
Spare part number
17.3 in, UHD, UWVA, Dream Color 3 display assembly not equipped with a webcam
848393-001
17.3 in, UHD, UWVA, Dream Color 3 display assembly equipped with a webcam
848394-001
To remove the display assembly and access the LED display assembly subcomponents, follow these steps:
1.
Turn off the computer. If you are unsure whether the computer is off or in Hibernation, turn the
computer on, and then shut it down through the operating system.
2.
Disconnect the power from the computer by unplugging the power cord from the computer.
3.
Disconnect all external devices from the computer.
4.
Remove the service door (see
Service door on page 33
).
5.
Disconnect the battery (see
Battery on page 34
).
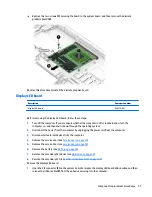
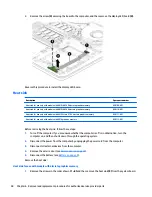
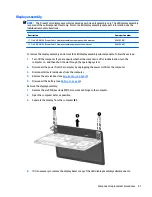
Remove the display assembly:
1.
Remove the six Phillips screws (1) that secure each hinge to the computer.
2.
Open the computer as far as possible.
3.
Separate the display from the computer (2).
4.
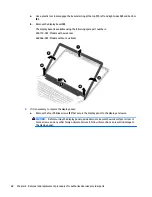
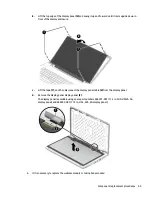
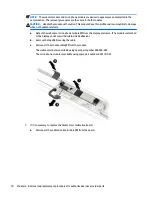
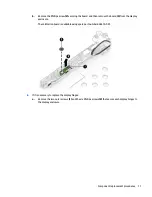
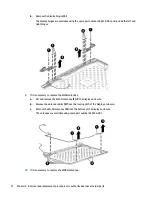
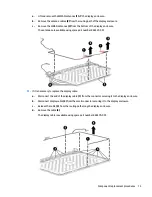
If it is necessary to replace the display bezel or any of the LED display assembly subcomponents:
Component replacement procedures
67

