


11
2. Operation Procedure
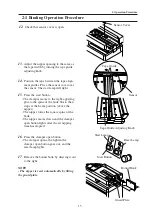
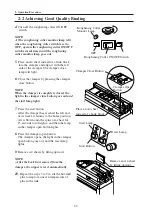
2-1 Binding Operation Procedure
2-1-2 Binding without a Cover (Padding)
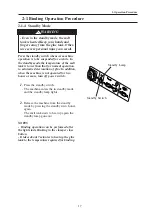
WARNINGS
- Turning on the power switch starts to
heat the glue tank which will finally
reach a temperature of around 180
degrees Celsius. Keep your hands and
fingers away from the glue tank, other-
wise severe personal injury can result.
- Keep your hands and fingers away
from clamper and nipper when they are
in operation.Otherwise severe per-
sonal injury can result.
- The machine should only be operated
by one person at a time.
1.
Turn on the power switch and wait for the
reset lamp to light which shows that the
hot-melt glue is ready for binding.
NOTE
It takes about 20 minutes to heat the hot-melt
from cold, and about 7 minutes from the
standby mode.
Hot-melt glue may not be applied well when
the glue is just melted, because the tempera-
ture of glue is uneven. In such case, stir the
hot-malt glue in a tank with a few idle opera-
tion. Refer to 2-2 (5)
2.
Press the reset buttom.
- The clamper close button blinks.
3.
Select “binding without cover” with the
binding mode selector switch.
4.
Select the binding mode, with or without
roughening, with the roughening cutter
ON/OFF switch.
NOTE
- In general, select roughening cutter ON
when binding with a cover or a tape, or
roughening cutter OFF when binding with-
out a cover.
- If the roughening cutter monitor lamp is lit
when the roughening cutter switch is set to
OFF, operate the roughening cutter ON/OFF
switch several times until the roughening
cutter monitor lamp goes out.
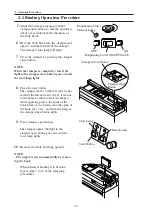
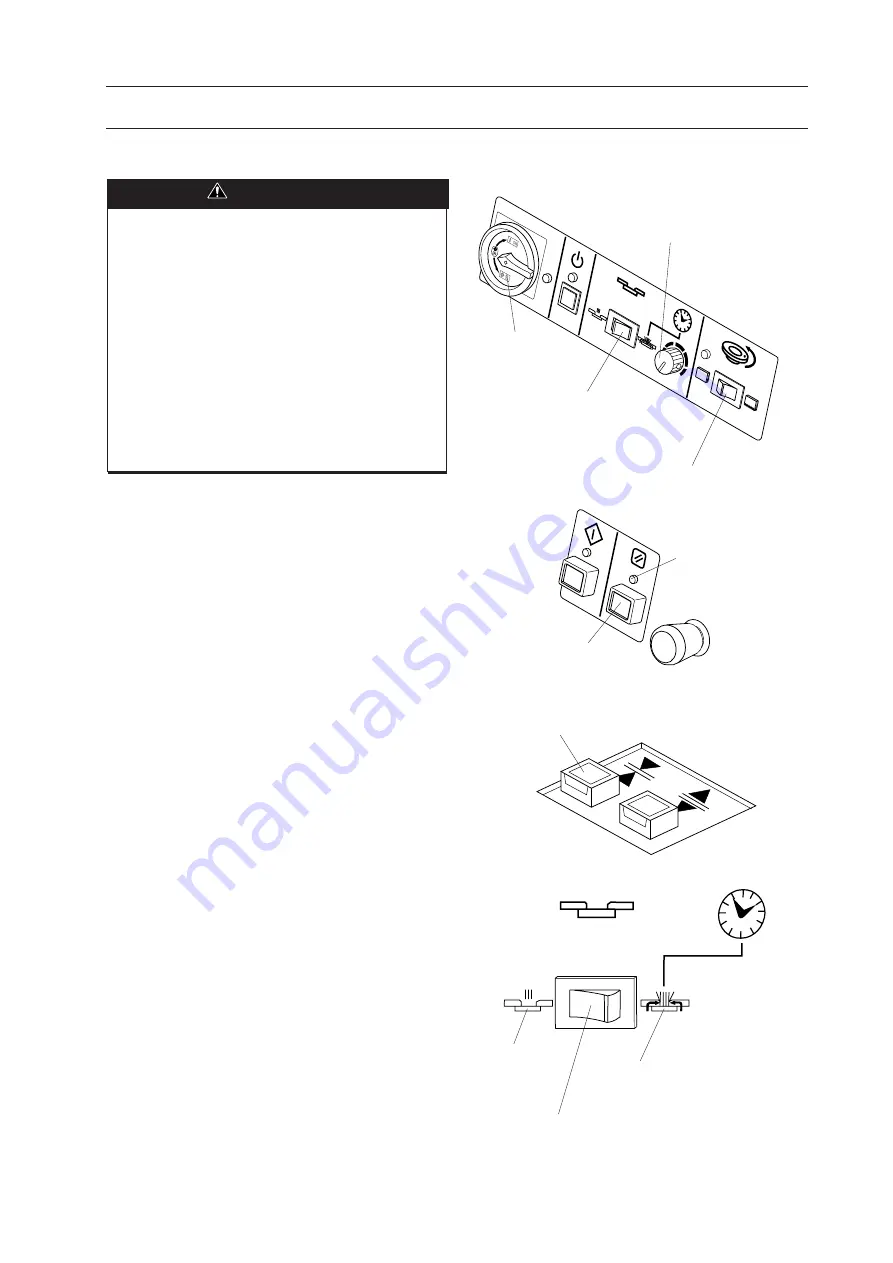
02BQ51A03
Nipping Time Control Knob
Power Switch
Binding Mode Selector Switch
Roughening Cutter ON/OFF Switch
Reset Lamp
Reset Button
Clamper Close Button
Binding Mode Selector Switch
Perfect Binding
(Binding with cover or tape)
Padding
Summary of Contents for BQ-150
Page 1: ......
Page 5: ...IV 4 Troubleshooting 33 4 1 Troubleshooting 34 5 Installation 37 5 1 Installation 38 ...
Page 37: ...32 3 Maintenance PAGE INTENTIONALLY BLANK ...
Page 38: ...33 4 Trouble Shooting 4 Troubleshooting 4 1 Troubleshooting 34 ...
Page 41: ...36 4 Trouble Shooting PAGE INTENTIONALLY BLANK ...
Page 42: ...37 5 Installation 5 Installation 5 1 Installation 38 ...


