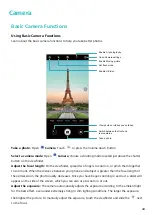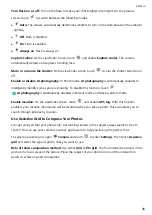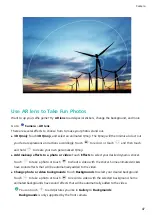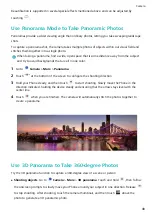
l
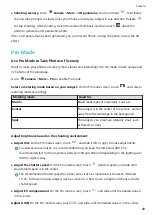
When shooting in sunlight, you can select
, and for gloomy days, select
.
l
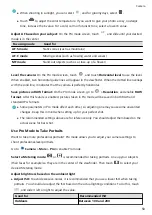
Touch
to adjust the color temperature. If you want to give your photo a cozy, nostalgic
tone, increase the K value. For a cold, calm or futuristic tone, select a lower K value.
Adjust AF based on your subject: On the Pro mode screen, touch
"'
, and slide until your desired
mode is in the center.
Focusing mode
Good for
AF-S mode
Static scenes (such as mountains)
AF-C mode
Moving scenes (such as flowing water and waves)
MF mode
Stand-out objects (such as a close-up of a flower)
Level the camera: On the Pro mode screen, touch
, and touch Horizontal level to use the level.
When enabled, two horizontal guide lines will appear in the viewfinder. When the dotted line overlaps
with the solid line, it indicates that the camera is perfectly horizontal.
Save pictures in RAW format: On the Pro mode screen, go to
> Resolution, and enable RAW
format. After this feature is enabled, pictures taken in Pro mode will be saved in both RAW and
standard JPG formats.
l
Some parameters in Pro mode affect each other, so adjusting one may cause some unwanted
changes. Keep this in mind when setting up for your perfect shot.
l
The recommended settings above are for reference only. You should adjust them based on the
actual scene for best shot.
Use Pro Mode to Take Portraits
Want to take more professional portraits? Pro mode allows you to adjust your camera settings to
shoot professional-level portraits.
Go to
Camera > More > Pro to enable Pro mode.
Select a Metering mode:
or
is recommended for taking portraits. Line up your subjects
(their faces for example) so they are in the center of the viewfinder. Then touch
to select your
desired Metering mode.
Adjust brightness based on the ambient light
l
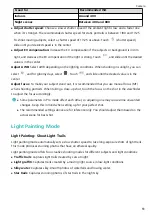
Adjust ISO: To avoid excessive noises, it is recommended that you use a lower ISO when taking
portraits. You should also adjust the ISO based on the actual lighting conditions. To do this, touch
, and slide it left or right to adjust the value.
Good for
Recommended ISO
Outdoors
Between 100 and 200
Camera
50
Summary of Contents for PCT-AL10
Page 1: ...User Guide ...
Page 25: ...New Device 21 ...
Page 29: ...Gestures and Operations 25 ...
Page 96: ...Device Connection 92 ...

