Revision A • 6/06
H
A
R
R
I
S
C
O
R
P
O
R
A
T
I
O
N
4-7
4 Linking the NetWave
be selected and then
included
, by clicking the
double right arrow button (>>). Any Dual
Router channel can see the complete list of
sources by using the channel’s Include All
function, so keep the Include list short so that
board operators don’t have to search through
a long list to find a desired signal.
In the example, on the previous page for
Faders 5 & 6, channel 5 includes three mac-
ros, which show up in the list along with the
signals (hence the ! at the beginning of their
names to differentiate them from signals).
Macros are special setup files that run on the
console’s parent device.
NetWave macros are typically used to set
up Telco channel routing when multiple Telco
devices are shared between studios. In this
case, the macro file includes a route com-
mand for the Telco device’s
From Network
output to channel 5 and a route command to
route the mix-minus output for that Telco
channel to the
To Network input on the Telco
device.
7 Provision Files
Once the NetWave signals are defined and
the TINI cards are associated with channels
and the channel include lists are created, these
new settings must be used to create new con-
figuration files by
Provisioning
new files.
Click the
Provisioning tab at the bottom of
the Community Explorer pane to switch to
the Provisioning window. There are only two
buttons at the top of the left pane:
Provision
and
Distribute.... Click the Provision button
to create new setup and configuration files
(using the parameters entered in the editing
pane) for the NetWave console.
Provisioning modifies the console’s parent
device configuration files to add in the new
information that was just entered in the Com-
munity Explorer window. The files can be
double checked in the right pane by select-
ing one of the files to view, by clicking the +
button next to the console’s parent name, to
drop down a list of the setup files VMCC cre-
ated. Even though the NetWave console is
also shown in the list, no files are sent to the
console since all of its configuration infor-
mation resides in the files that are on the
parent device.
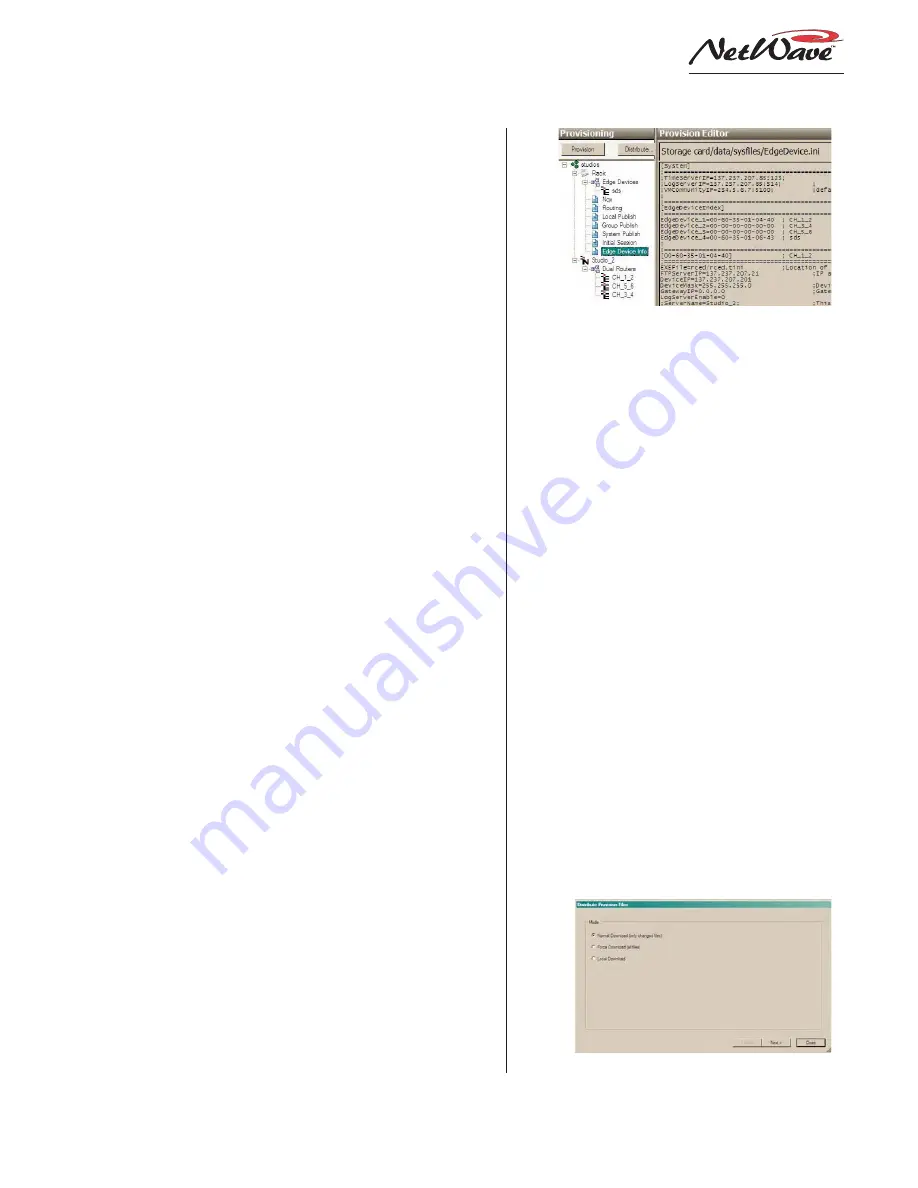
Highlight a file name, like the Edge De-
vice Info shown above, to display the file con-
tents in the right hand Provision Editor pane.
Even though files can be manually edited in
the provision editor pane, this should NOT
be done on a normal basis as any edits will
be overwritten the next time the
Provision
button is clicked.
7 File Distribution
After double checking the provisioned files,
the final step is to distribute the provisioned
files to the console’s parent device. Clicking
Provisioned Files
File Distribution Selection window in VMCC


