H2flow Controls
ProcessDefender™
53
Programming
H2flow Controls
ProcessDefender™
52
Programming
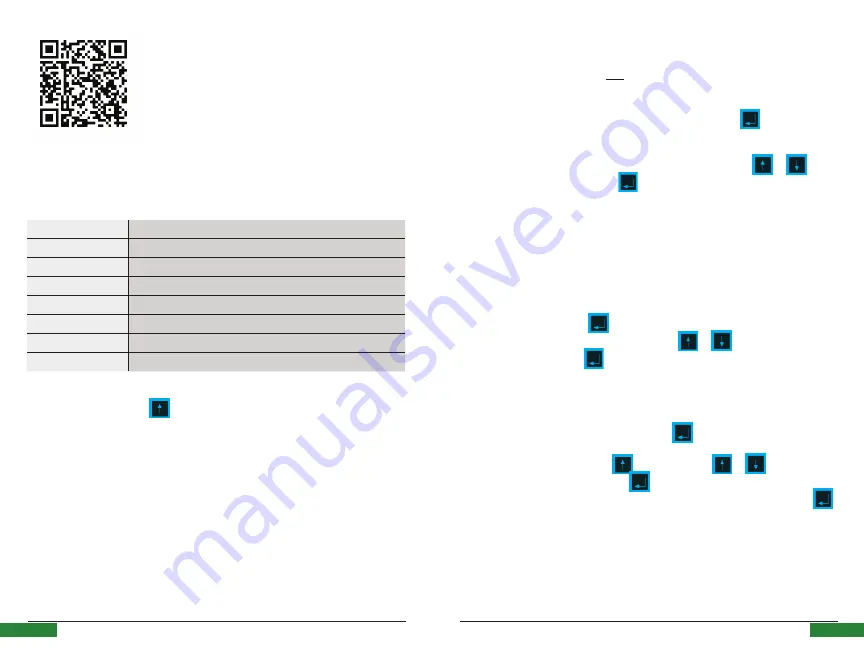
5.7 Menu 6 - Inputs and Outputs
Menu 6 will:
a.
Enable you to assign the Digital input to
the ProcessDefender;
b.
Configure the 4-20mA analog output,
and;
c.
Configure the Modbus communication
parameter
Menu Number
Description of Value to be Entered
6.1.1
Configure Digital input to be ‘ON’ or ‘OFF’
6.2.1
Configure the source for the 4-20mA output
6.2.2
Configure the value for the 4mA
6.2.3
Configure the value for the 20mA
6.3.1
Configure the Modbus Baud Rate
6.3.2
Configure Modbus Parity
6.3.3
Configure the Modbus I.D.
From Menu 6.0.0, press the
button to enter 6.1.1.
Scan the QR Code above to
watch an instructional video
about Menu 6.
⊲
Menu 6.1.1 - Set Digital Input to ON or OFF
Here we will assign the Digital input to remotely reset any ‘latched’ alarm relays (using
the default setting of ‘OFF’), or to also initiate a remote AutoSet of the Load protection
parameters if set to ‘ON’.
If you do not wish to change the default setting, simply press the
button to
continue to Menu 6.2.1.
If you wish to assign the Digital input to Remote AutoSet, press the
or
button to display ‘ON’ and press the
button to accept the change.
The display will now show 6.2.1.
⊲
Menus 6.2.1, 6.2.2 and 6.2.3 - Configure the 4-20mA output
In Menus 6.2.1, 6.2.2 and 6.2.3, we will program the 4-20mA analog output. The first
step (6.2.1) is to select the unit of measurement - either % (default), kW, or HP. If % is
your preference, simply press
to accept and you will be taken to menu 6.2.2. If
your preference is either kW or HP, then press the
or
button to display the
required value and press the
button to accept the change. The display will now
show 6.2.2.
In 6.2.2, we will configure the value that we want the 4mA to represent; the default is
‘0’ and this will be either 0%, 0 kW, or 0 HP depending on what you programmed in
Menu 6.2.1. If ‘0’ is your required value, press the
button to proceed to 6.2.3.
To make changes to 6.2.2, press the
button. Using the
or
buttons adjust
underlined number and then press the
button to accept the required value and
move to the next digit. Repeat until all digits are programmed and then press the
button to


