


7.2 Setting Up IP Cameras on GV-VMS
Follow the steps below to manually connect your GV-Fisheye IP Dome to GV-VMS.
Note:
The following instructions are based on V14.10 software and user interfaces.
1. To access the IP Device Setup page, click
Home
, select
Toolbar
, click
Configure
and select
Camera Install
.
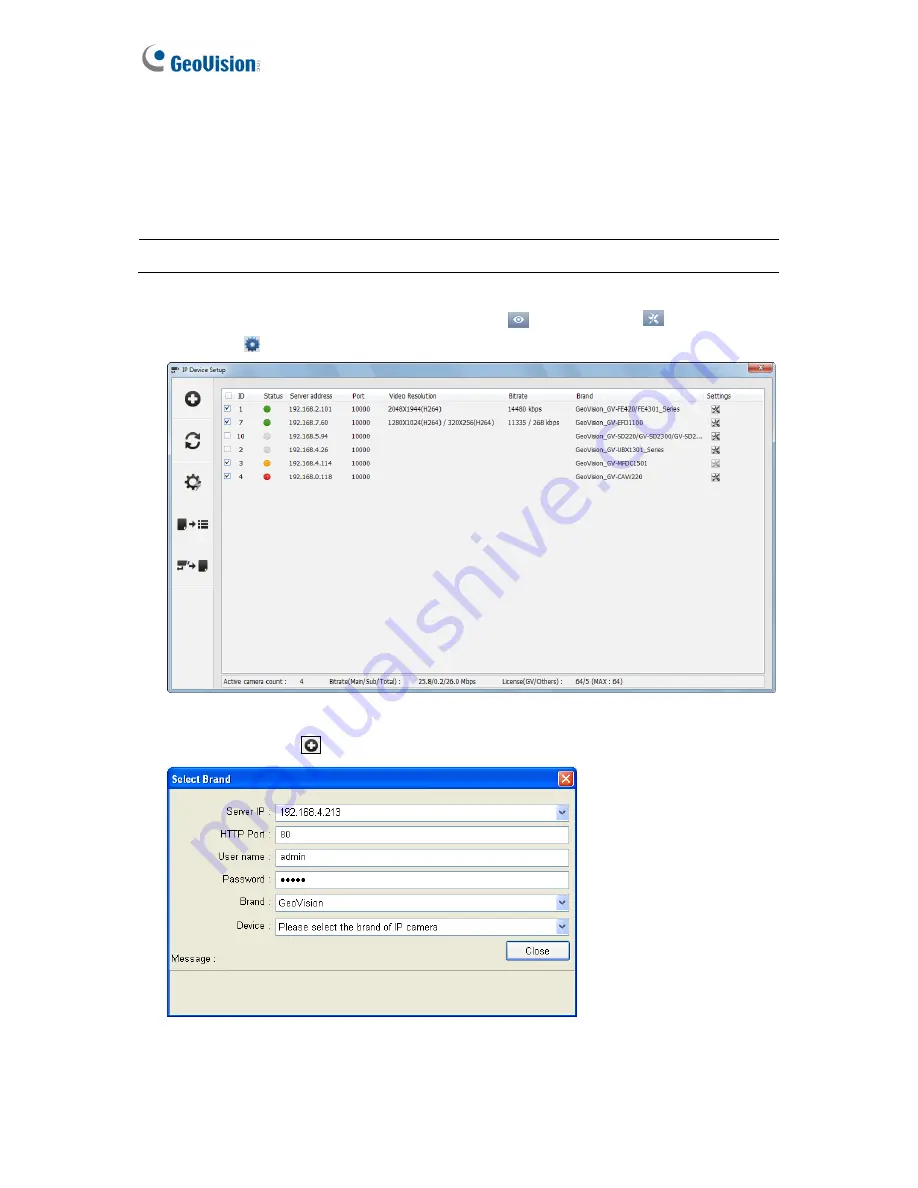
Figure 7-7
2. Click
Add Camera
. This dialog box appears.
Figure 7-8
3. Type the IP address, username and password of the camera. Modify the default HTTP
port
80
if necessary.
196
Summary of Contents for GV-FE3402
Page 69: ...5 Secure the PoE converter to the ceiling with 3 self prepared screws Figure 1 65 54 ...
Page 114: ...Administrator Mode 4 4 1 1 Video Settings Figure 4 2A 99 ...
Page 115: ...Figure 4 2B 100 ...
Page 172: ...Administrator Mode 4 Figure 4 38 2 157 ...
Page 194: ...Advanced Applications 6 GV EFER3700 EFER3700 W Figure 6 11 GV FER5700 Figure 6 12 179 ...