USER'S MANUAL
40
|
P a g e
Digital Spot Schedule Configuration
Figure
46
Spot
Window
with
Spot
Schedule
tab
selected
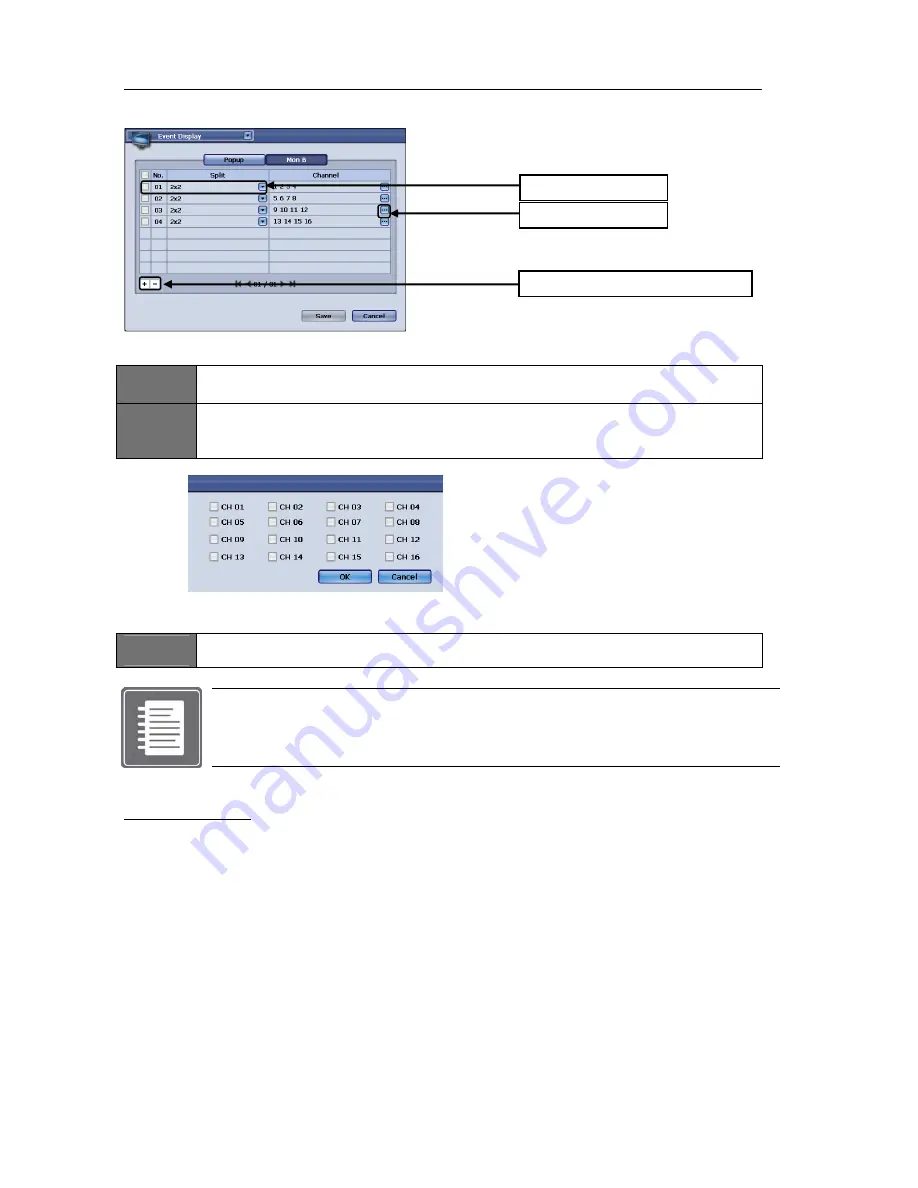
ITEM
1
Split Selection
Choose between “Full” or “2X2”
ITEM
2
Channel Selector
Upon clicking the channel selection button popup of the channel selector will appear. Click either
1 or up to 4 camera (when selected 2X2 in the Split Selection section)
Figure
47
Channel
Selection
Popup
Add or Delete Schedule item.
To add just press the icon marked “+” to add another line
ITEM
3
To delete a line first select the line by pressing the check mark and then press icon marked “-“ to
delete
Note: Maximum Digital Spot Entry
You may have up to 21 lines of schedule entry.
That means that you may have up to 21 programmed line items and on Digital Spot
monitor, there could be 21 different sequencing combinations
To help you understand the configuration of digital spot option we will consider a scenario and configure
the Digital Spot to meet the requirement.
Possible Scenario:
You have a 16 channel DVR unit with 14 cameras enabled in channel 1~16 with Camera 9 and Camera
11 with no video feed. You want to install a Spot Monitor in front lobby to always see camera 1.
You want to see full screen view of camera 1 then few seconds later 2X2 screen view with Camera 1,
Camera 2, Camera 3 and Camera 4.
Few seconds later you want it to sequence to 2X2 view with Camera 1, Camera 5, Camera 6 and
Camera 7. You want to repeat until you see all cameras but omit camera 9 and camera 11 because
they are not functional at this time.
You
want
to
have
Camera
4
to
popup
during
any
of
these
sequencing
events,
when
you
detect
motion
to
this
camera.
Item
1
Split
Selection
Item
2
Channel
Item
3
Add
or
Delete
Schedule
item
Summary of Contents for H.264 Digital Video Recorder
Page 1: ......
Page 77: ...USER S MANUAL 77 P a g e...


