USER'S MANUAL
35
|
P a g e
ITEM
3
Date/Time Format
In this section, choose how the date and time will display. You may choose the year to appear first or
moths to appear first. On time section you may choose 24 hour display or A.M. and P.M. display.
ITEM
4
Date/Time Setup
In this section, manually input current system time by selecting year, month, date, hour, minute, and
second.
ITEM
5
Save and Cancel
Save button: use this button to commit the time configuration set on the Date/Time window.
Cancel button: use this button to cancel the time configuration set on the Date/Time window.
CAUTION!
You must perform Hard Disk Clear procedure after the time change. Especially, when
time setting has been back dated, perform the Hard Disk Clear procedure. There could be duplicate
recording events recorded on to the hard disk drive and may corrupt hard disk indexing operation.
Before performing the hard disk format, please backup any important data items.
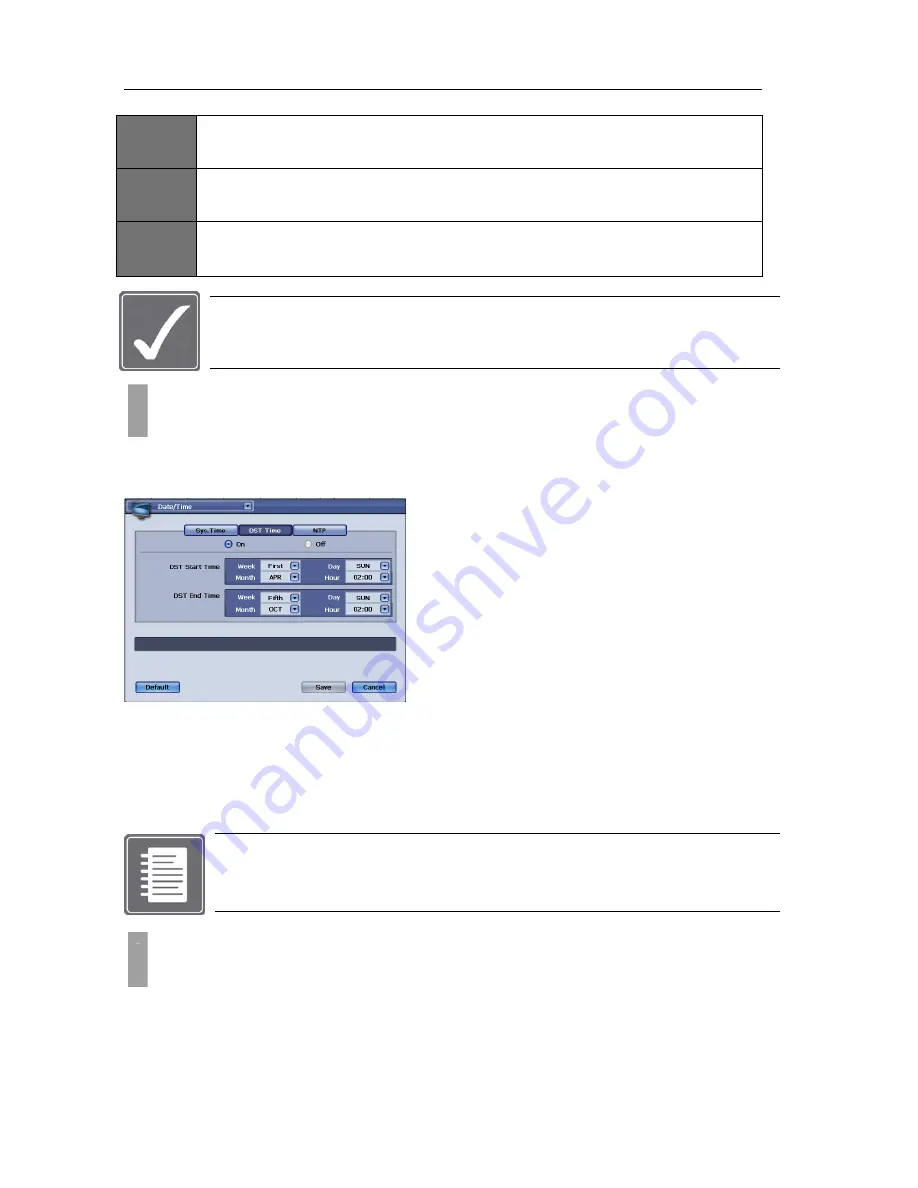
Some regions of the world, DST (Daylight savings time) must be configured to have correct time to
display after DST changes. To configure the DST setting click on DST Time tab button from Date/Time
window. (
Figure 39 Date/Time Window with DST Time selected
)
Figure 39 Date/Time Window with DST Time selected
To enable DST option, please locate “On” radial button and select it to enable DST option. It is “Off” as
default.
DST Start Time: In this section you can choose which month, which month, which day and which hour
that DST will start.
DST End Time: In this section you can choose which month, which month, which day and which hour
that DST will be set to normal time.
Note:
Many North American countries: Since 2007, daylight saving time starts on the second
Sunday of March and ends on the first Sunday of November, with all time changes taking
place at 2:00 a.m. local time. Please check your region’s DST time rules.
Multiple DVR units may have synchronized time by utilizing network time configuration. They could be
configured by using NTP settings provided with the DVR. You will be able to locate this page by clicking
on NTP tab button found on Date/Time window. You could access the Date/Time window by clicking the
drop down button located on the left upper corner or by accessing via Display icon from Main menu
screen.
CHAPTER 10. DATE AND TIME
2. Daylight Savings Time Configuration
CHAPTER 10. DATE AND TIME
3. Synchronized Network Time Setting Configuration
Summary of Contents for H.264 Digital Video Recorder
Page 1: ......
Page 77: ...USER S MANUAL 77 P a g e...


