JF-240UV User Manual
78
To print separations for certain colors only, clear the checkboxes for the
colors you do not want to print.
Print separations in color Makes each process color separation print in the appropriate color of
ink. If you do not select this option, all process color separations will
print in black.
* Separations for spot colors will always print in black.
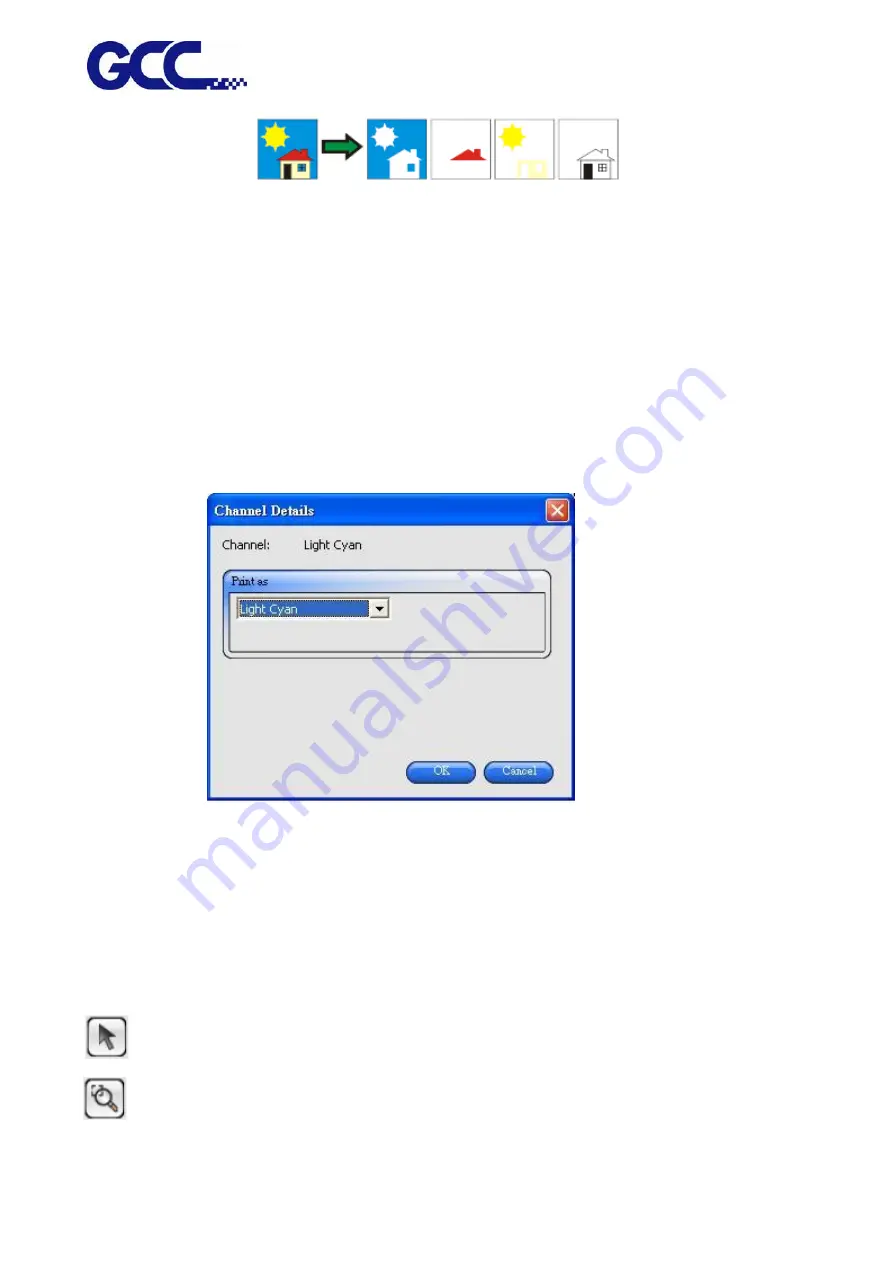
Editing Color Channel Details Select Channel Details to edit the output setting for each color
channel.
* If the Print as Separations box is checked, but Print separations in color is not checked, you can
select how the separations for each color channel are output by selecting the desired color channel
and clicking Edit.
Setting the Preview Pane View
“Preview Pane View” only shows the basic settings.
To set the “Preview Pane View”, please single-click the “Preview Pane View” button in the window.
Basic settings are in the left hand side of the window whereas a preview window on the right hand
side shows the printing quality of output materials.
Allows job selection or reposition in the preview window.
Doubles the size of the object. Single click points will become the view center.
• Pressing Ctrl and single-clicking this tool will diminish the object by half.
Summary of Contents for JF-240UV
Page 1: ...JF 240UV User Manual http www GCCworld com V 9 2020 Sep GCC GCC Club...
Page 21: ...JF 240UV User Manual 20 3 Select Activate Now...
Page 24: ...JF 240UV User Manual 23 Control panel flow...
Page 25: ...JF 240UV User Manual 24 Operating work flow...
Page 27: ...JF 240UV User Manual 26 Operating work flow...
Page 28: ...JF 240UV User Manual 27 Control panel flow O N FRONT REAR O N O N OFF OFF...
Page 42: ...JF 240UV User Manual 41 B Set the PH Gap Auto Adjustment to be OFF on the control panel...
Page 57: ...JF 240UV User Manual 56 Step 4 The settings is completed and open FlexiPRINT GCC Edition...
Page 87: ...JF 240UV User Manual 86 8 Select Advanced...
Page 102: ...JF 240UV User Manual 101 4 Select Rip and print 5 Set the send mode is Hold list and send it...
Page 130: ...JF 240UV User Manual 129 5 4 2 Introduction of VLCD VLCD Description...
Page 168: ...JF 240UV User Manual 167 Step 2 Enter the password caldera Step 3 Click Next...
Page 169: ...JF 240UV User Manual 168...


