15
System Setting
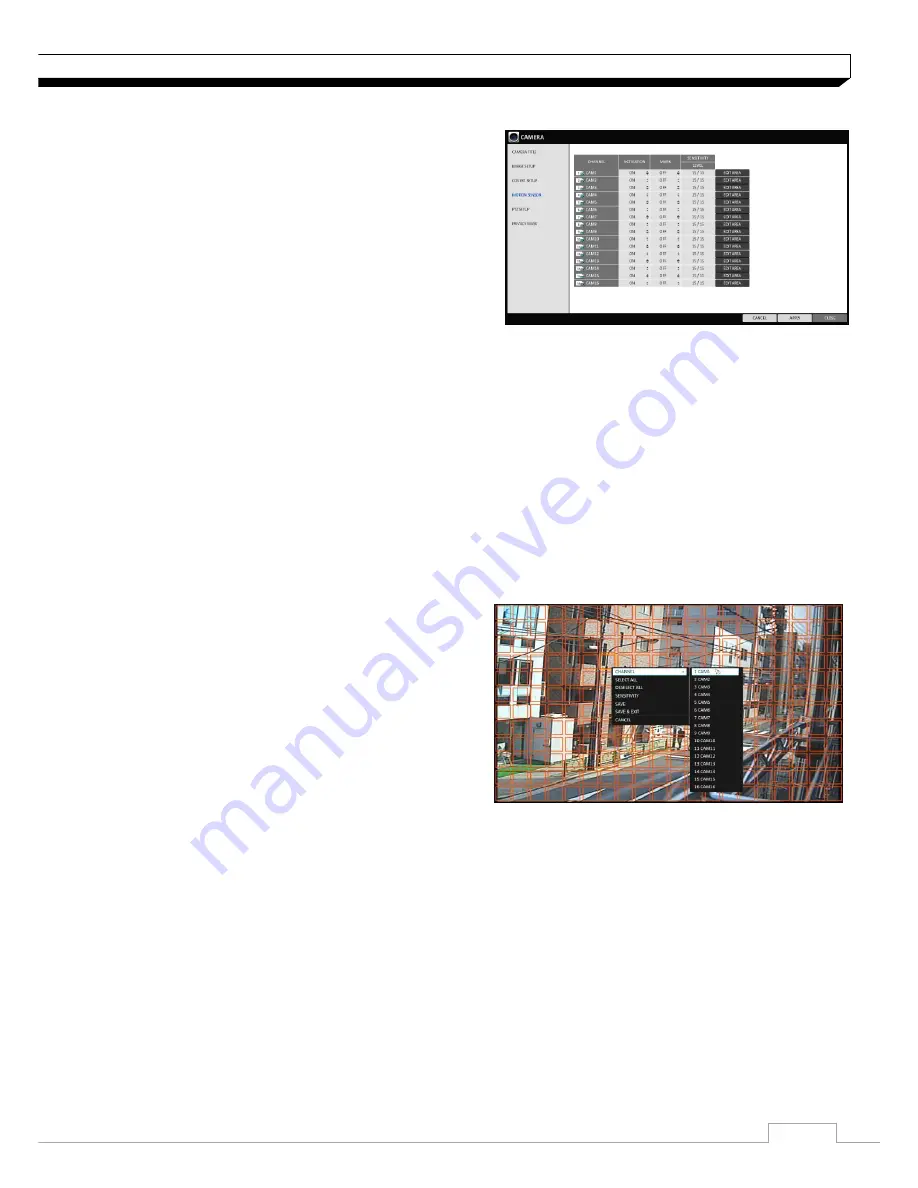
Motion Sensor
Set the motion sensor of the camera so that it can
detect a motion event.
1. From
<SYSTEM SETUP>
-
<CAMERA>
, select
<MOTION SENSOR>
.
2. Use the
[▲▼
◀▶
/ENTER]
buttons on the remote
control or use the mouse to specify the use of each
option item.
> ACTIVATION : turn on or off the motion sensor.
> MOTION MARK: Set it to
<On>
.
The video window will display the motion mark if a motion is detected.
> SENSITIVITY : Set the sensitivity level of the motion sensor to either Daytime or Nighttime.
> EDIT AREA : Specify the motion detection area.
3. To apply the change, click
<APPLY>
button.
4. When done, press the
[EXIT]
button on the remote control or click
<CLOSE>
button.
The confirmation message appears and you will return to the previous menu.
The motion detection sensitivity may differ depending on the characteristics of the
connected camera or installation environment.
Motion Area Setup
From the motion setup window, click
<EDIT AREA>
in the right corner.
1. Click
<EDIT AREA>
to move to the motion
area setup screen.
2. If using the remote control, press the
[ENTER]
button to mark the current position.
3. Use the arrow buttons to move to a desired block
and press
[ENTER]
. The area setup will begin.
Then, use the arrow buttons to specify the area.
Alternatively, you can use the drag-and-drop
method to specify or release the area using
mouse.
4. If you select the specified area again, it will be released.
5. Press the
[EXIT]
button on the remote control or
right-click any area to display the popup window
as in the right picture.


